

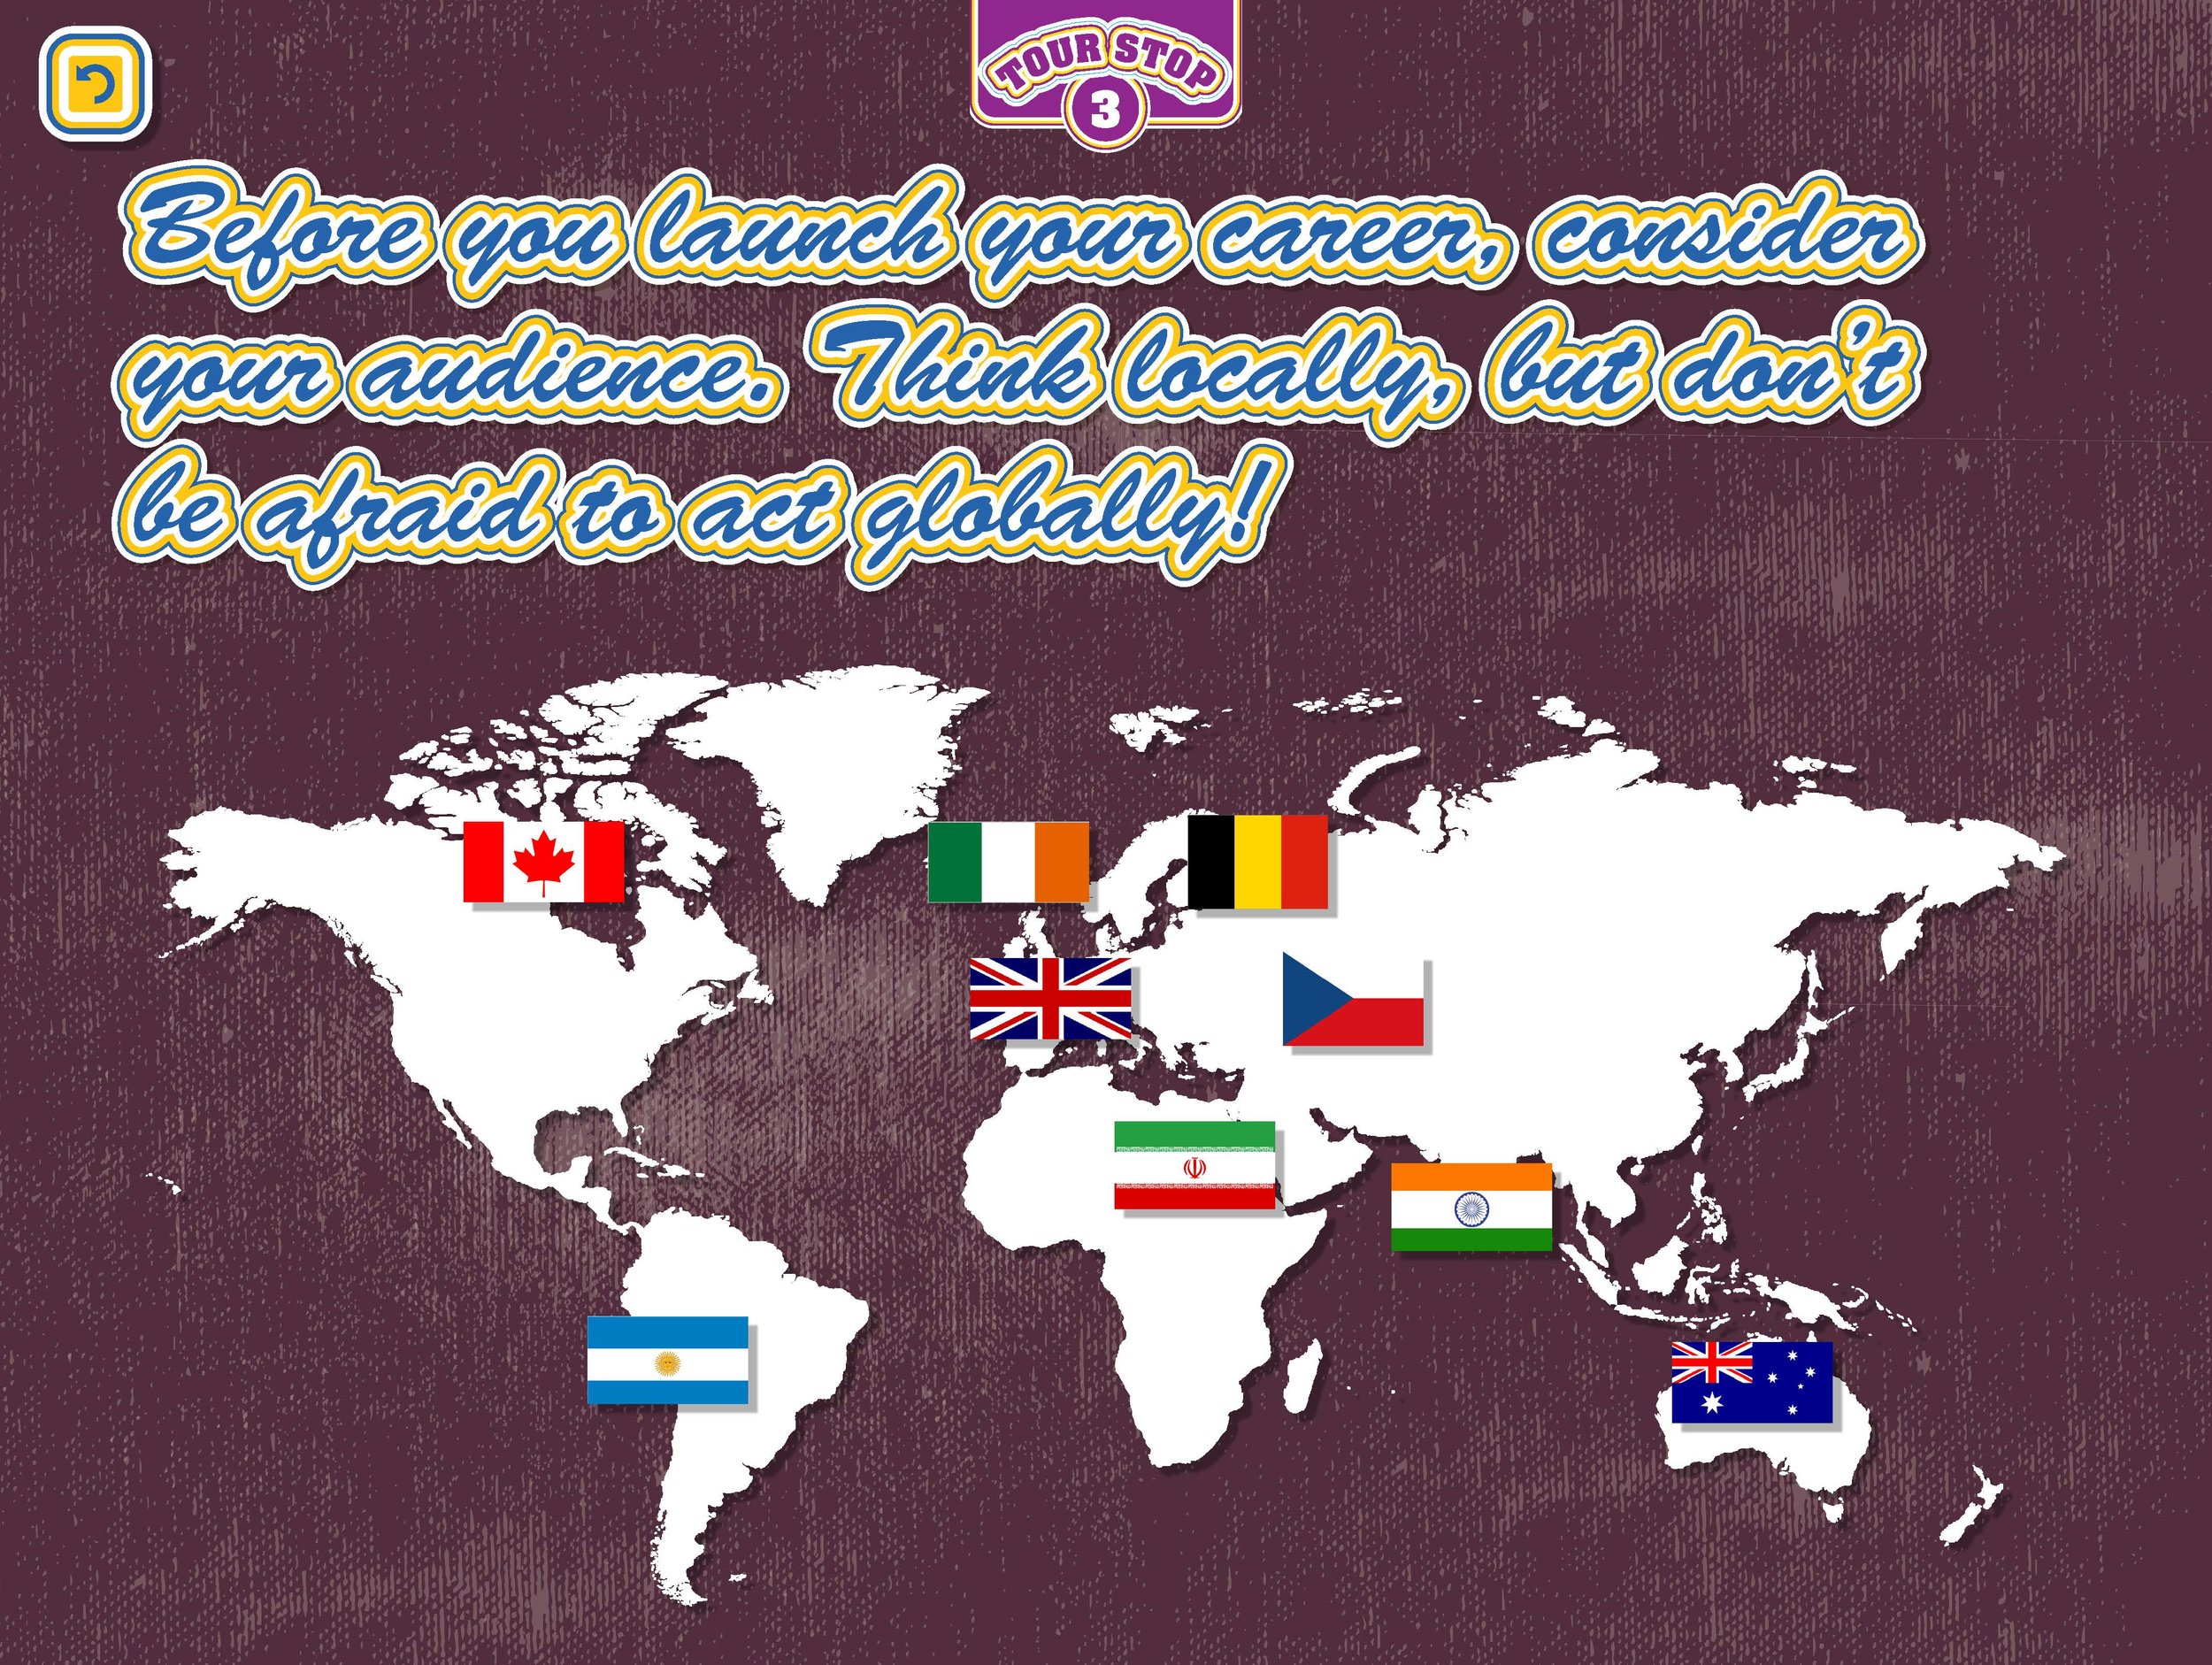
Learning Responsive Web Design in the Browser
Photoshop montage
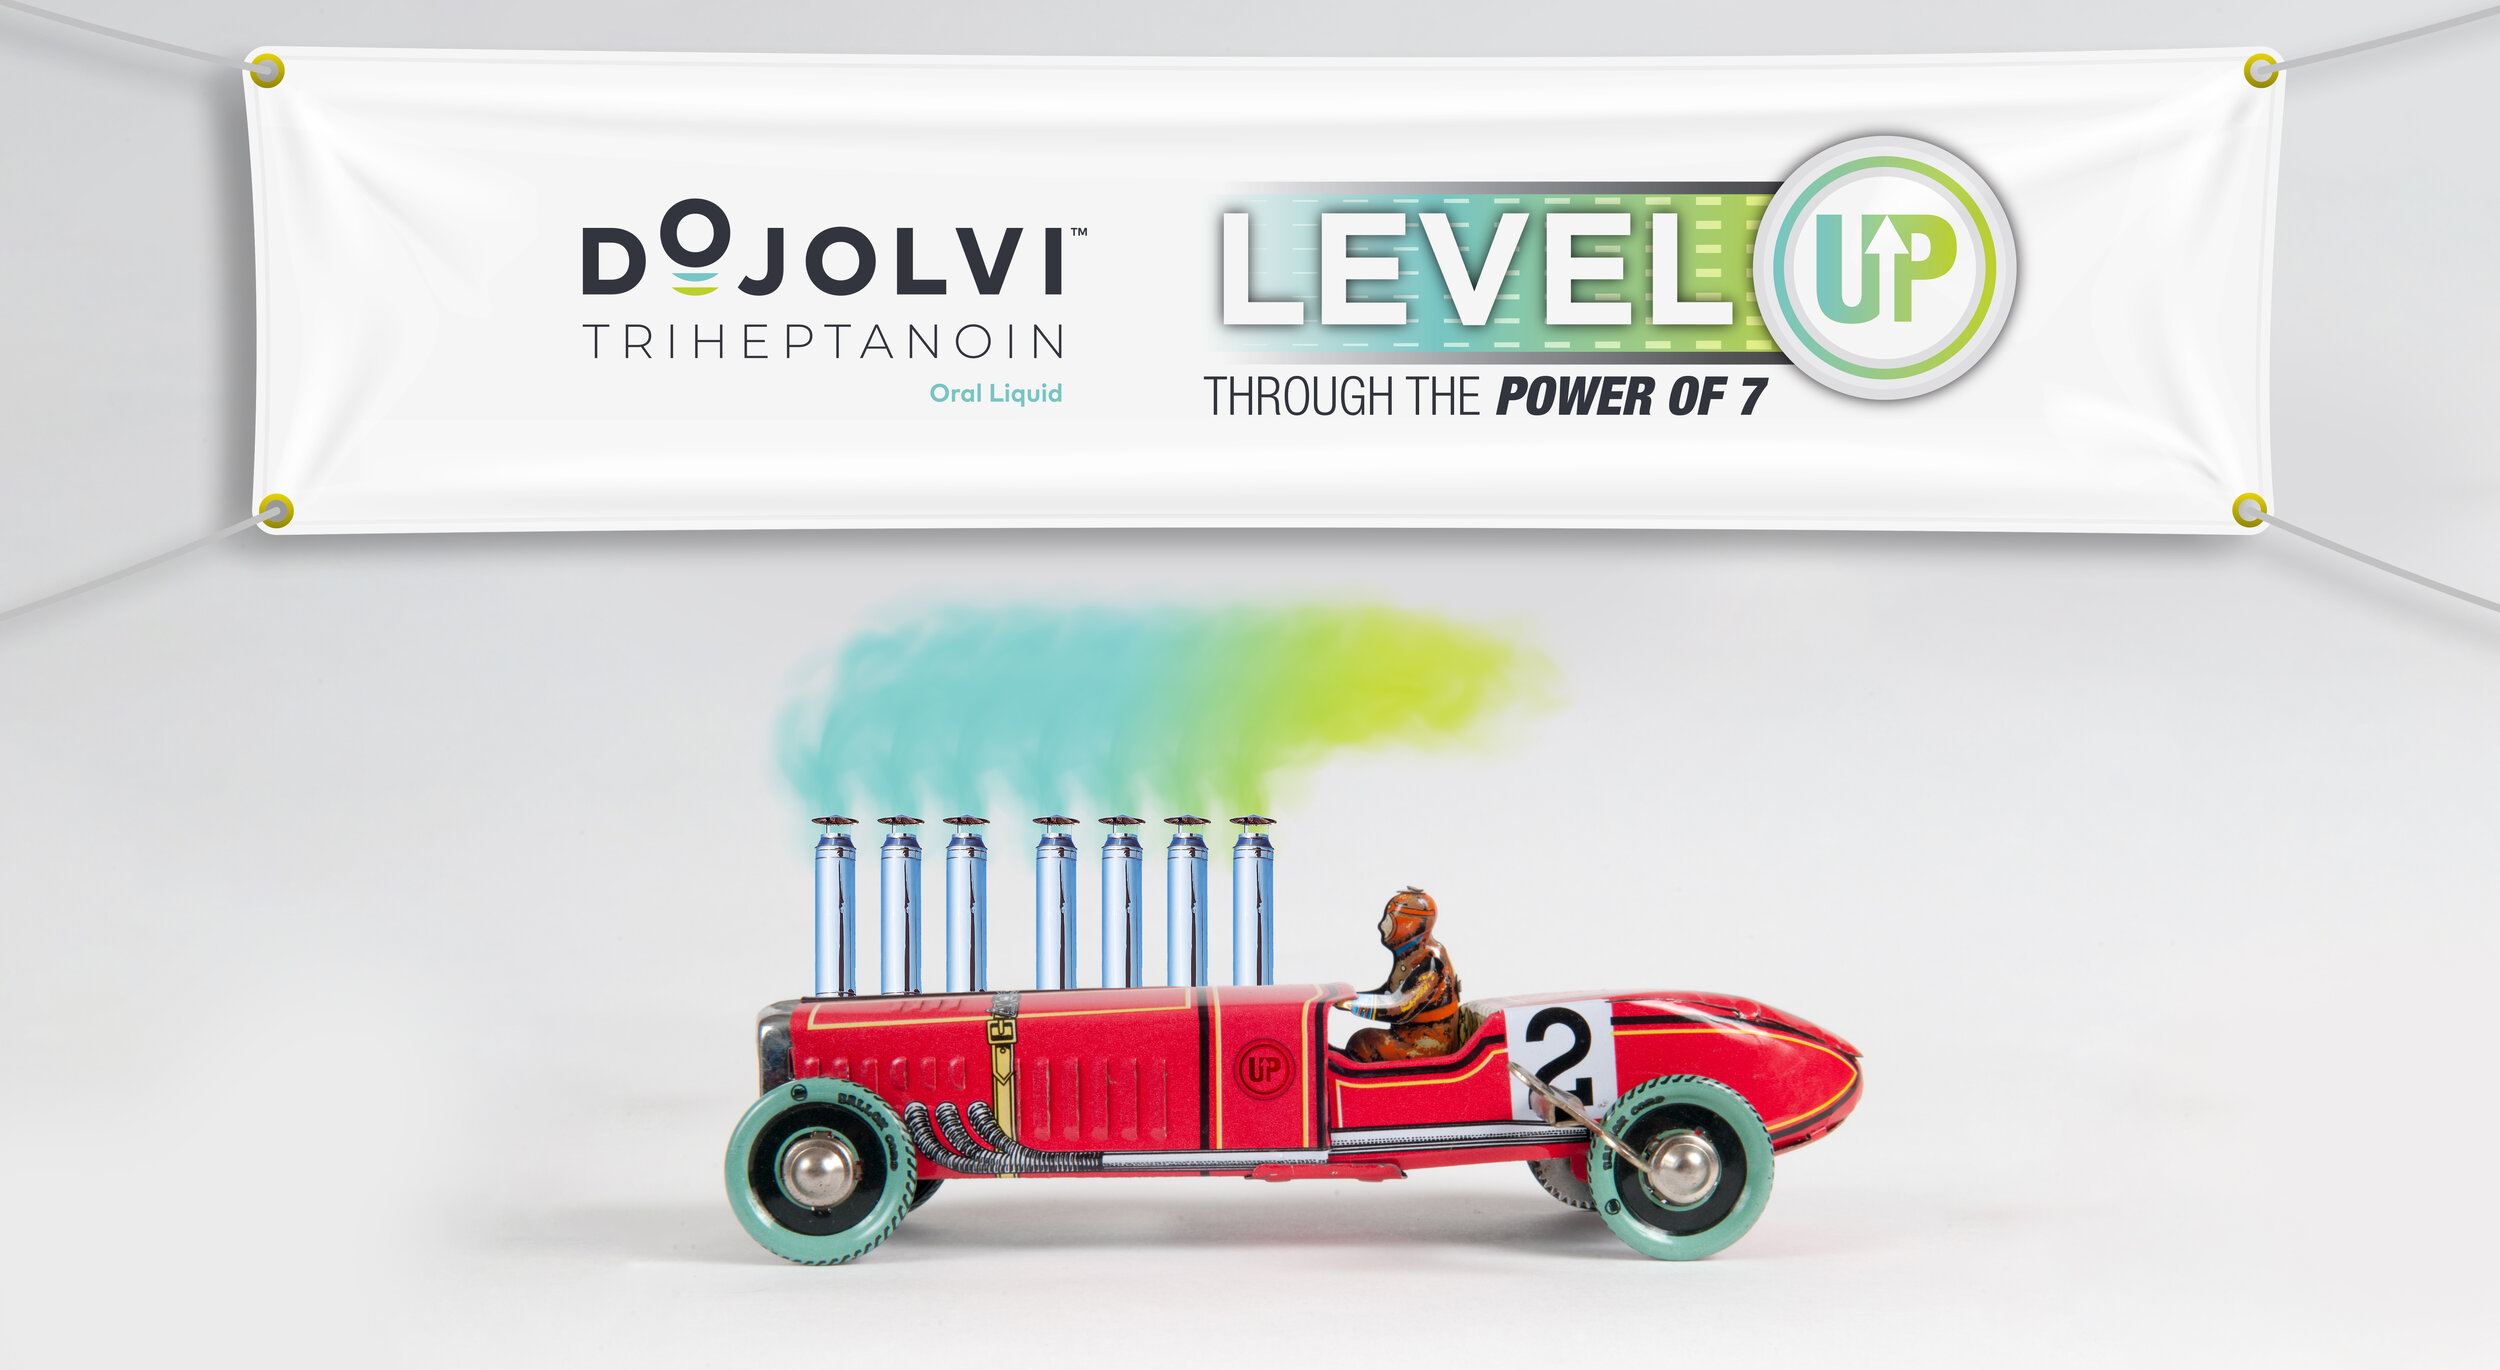
Worked on some fun photoshop montages worth sharing. I had a series of images which needed a cool effect to communicate an idea. In this case, it was about people that suffer from low energy.
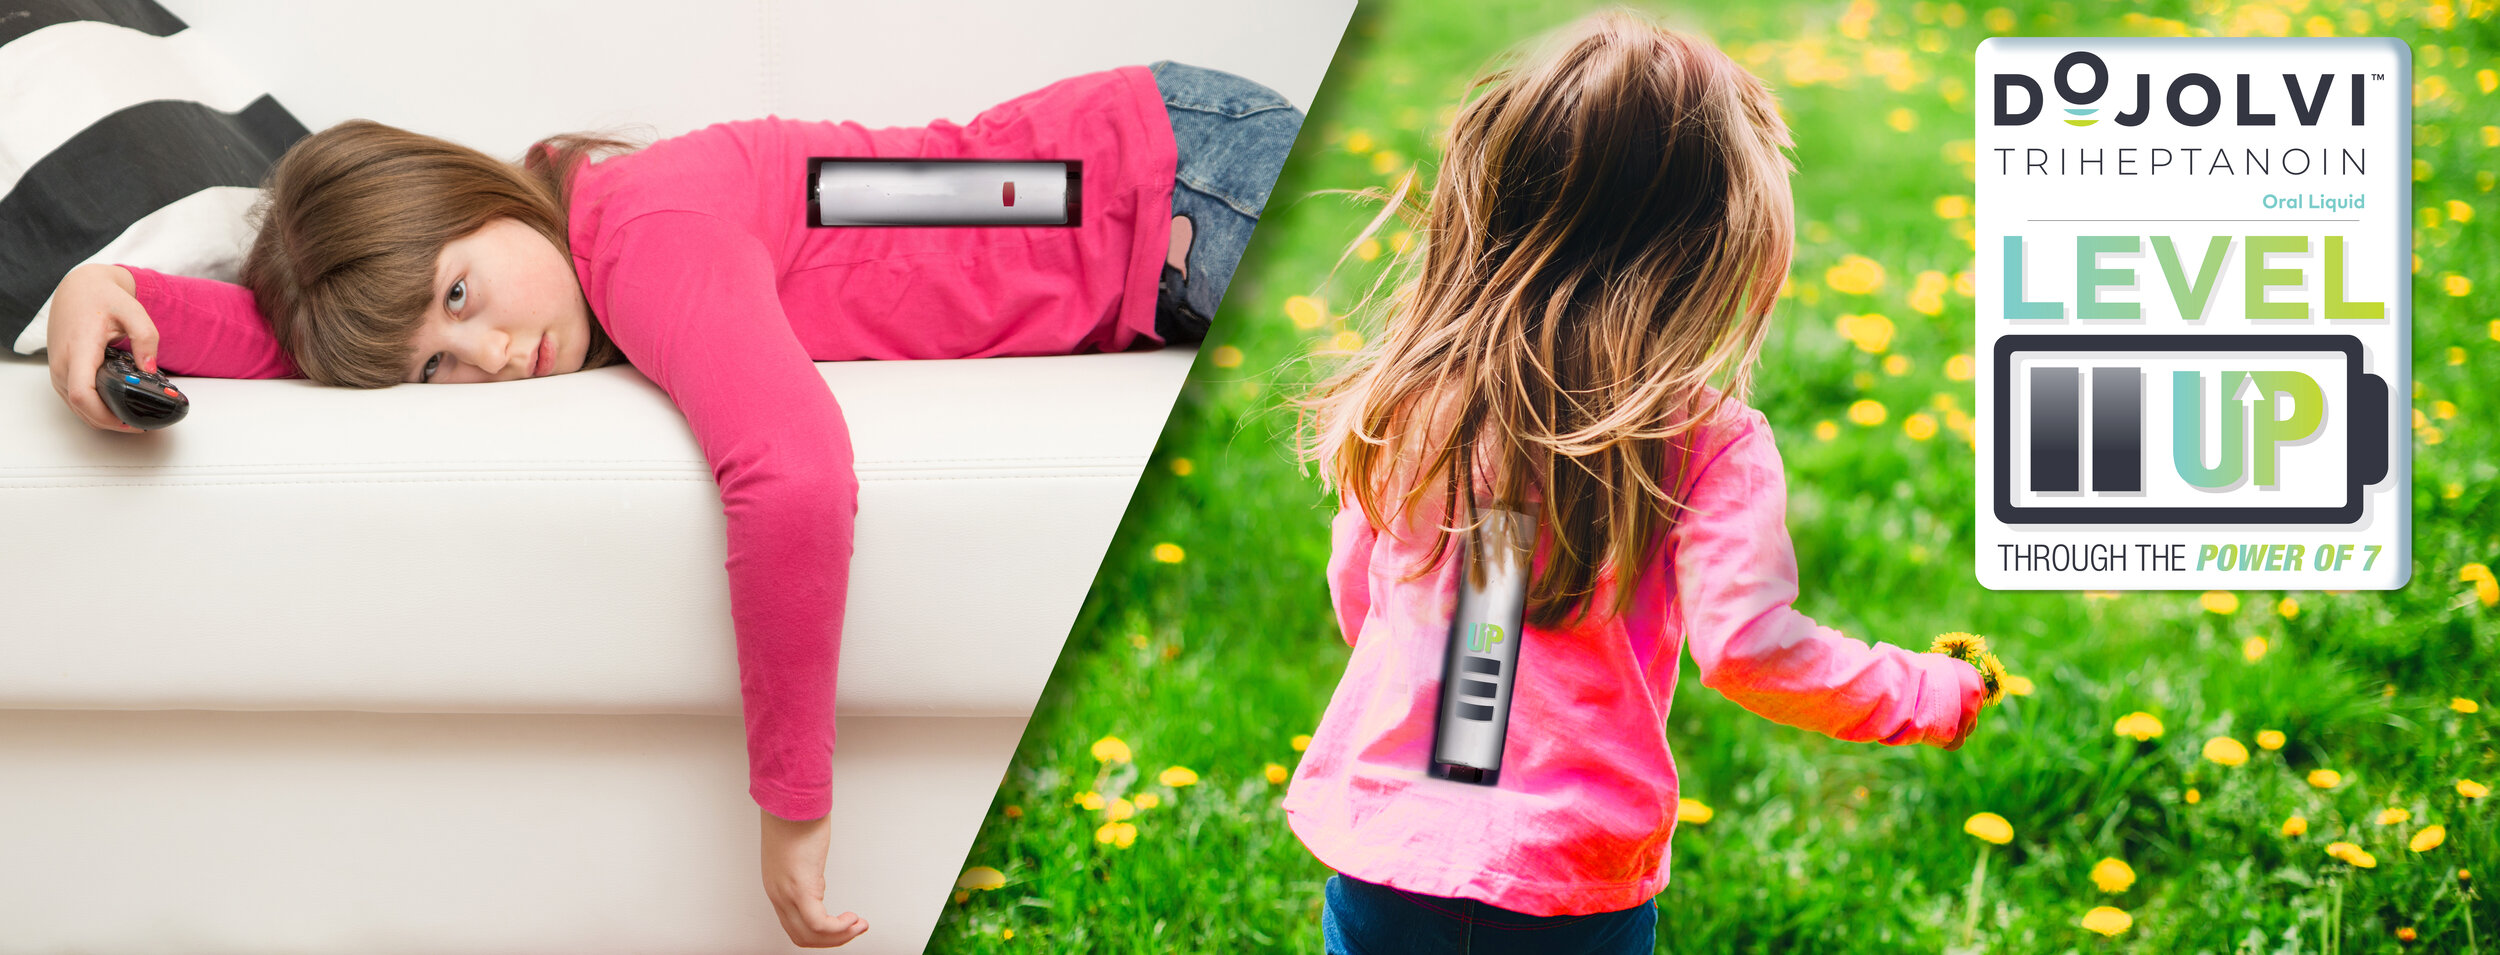
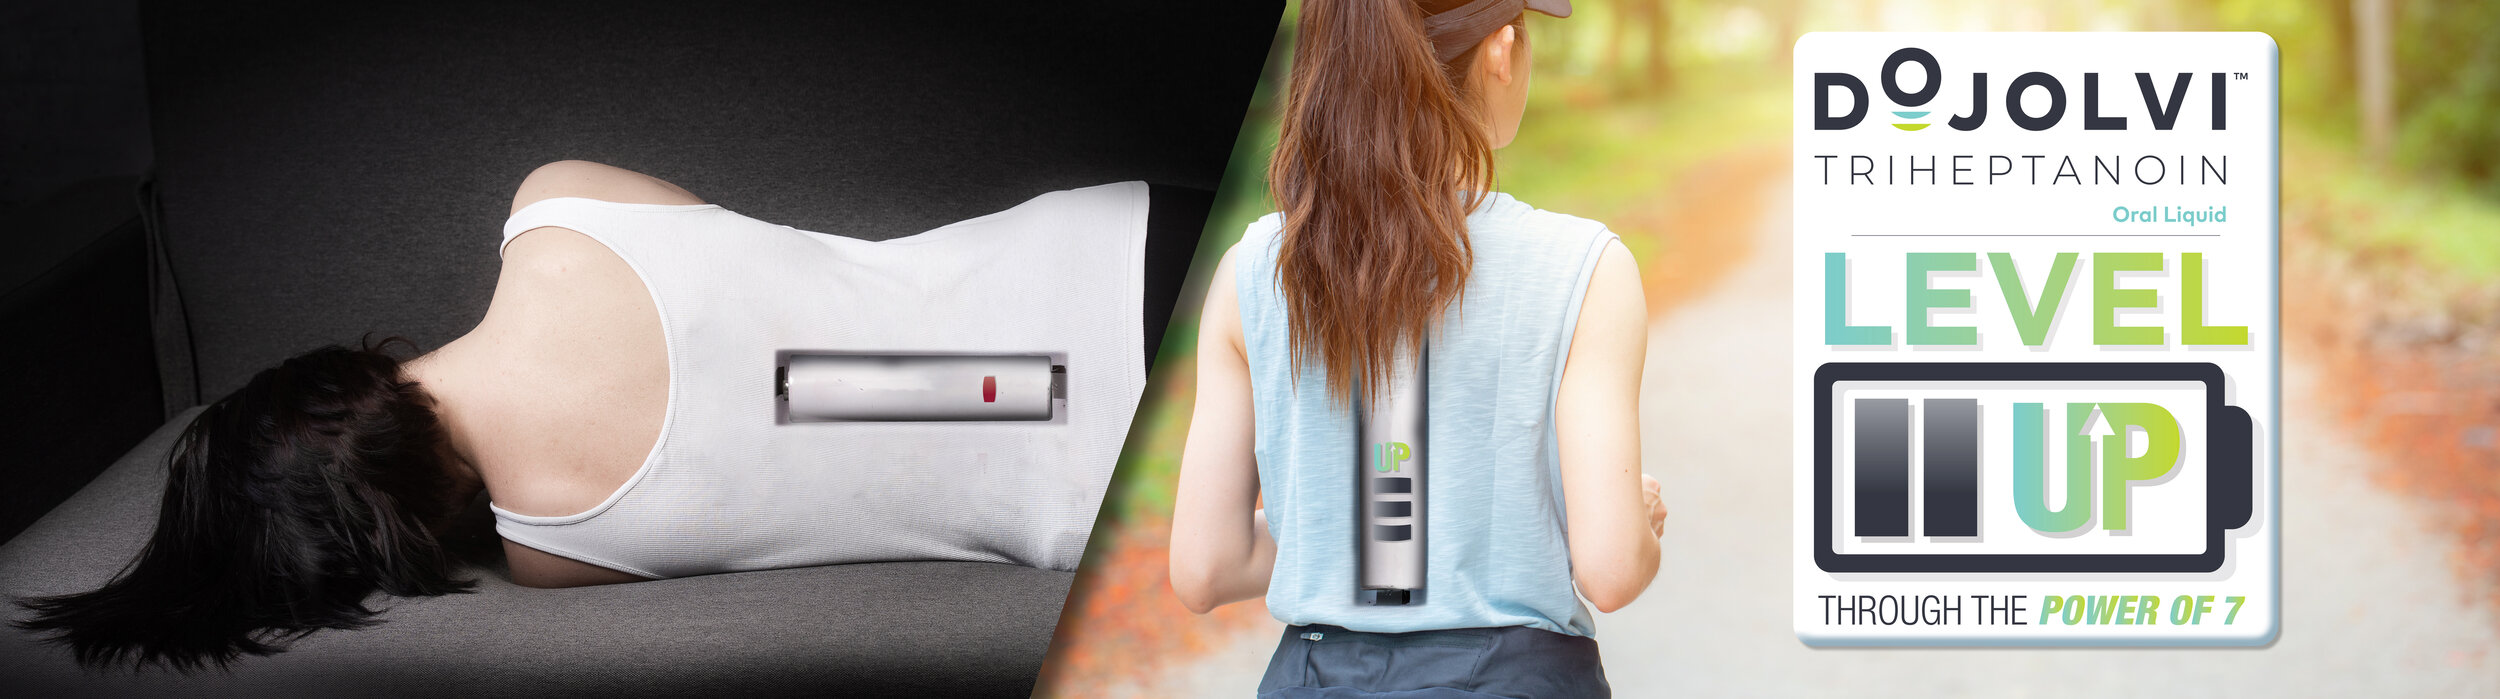

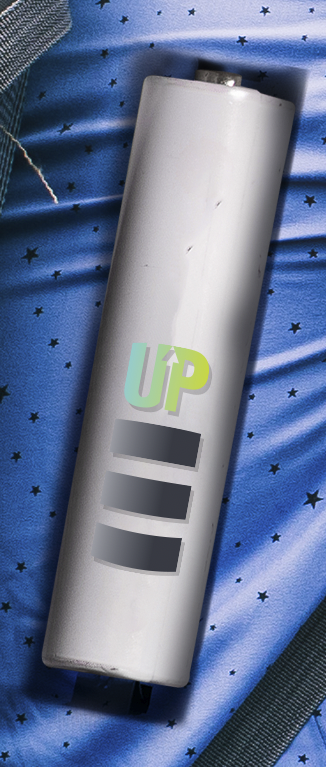
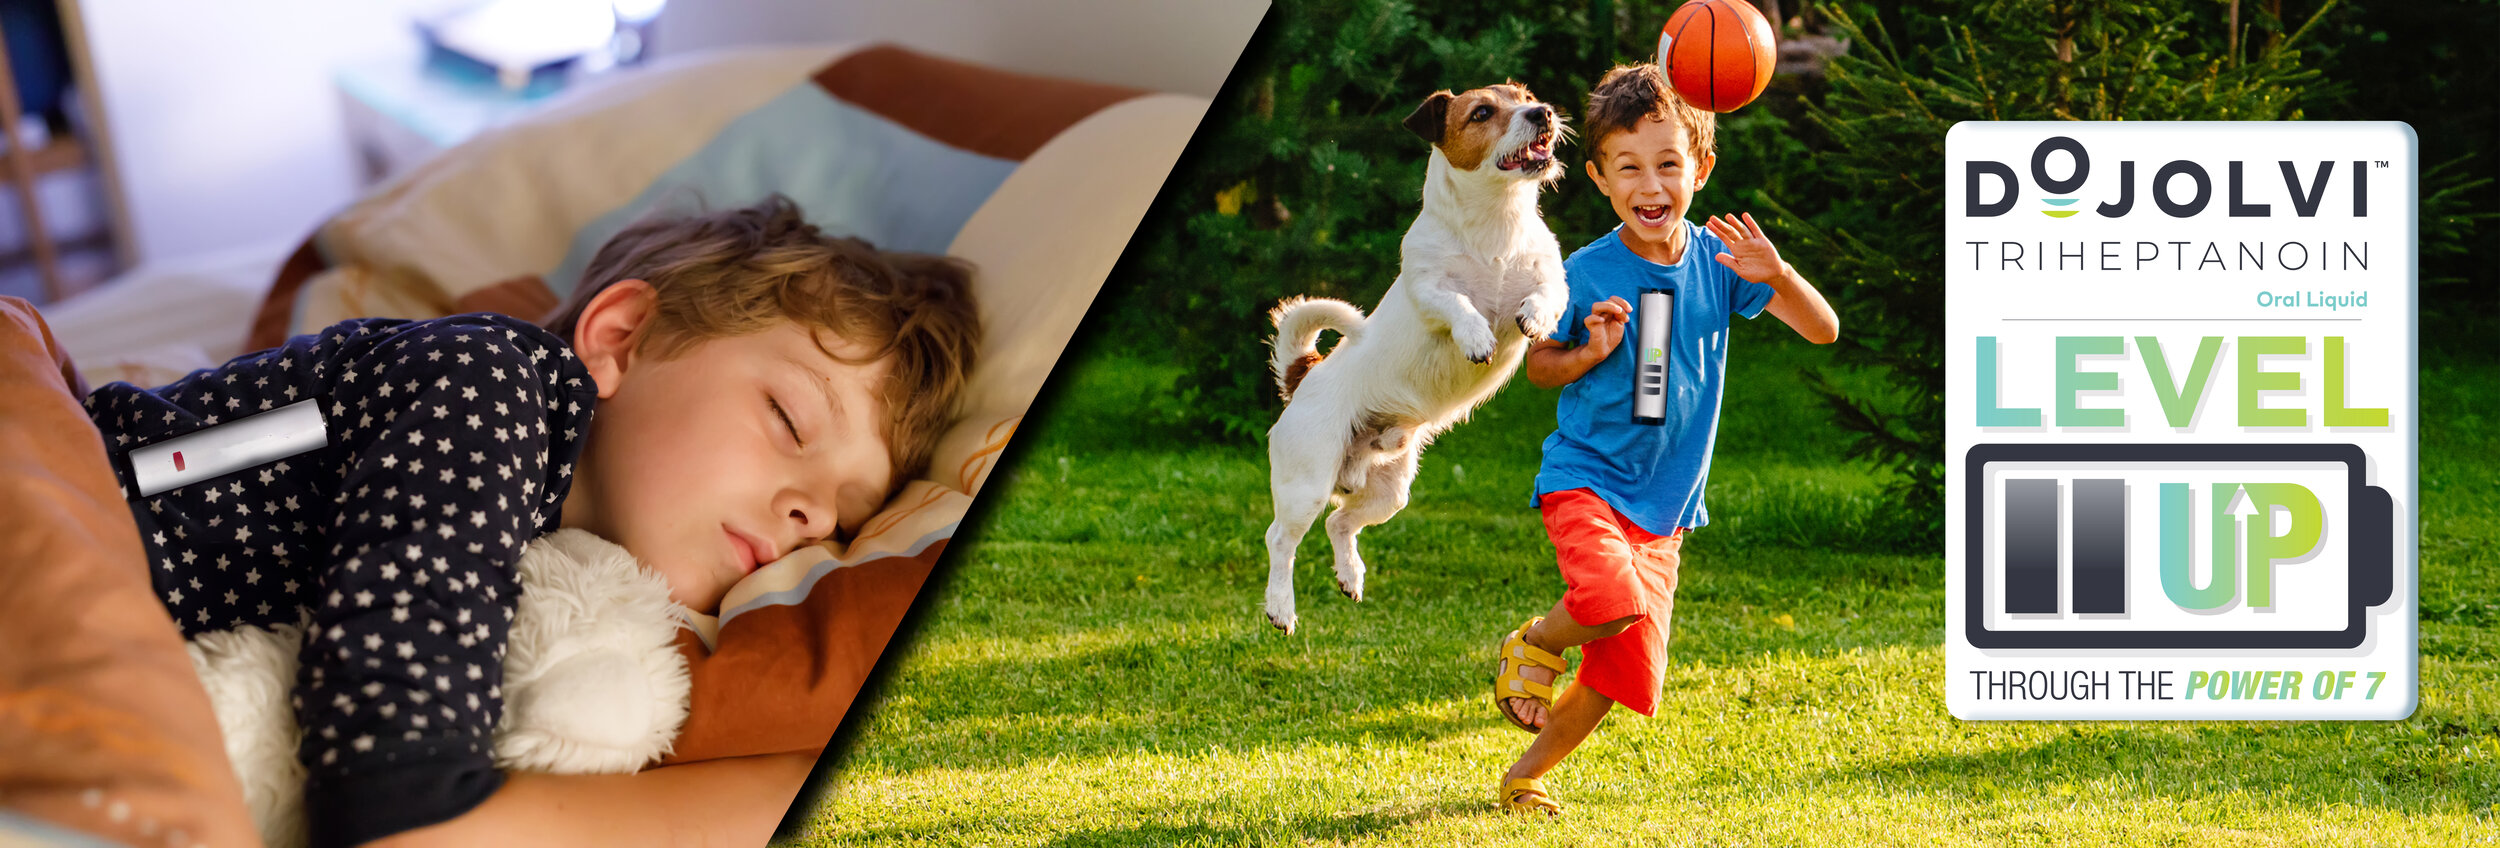
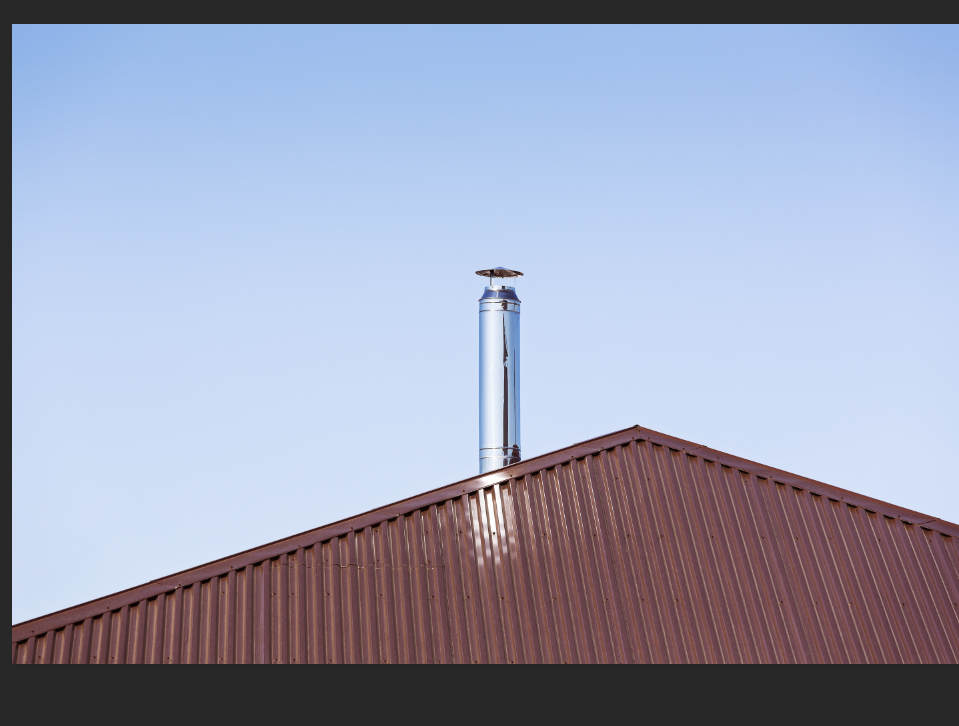
the “Wildcard” design was fun, i took a toy car, a chimney and using an gradient overlay created a fun idea:
Bird of Paradise
Created a Bird of Paradise all from illustrator. Tons of color went into this little illustration.

Photomontage magazine cover
It has been a while since i made a poster. Been busy with volunteering for Adobe in the forums and life. However, i few weeks ago i made a magazine cover that several steps and features worth sharing. So here we go.
Fist i started is a stock image from adobe stock:
Next, from adobe photoshop; using the pen tool, i created a path for each side of the ground:

Via a clipping mask from the saved path i placed a image inside the mask:
Using adjustment layers i adjusted level, contrast and added vibrance

Using purchased isometric people from adobe stock i adjusted colors and placed into photoshop as smart objects

Next i placed the art into adobe indesign, added my copy, blurbs and flag:

Sounds like an easy cover right? the most time consuming part is using the pen tool and the zoom in to make those edges match the crack on the ground. This was fun to create.
infographic layout
Created this really fun 45 page layout all infographics. fun, light, creative fun ways to display content is challenging but it can be so rewarding to see. Hopefully it will be inviting to the reader. here is just a small look into a few pages.


Adobe draw illustrations


Corporate christmas e-card
This year i was asked again to come up with the design for our holiday ecard.
My design goal was to make a ginger bread cookie with our logo.
So here we go:
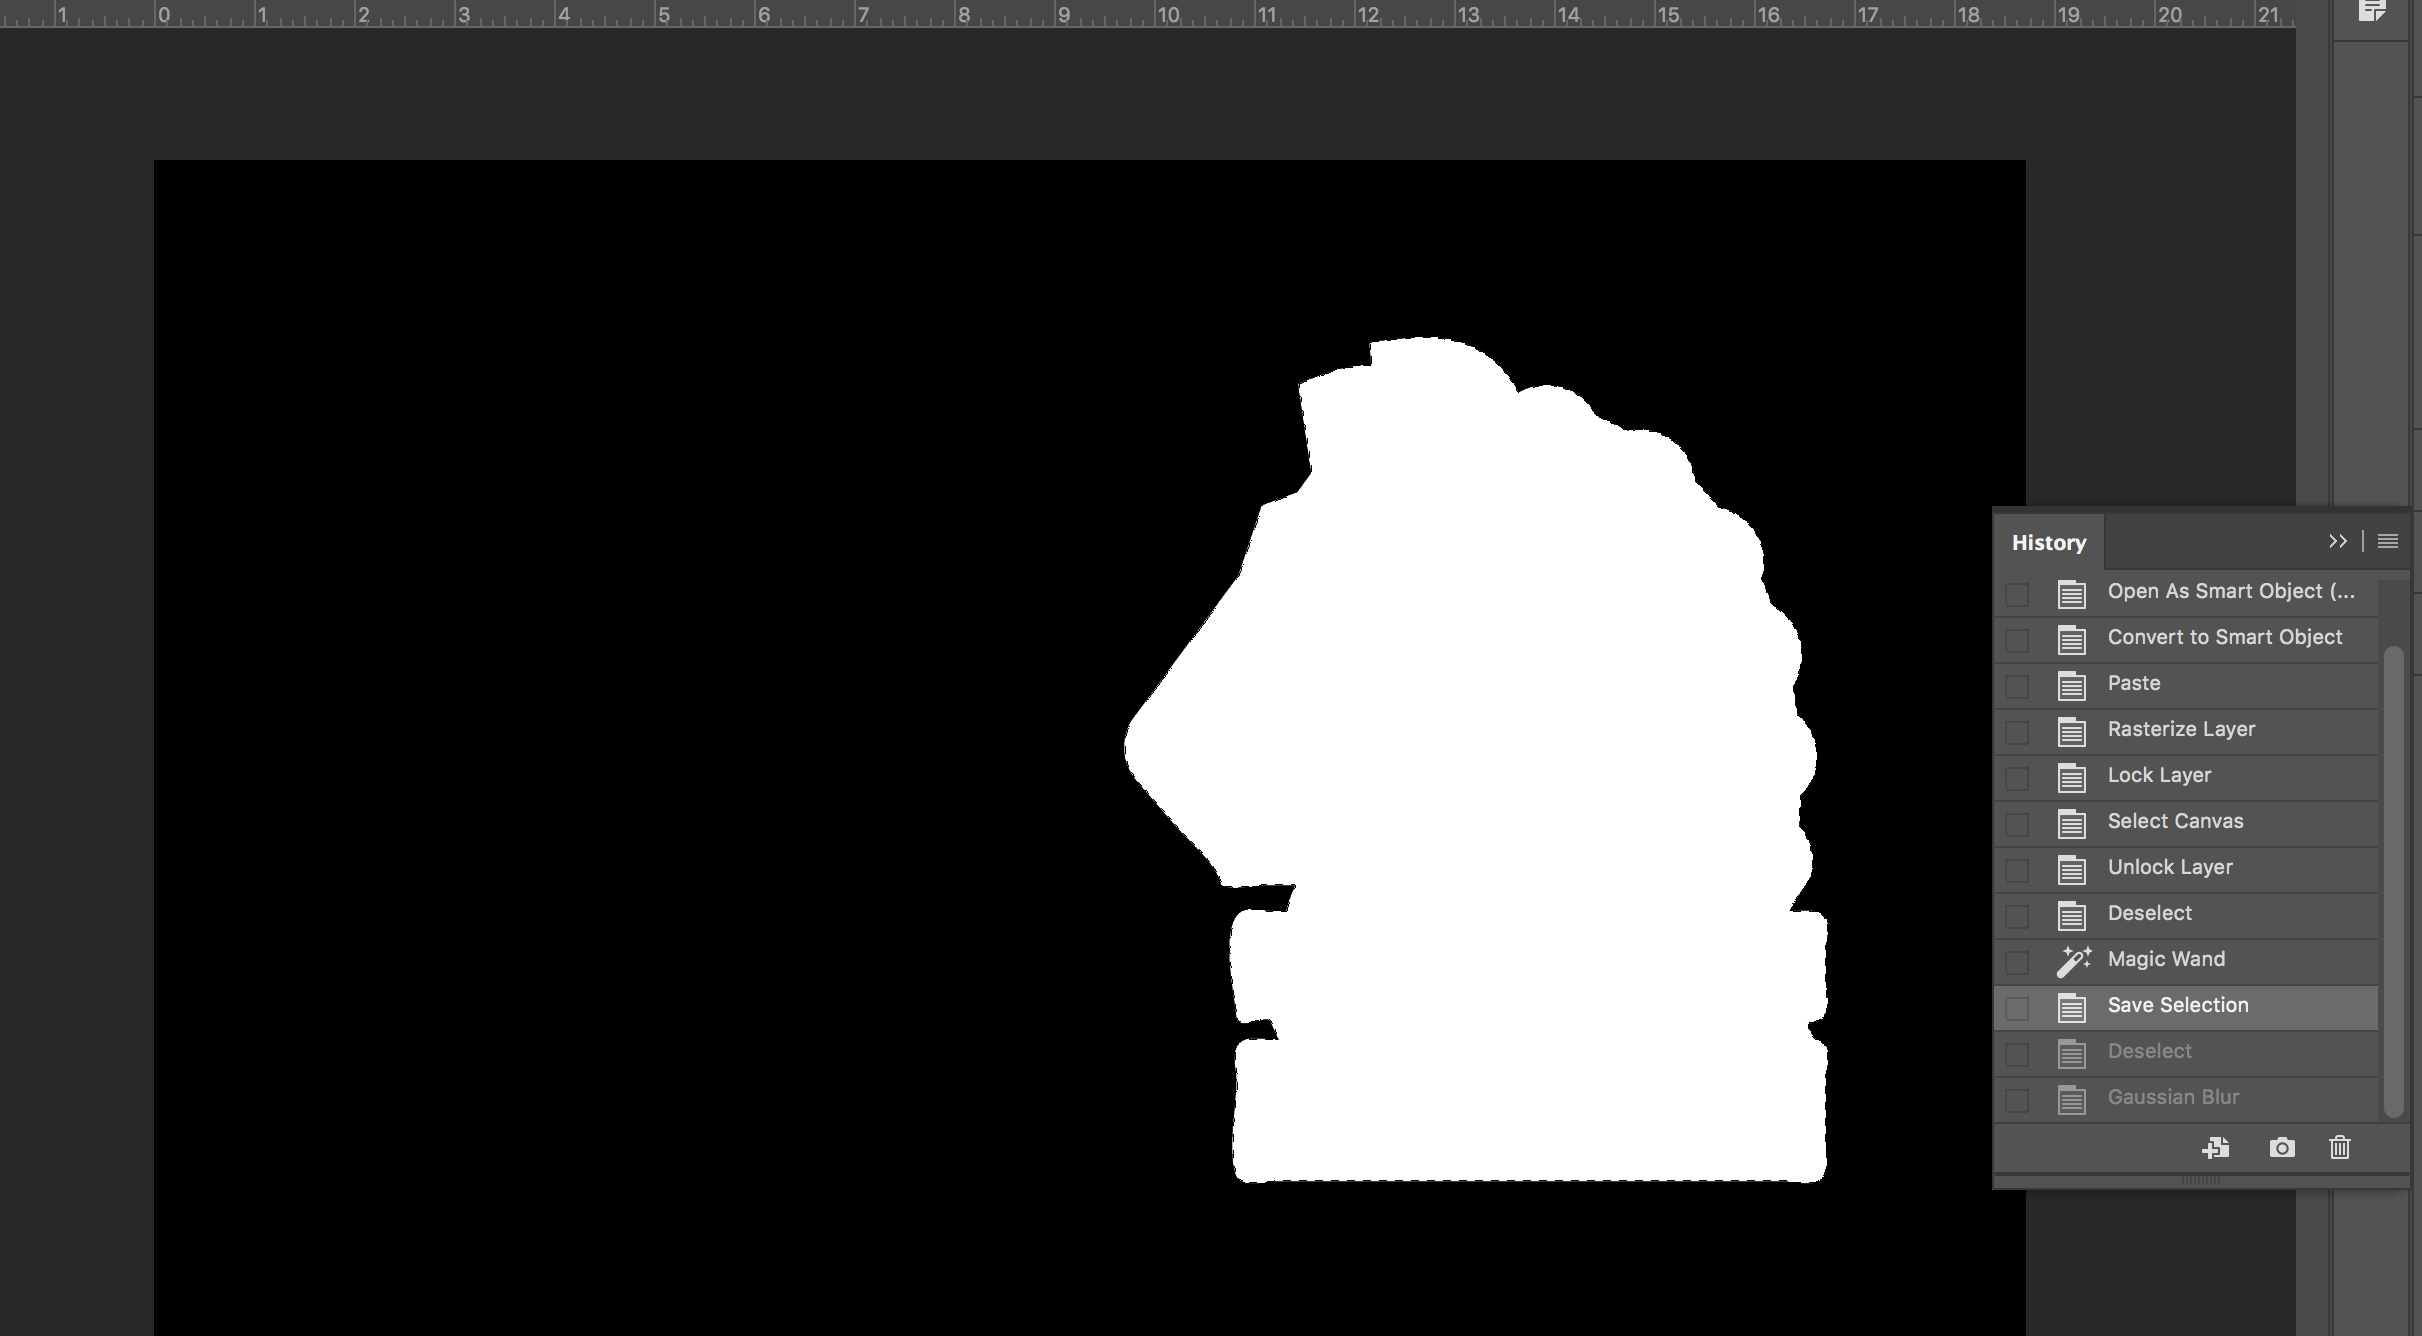
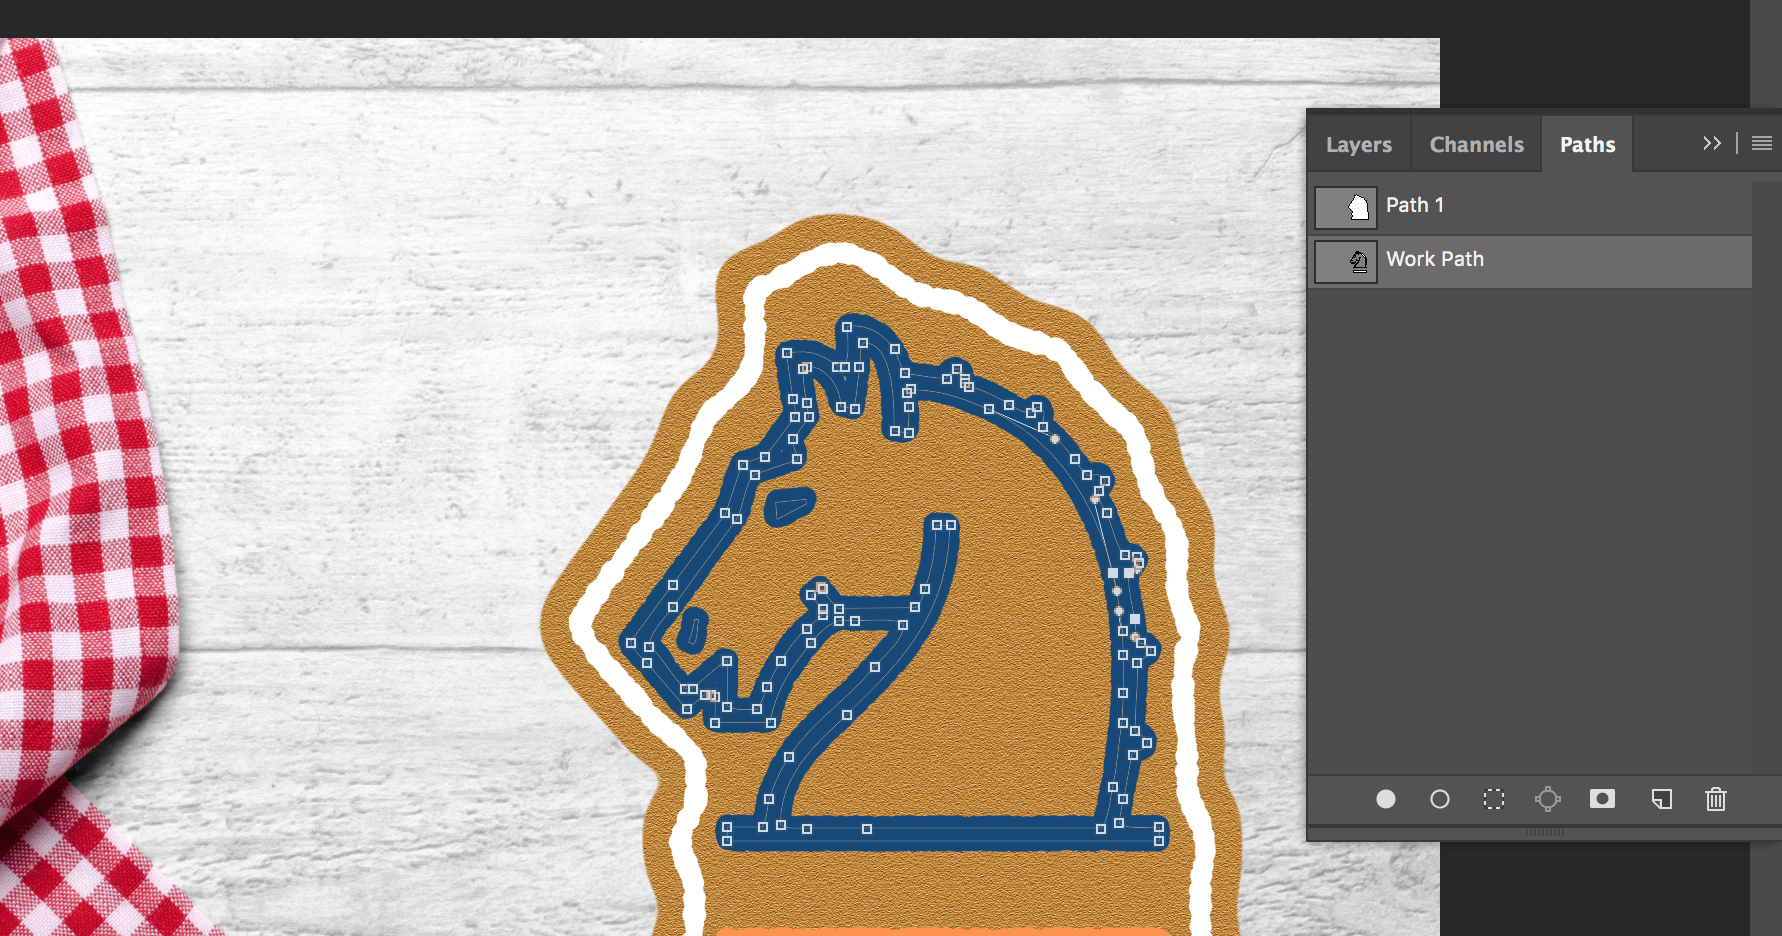
The work begins by taking the logo and make it a solid shape that will be the cookie:

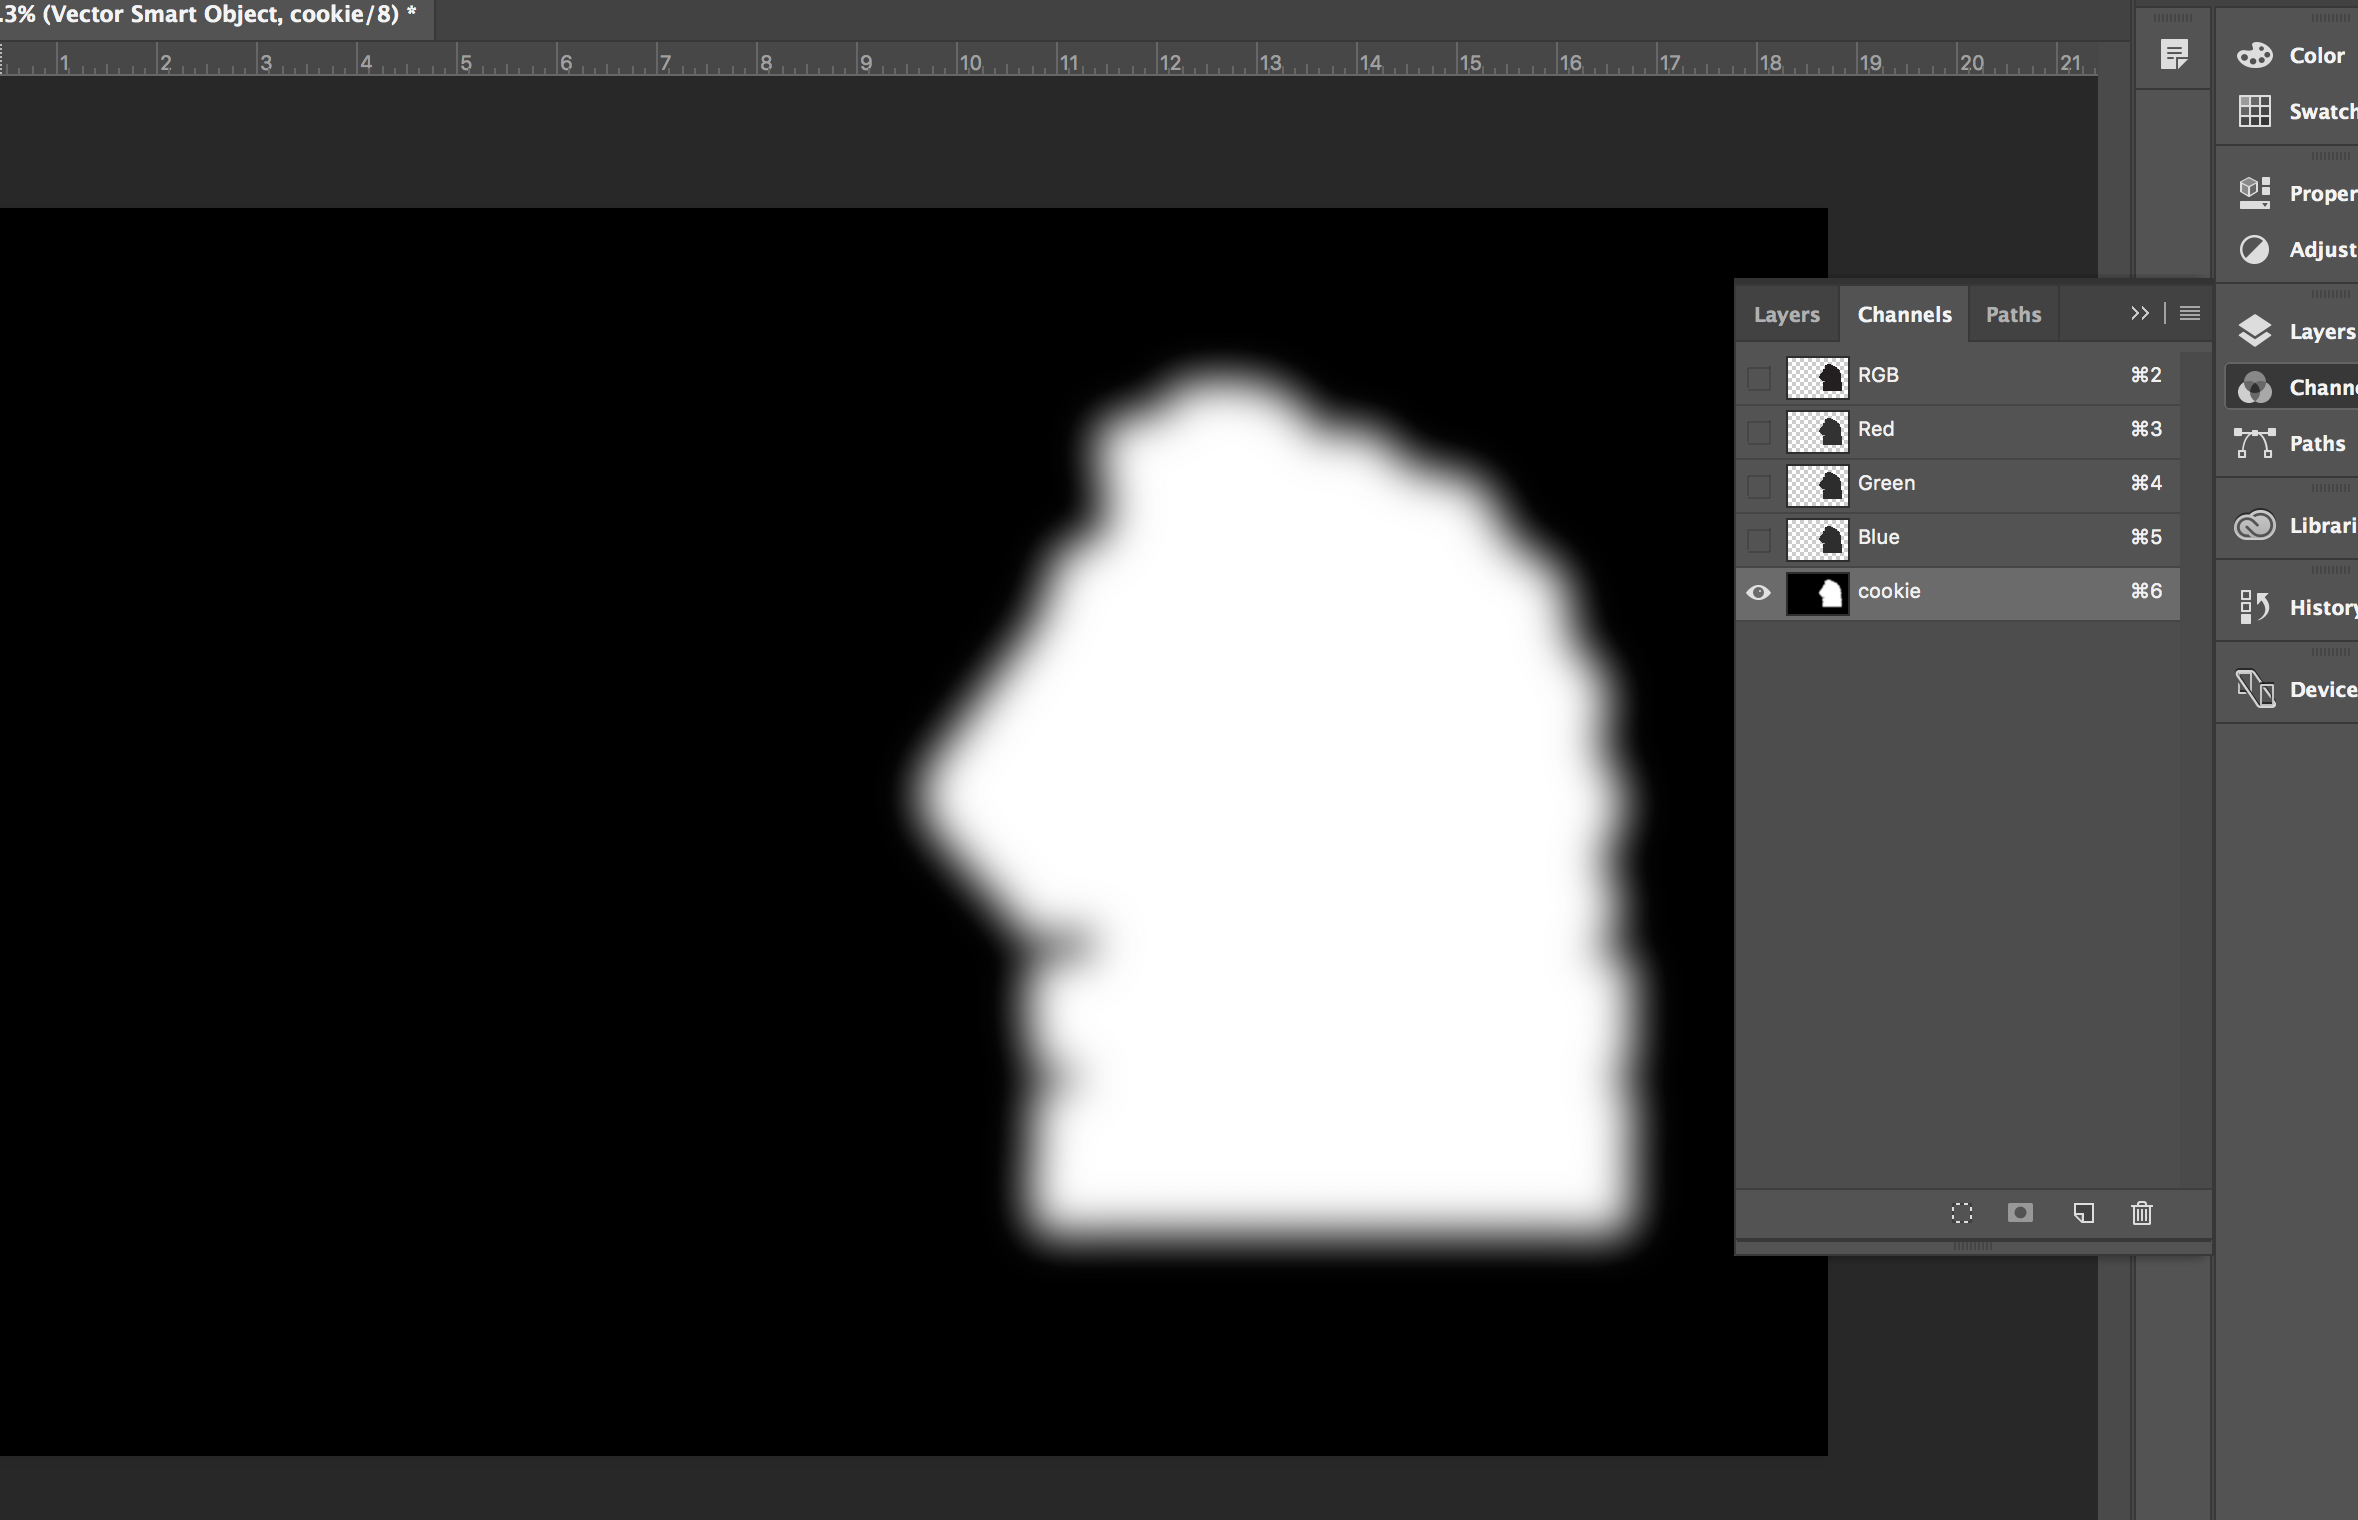
Next, that shape is paste into photoshop as a path, filled, saved as a selection and given a blurb from the channels panel:
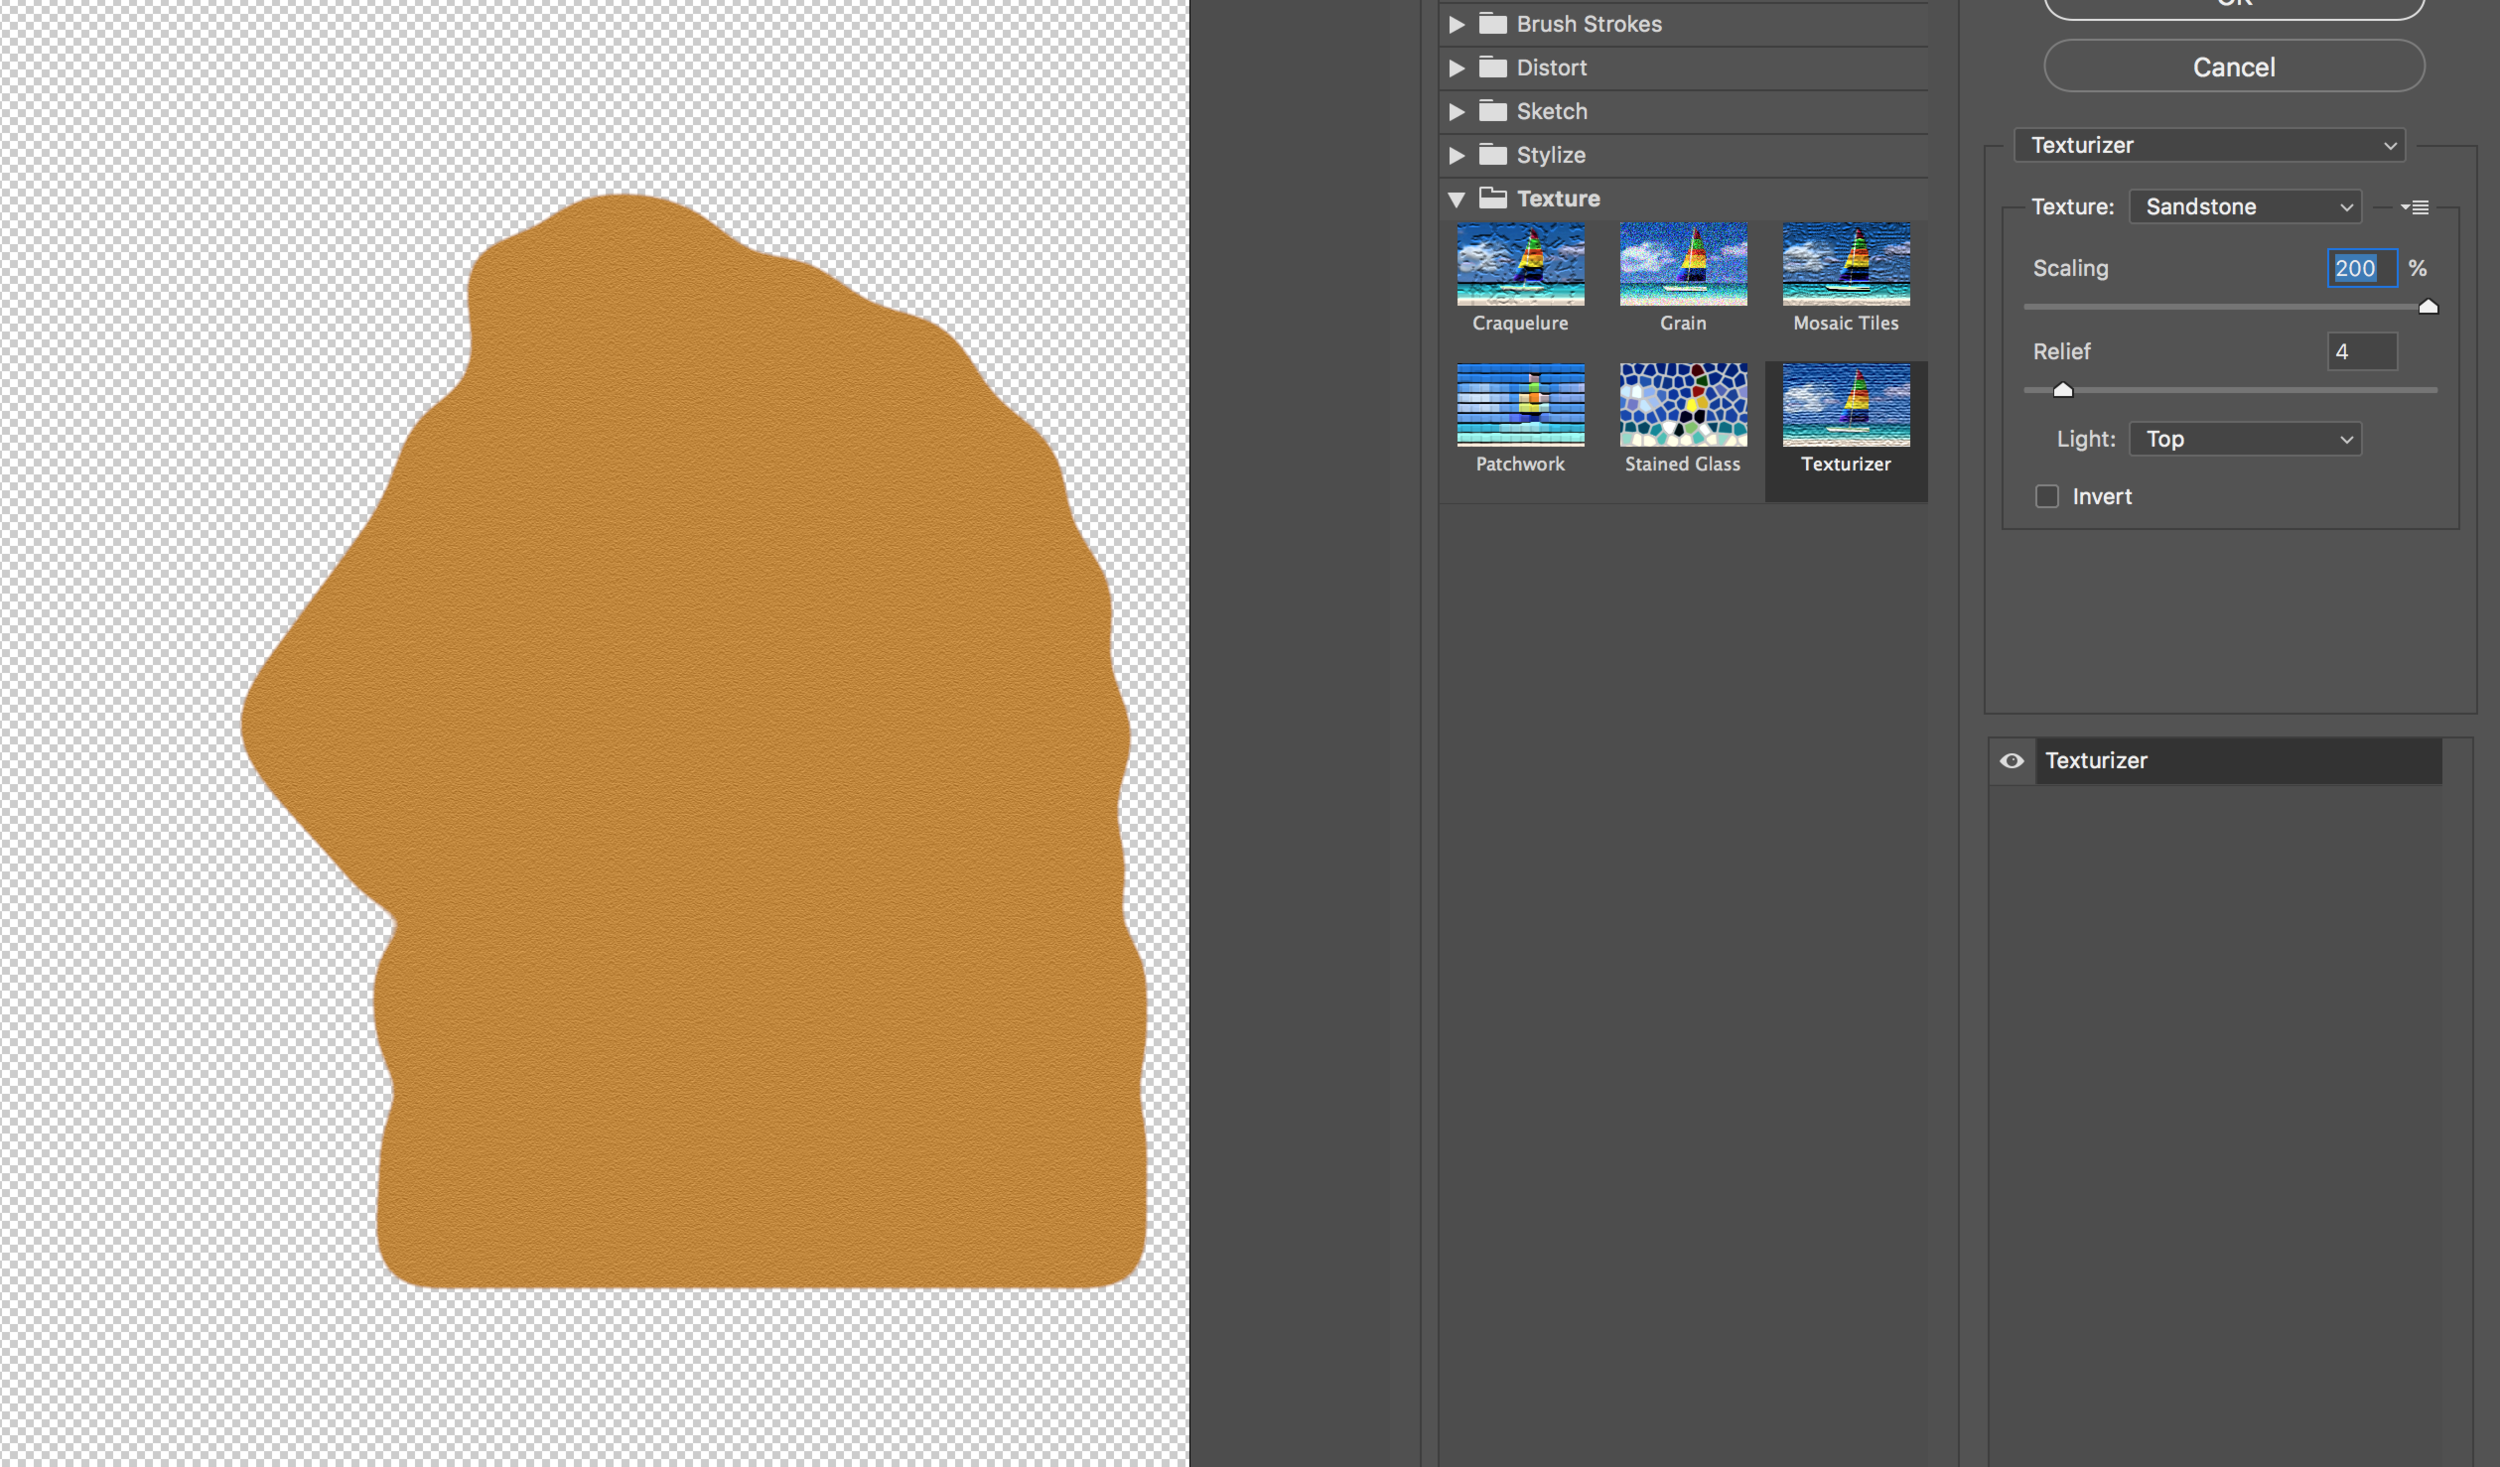
Now we can give the shape a fill, or we clip an image of a ginger cookie texture, (you can make the texture via filter>>textures>>sandstone), since i wanted ultra-realism i went with the photo.
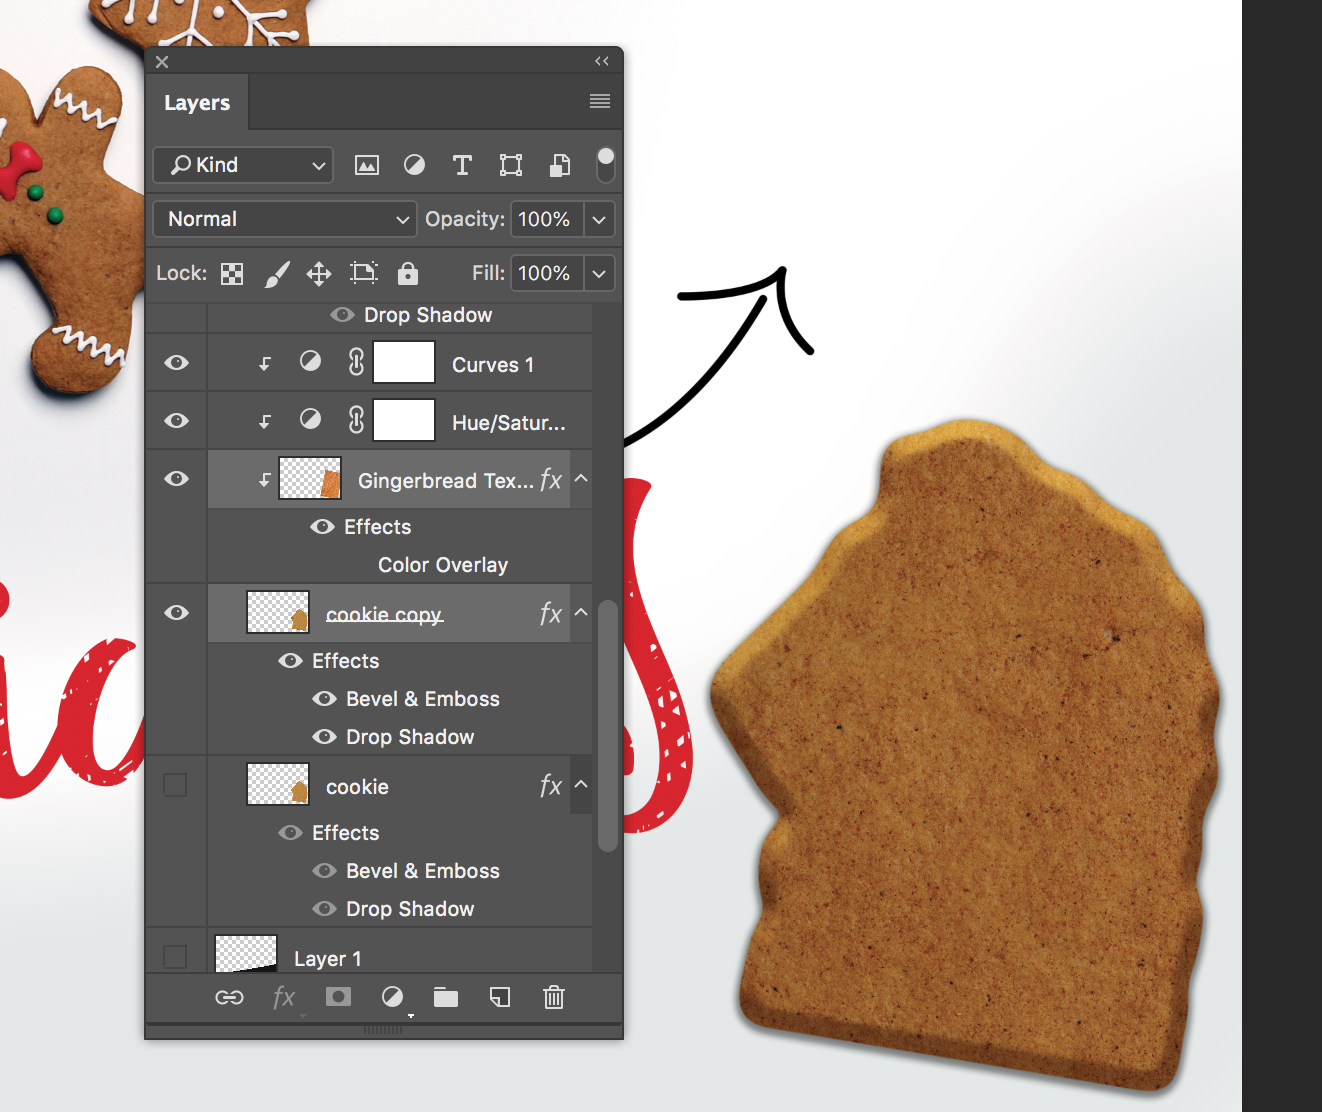
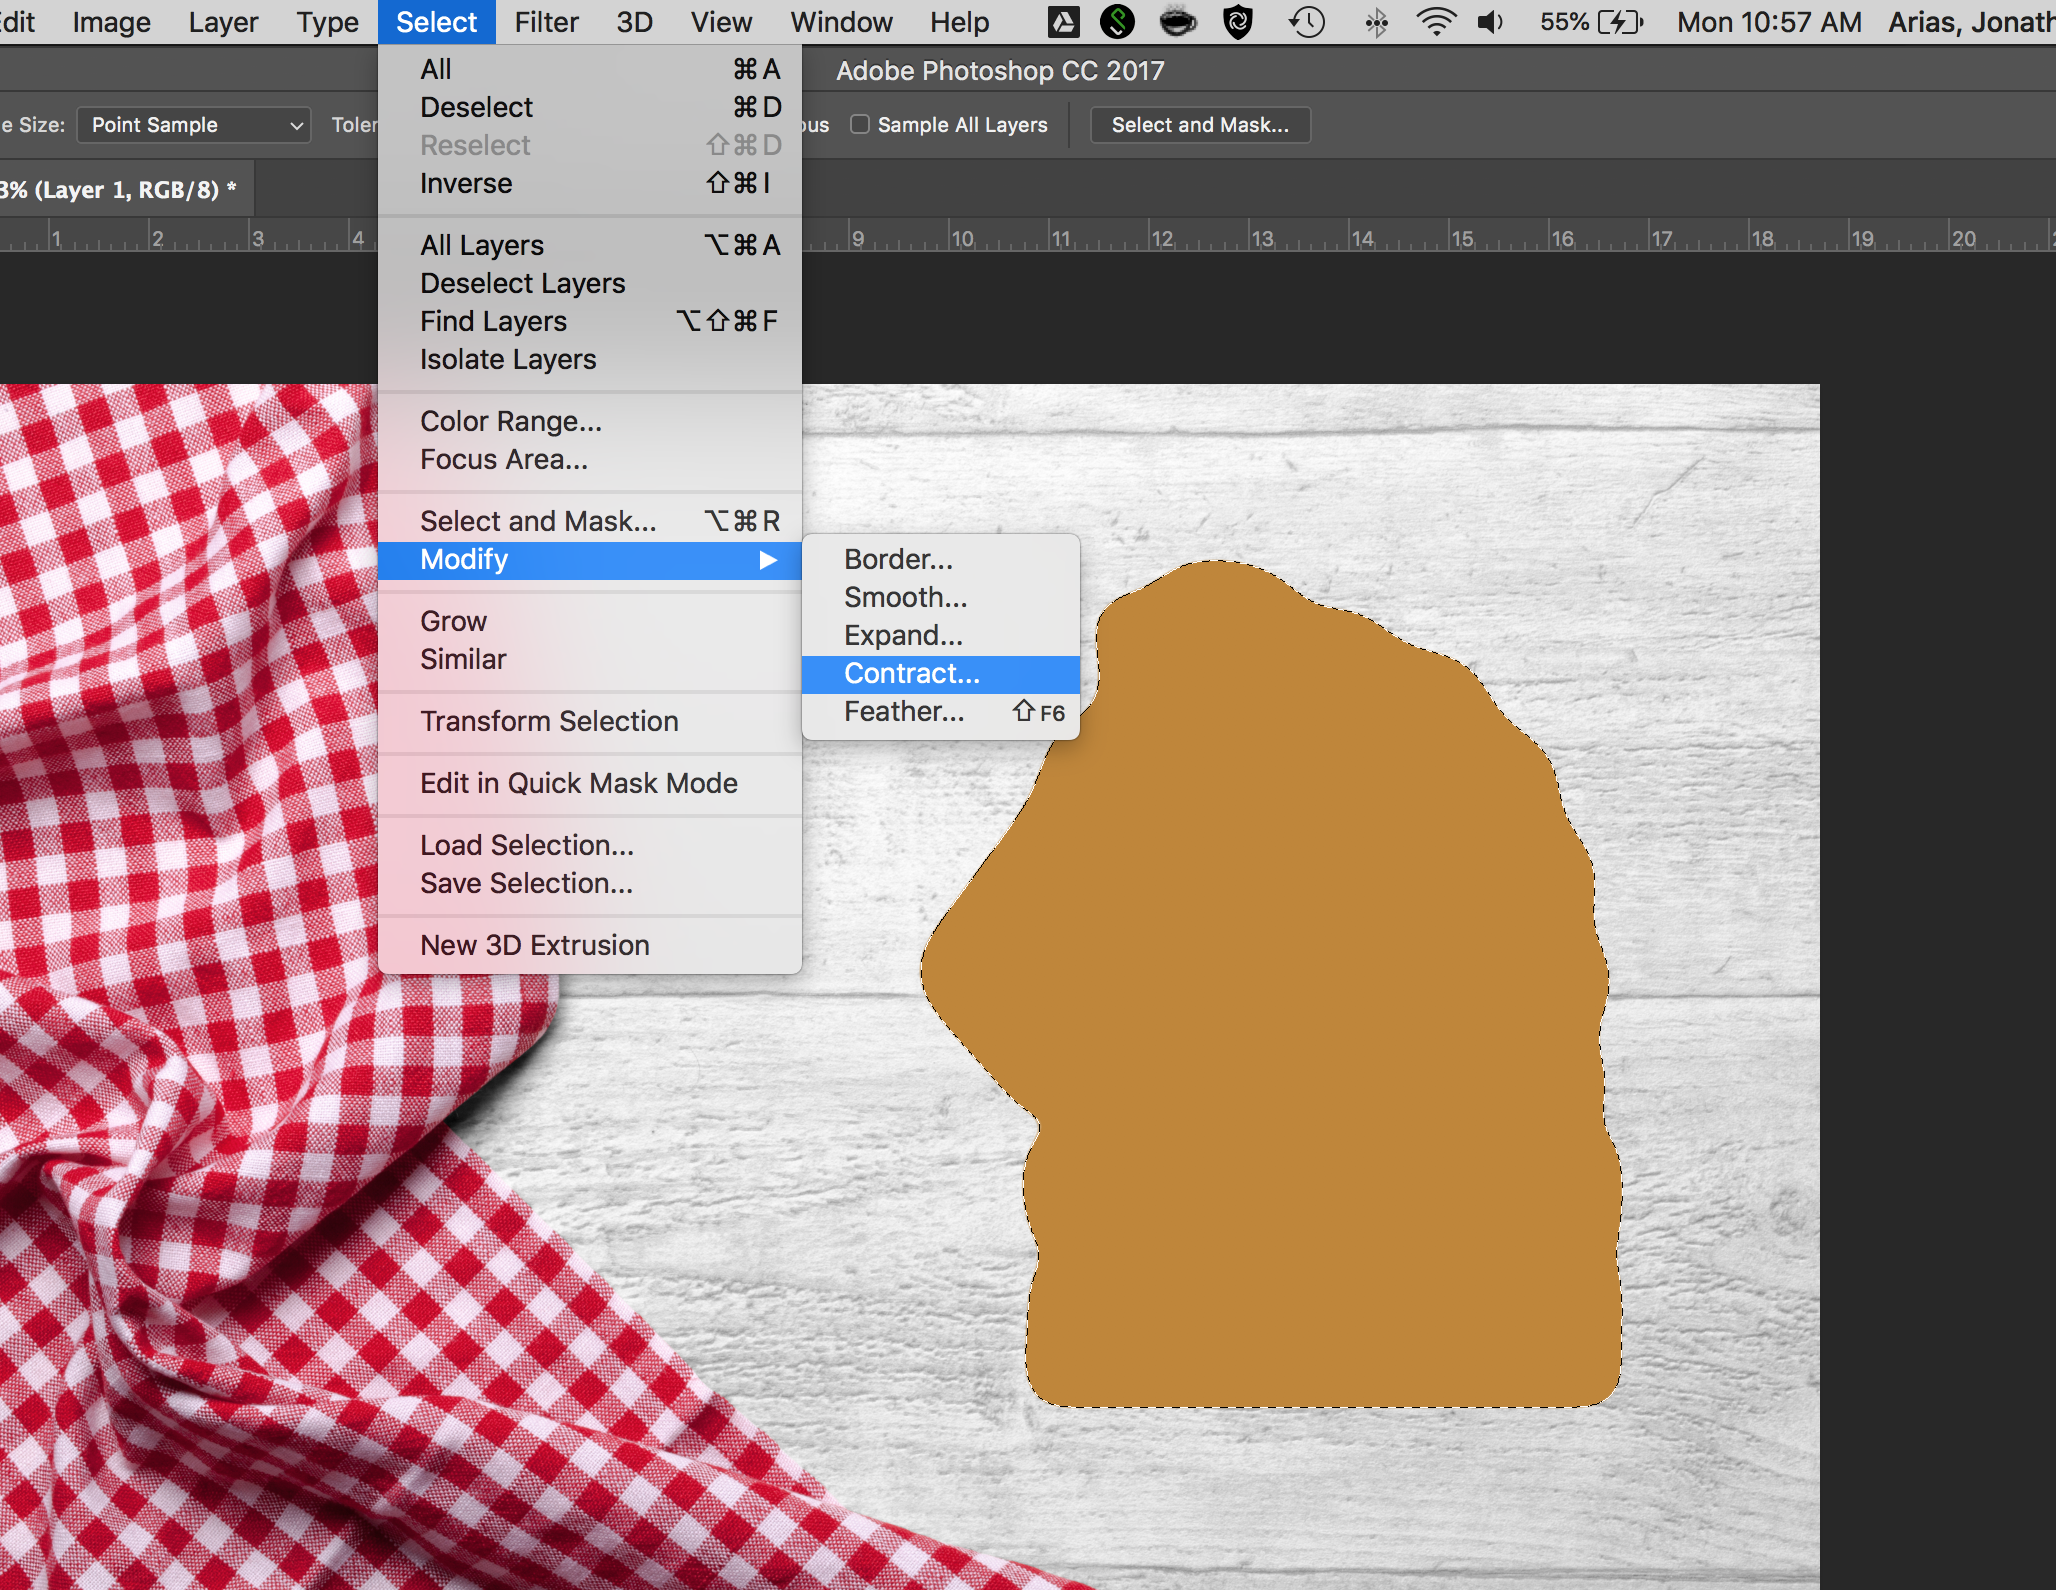
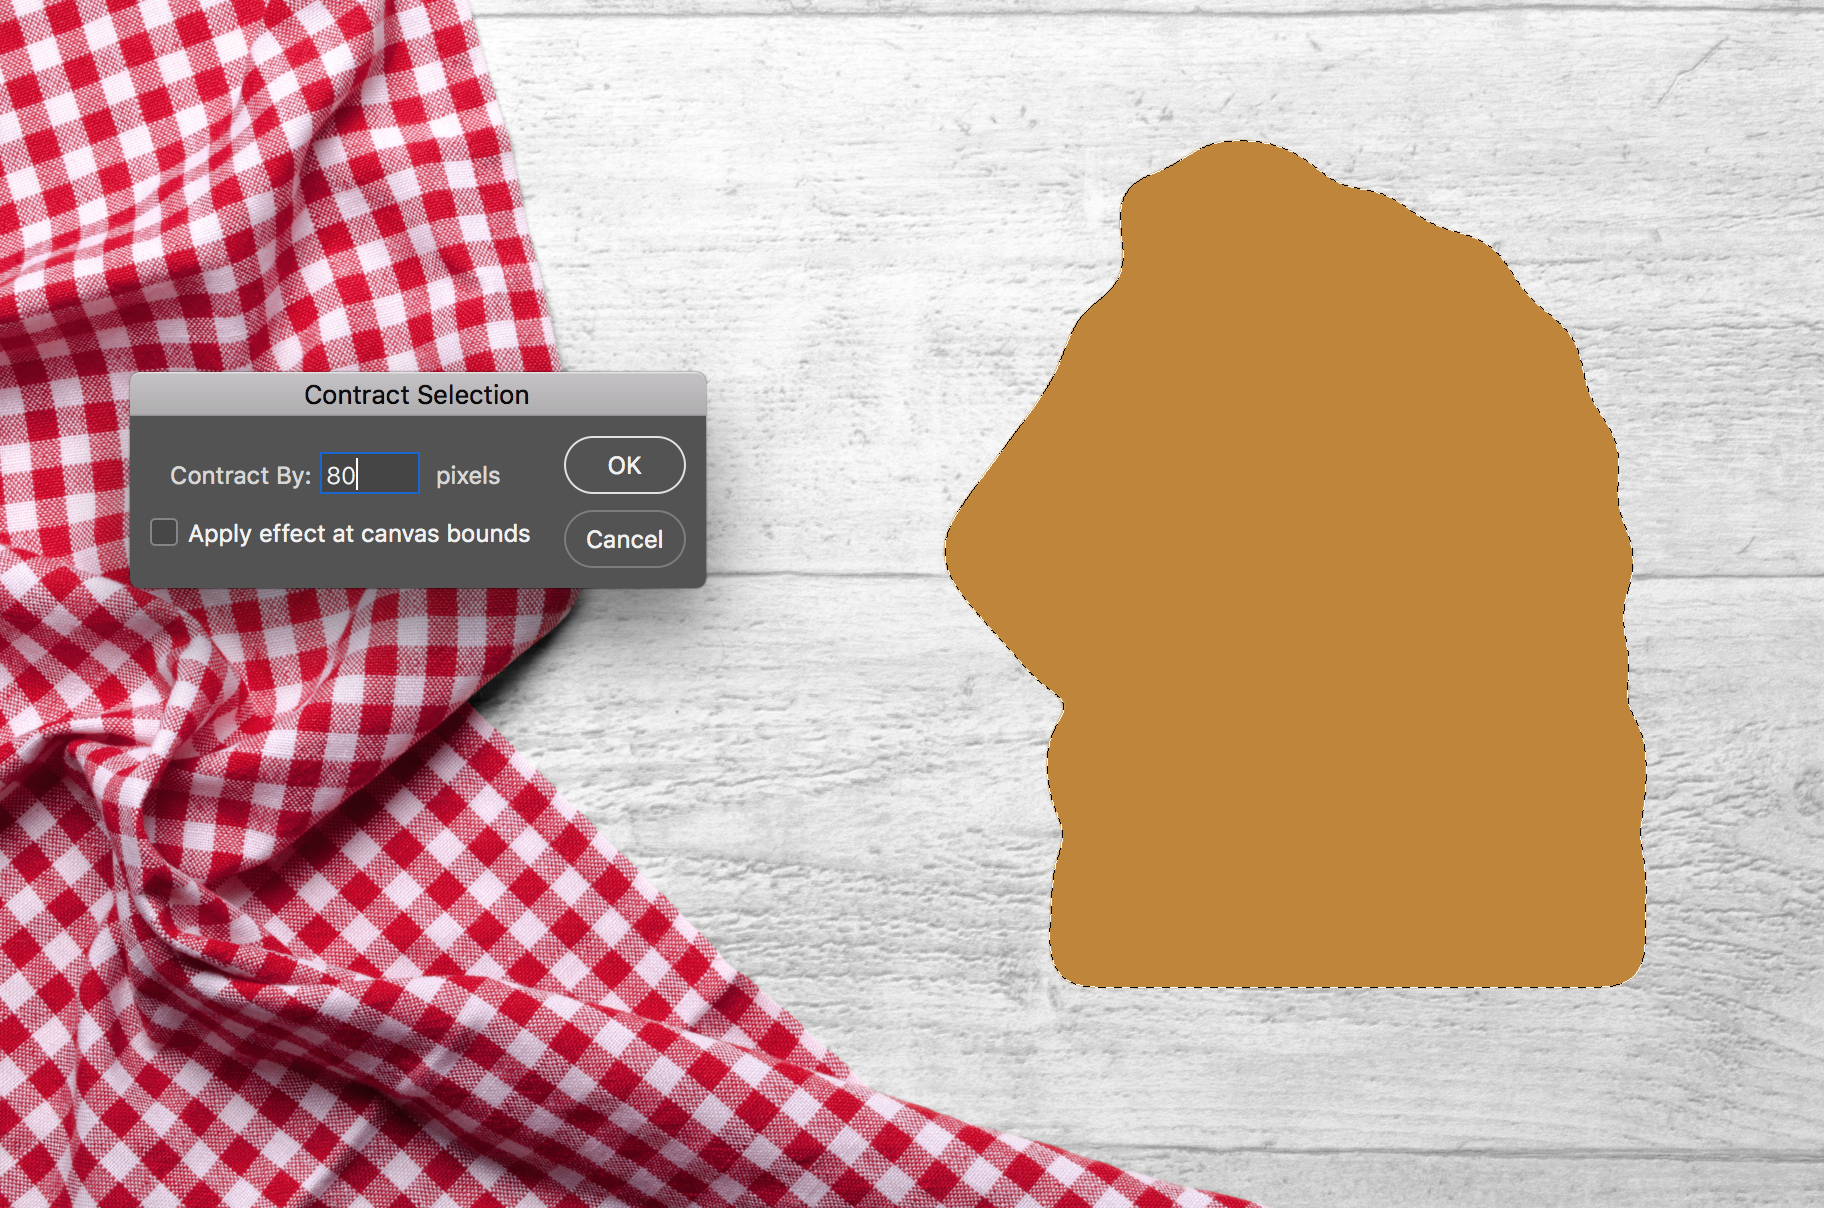
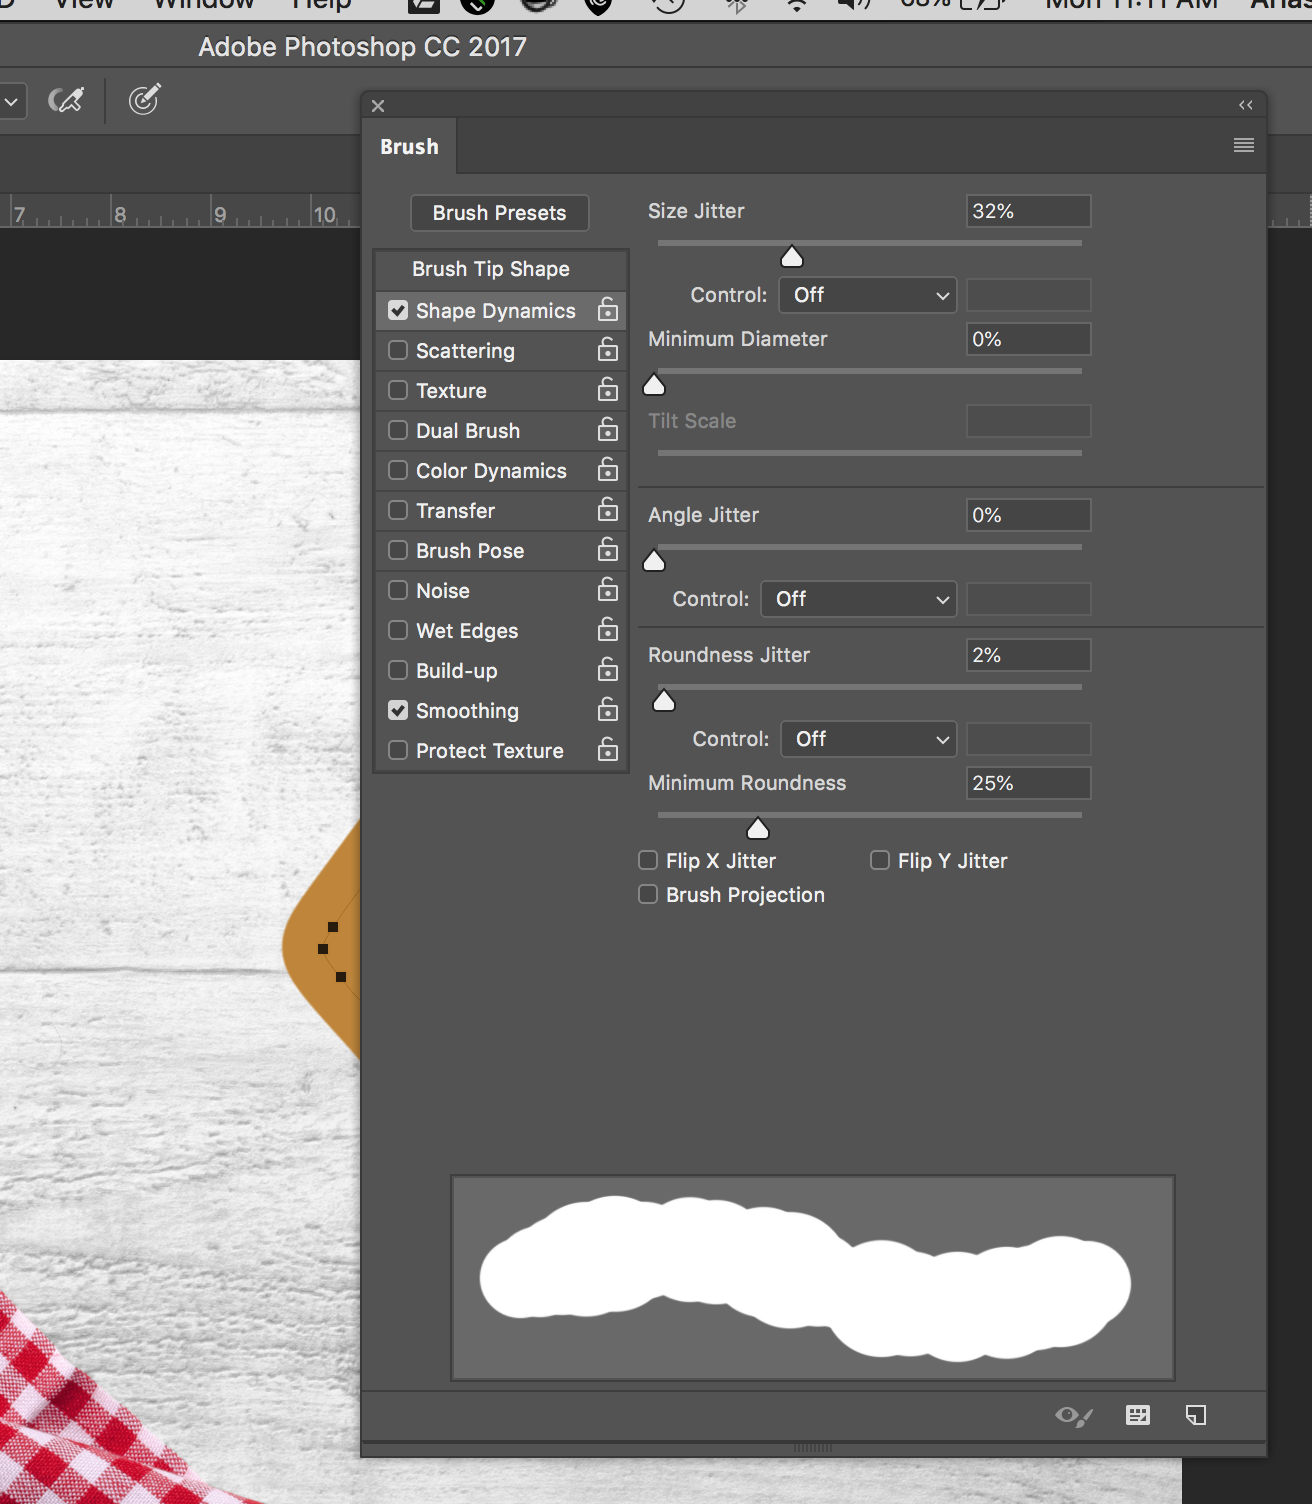
Time for the icing. Loading the selection of the cooking, i go to modify>>contract to bring in the selection. i started with 80 pixels but ended up with 110. With that selection, i can convert to a path and select a brush with the color and adjustment to brush dynamics to make it look uneven. Than fill stroke from the path panel, that gives me the white icing. next i bring in the logo from illustrator as path, repeat process but with blue and orange colors
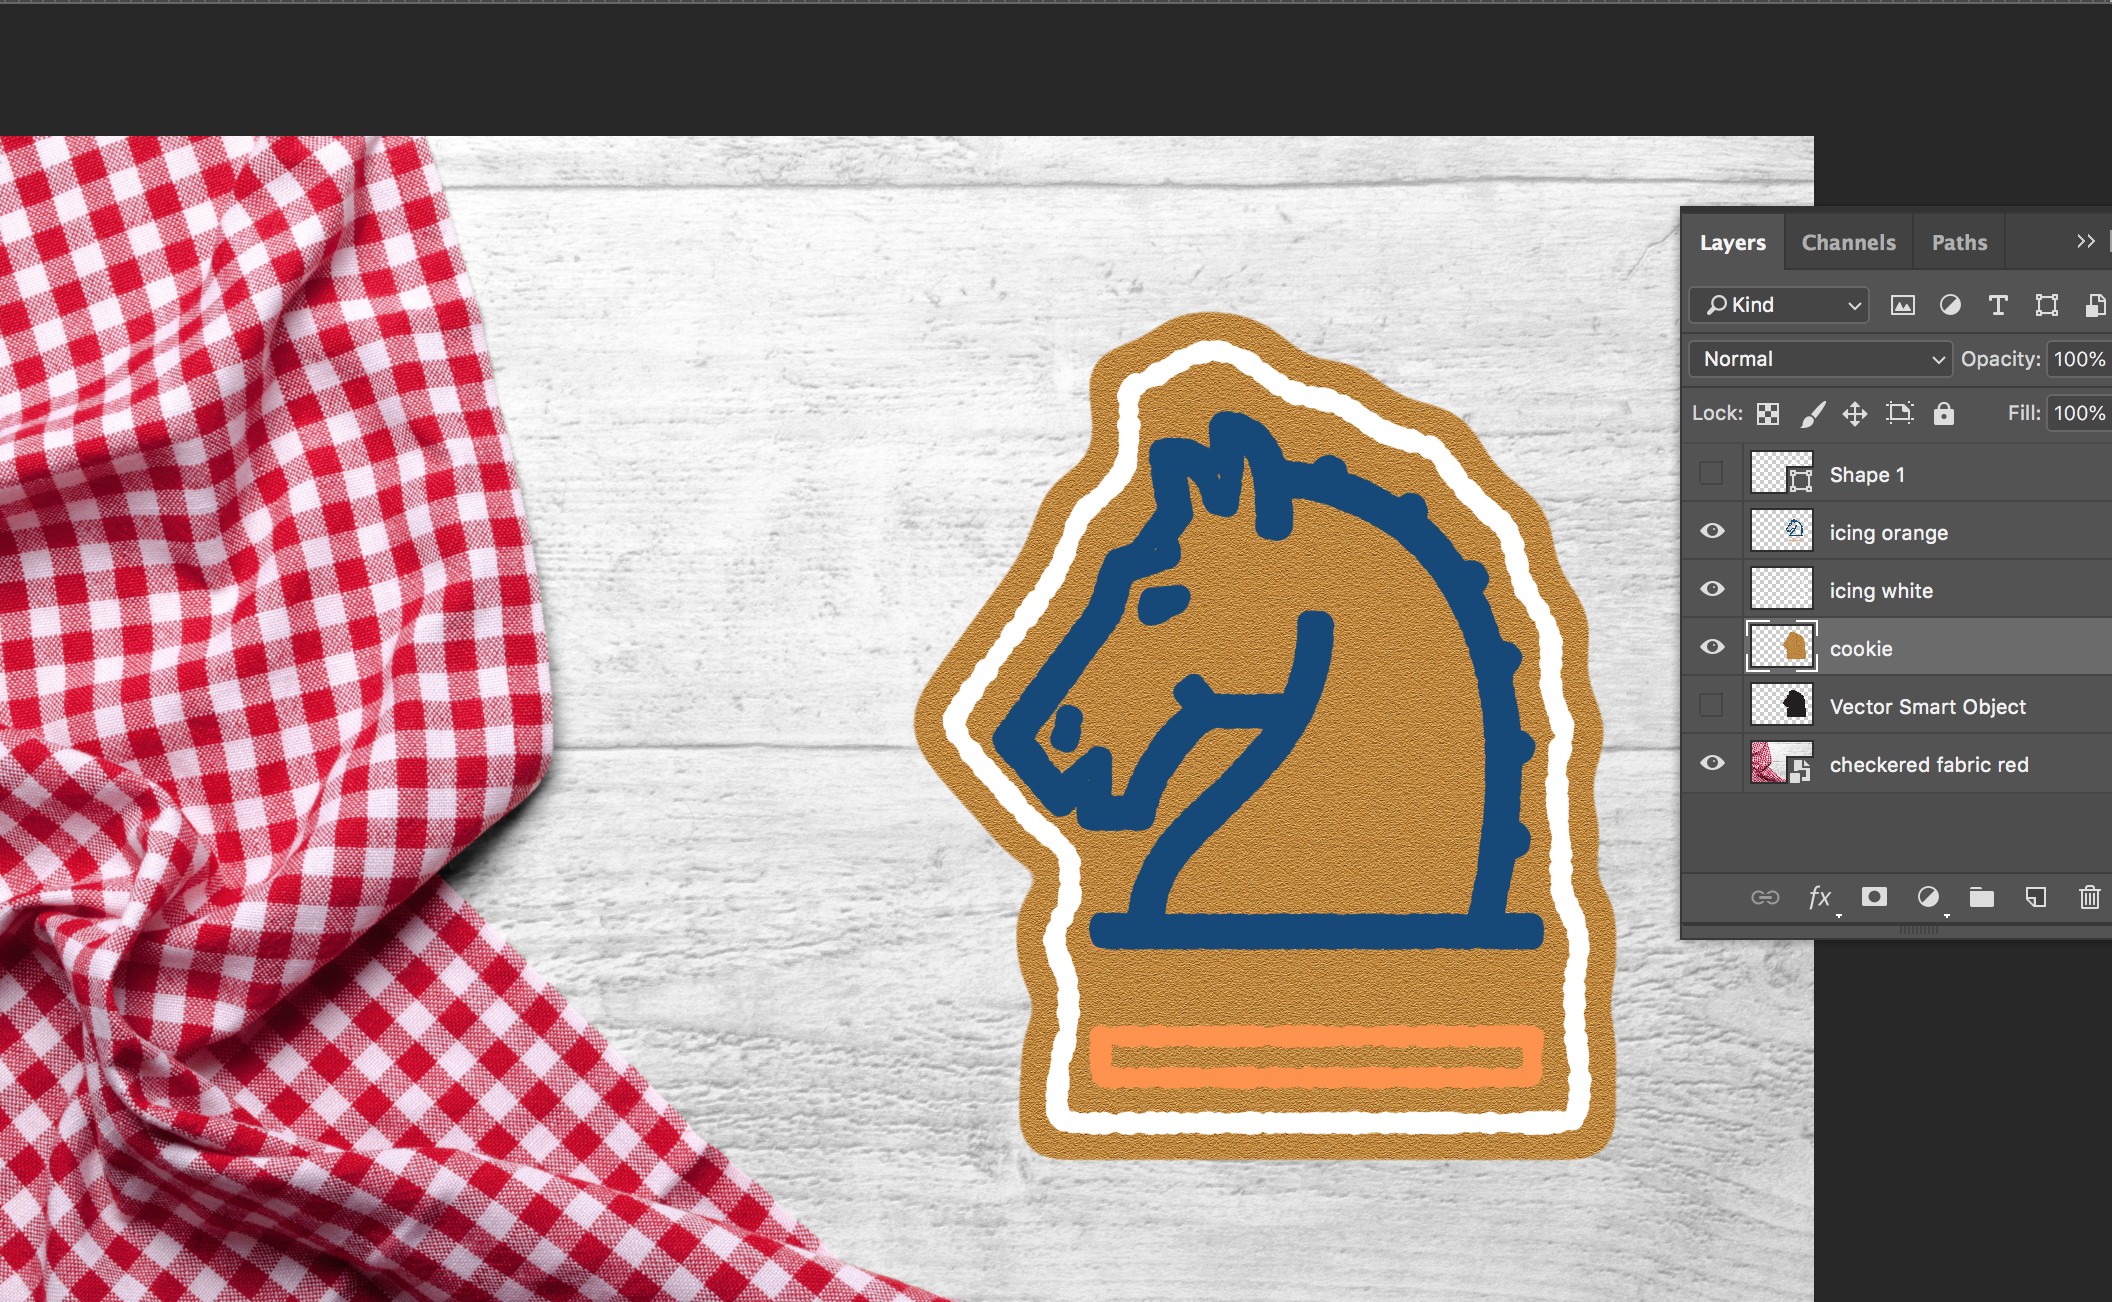
now adjust your bevel and drop shadows for for the icing and done.
I was asked if i could edit the stock image purchase to remove one cookie add a different one, re-arrange things a little and make the ginger bread man dance. Here is the finished product:
Photoshop quick mockup
I was ask to created a quick mockup of what these two images would look like if it looked as if the guy is splashing his face with the neurons.
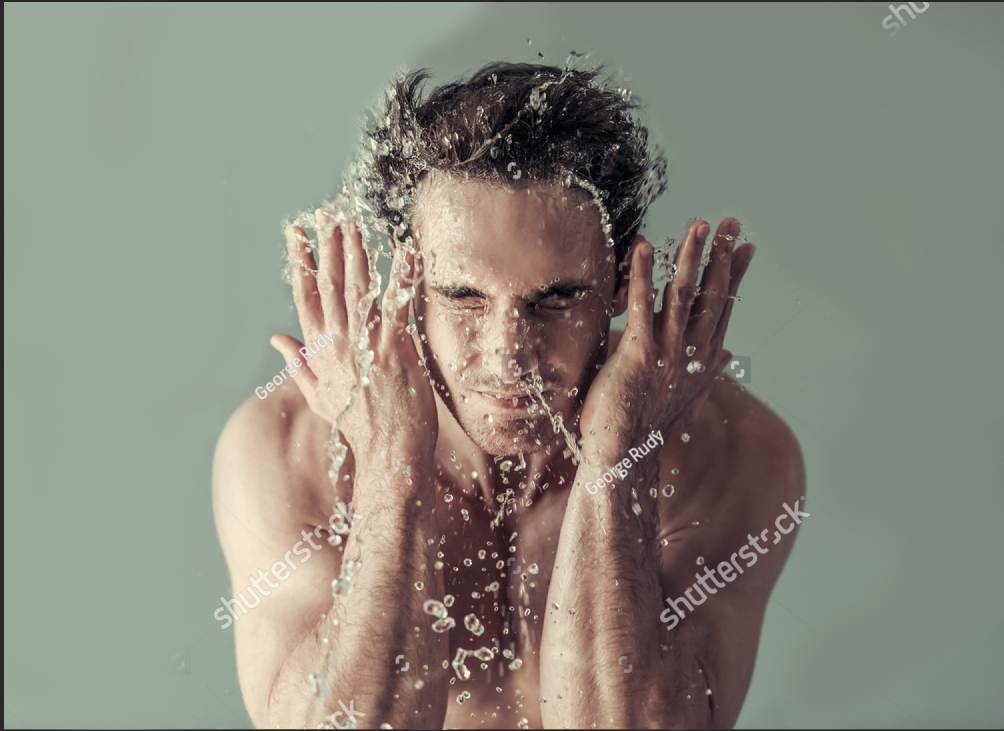
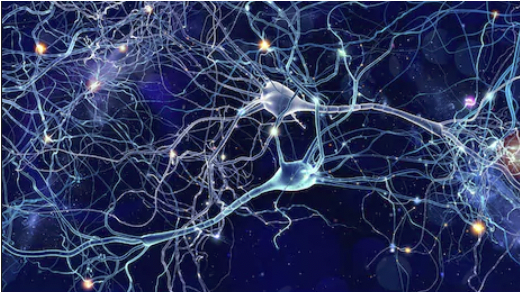
So, very quickly, within 3 minutes i did a blend mode adjustment to remove the dark tones from the neurons image:

Next i used the warp option under transform to give the neurons the same shape the water takes from the motion the model is doing. Plus applying a soft light blending more. And here is where we would be:

Now, here is where i had to stop since in order to finalize this so it looks real we would need to remove the water which would require some time with the smart content fill options, heal brush and so on ( and you might as well buy the images since this is all low res comp images). But i think this was great for keeping it fast for a mockup.
Adobe tools workflow fun
I have a really nice workflow that really shows the power of all of the adobe tools and how they come together. First i have an indesign layout, with two frame, on the left of the layout is an image i am fading using indesign effects. To the right is a photoshop file
The linked photoshop file has 3 layers, a background ( the stock image of the hands and the notebook computer), a smart object layer and a raster layer based of the smart object layer which free transform to change the perspective.
The smart object layer opens an illustrator file where i have the all vector artwork.
This kind of workflow allows me to adjust the illustrator file as i need, save, have it auto update the photoshop file, and auto update my indesign file. for the finished piece that can now have text set up all in indesign and ready for print.

Light photoshop reconstruction
Light photoshop reconstruction of an image, the bladder need to be removed form this image to have just the pancreas. Using a combination of the smart content fill, clone tool, heal tool, blurb tool, smudge and paint brush. About 20 minutes.


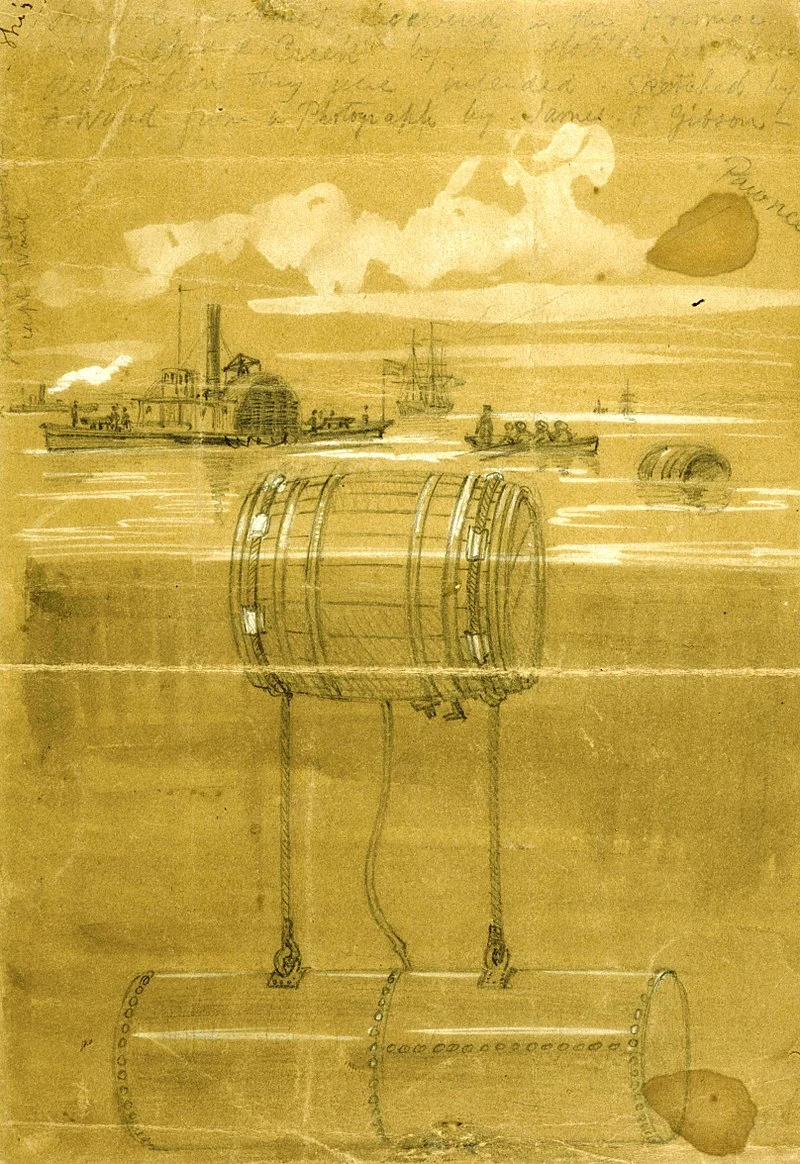
#doMobile t-shirt design content
To me, Mobile means deep history rich with amazing cultures that have left lasting marks and Mobile should showcase every single mark in its t-shirt designs.
I took my inspiration for my design from the Battle of Mobile. During the Battle of Mobile 67 naval mines, or “torpedoes” were planted across the bay. And this was this my inspiration for my design. I hope my design would teach others something they did not know and or inspired them to learn more about this beautiful town rich history.
This is visual sample of a naval mine, or “torpedoe” like it was called during the 19th century
sources:
https://www.warhistoryonline.com/ancient-history/the-greatest-underdog-victories.html
https://en.wikipedia.org/wiki/Naval_mine
I made you one design with two options, one and two ink printing.


Pride in your work
It is nice to see the work you do makes others proud. This photo shows several of the magazines i have design and typeset over the years been displayed at AstraZeneca.

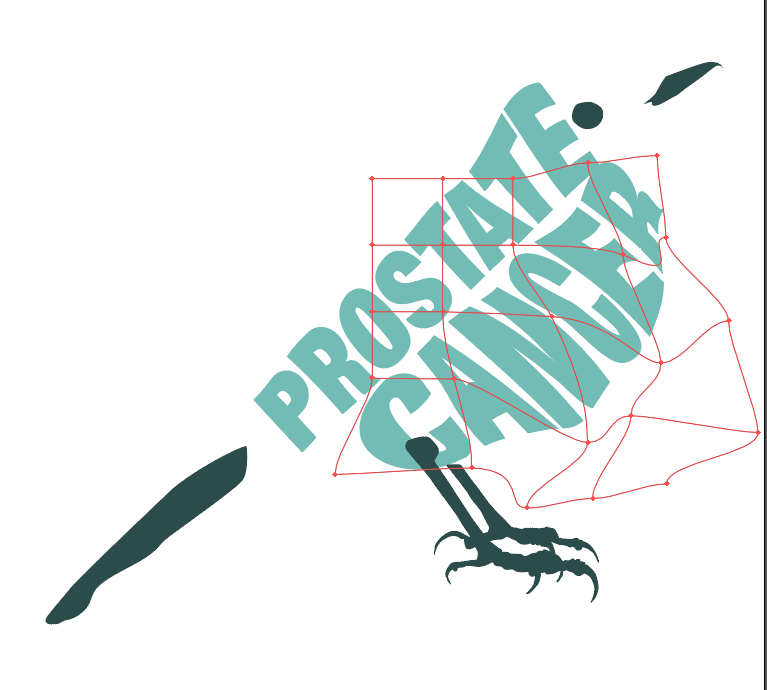
Medical illustration
This is a very simple medical illustration i had to re-create some time back. This illustration is made in adobe illustrator.

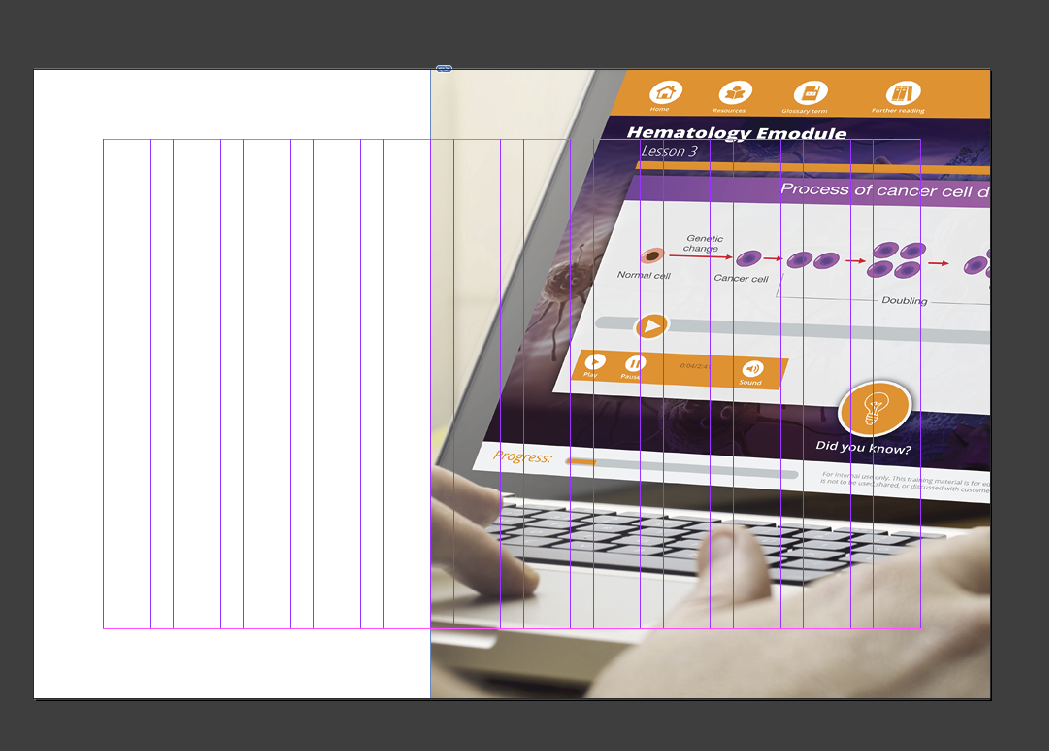
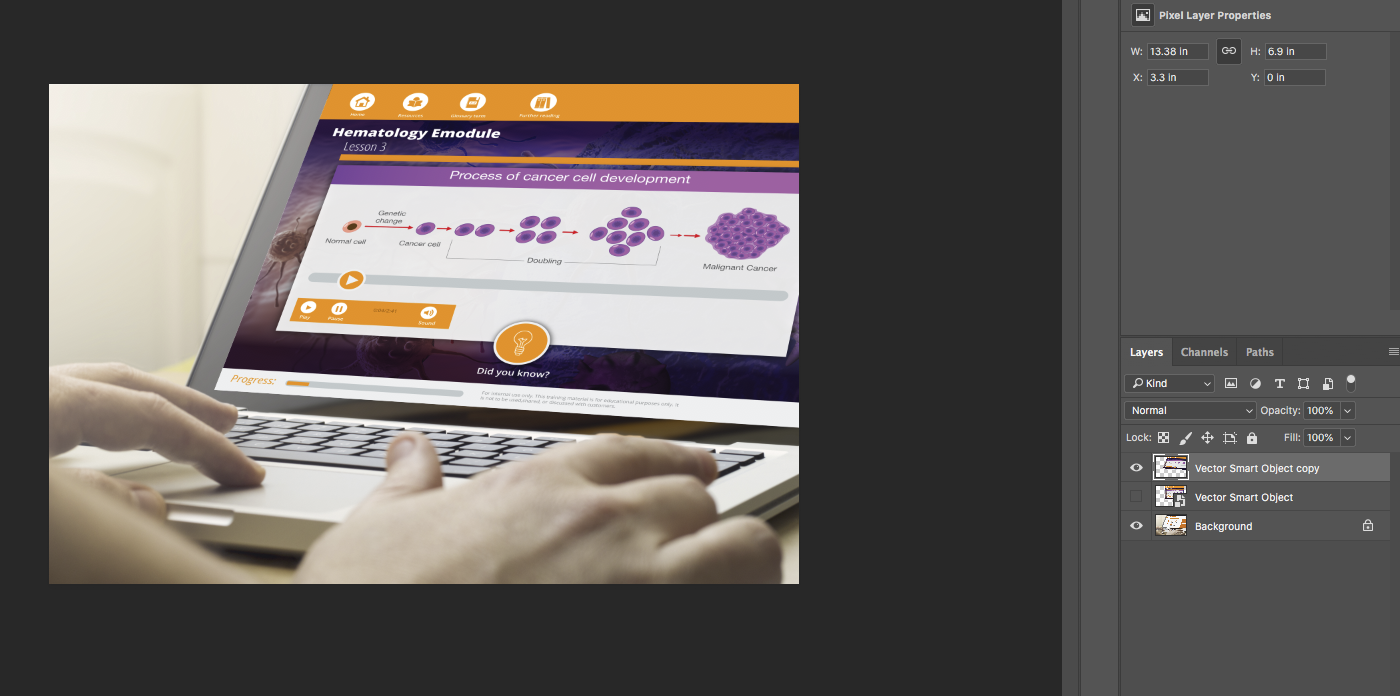
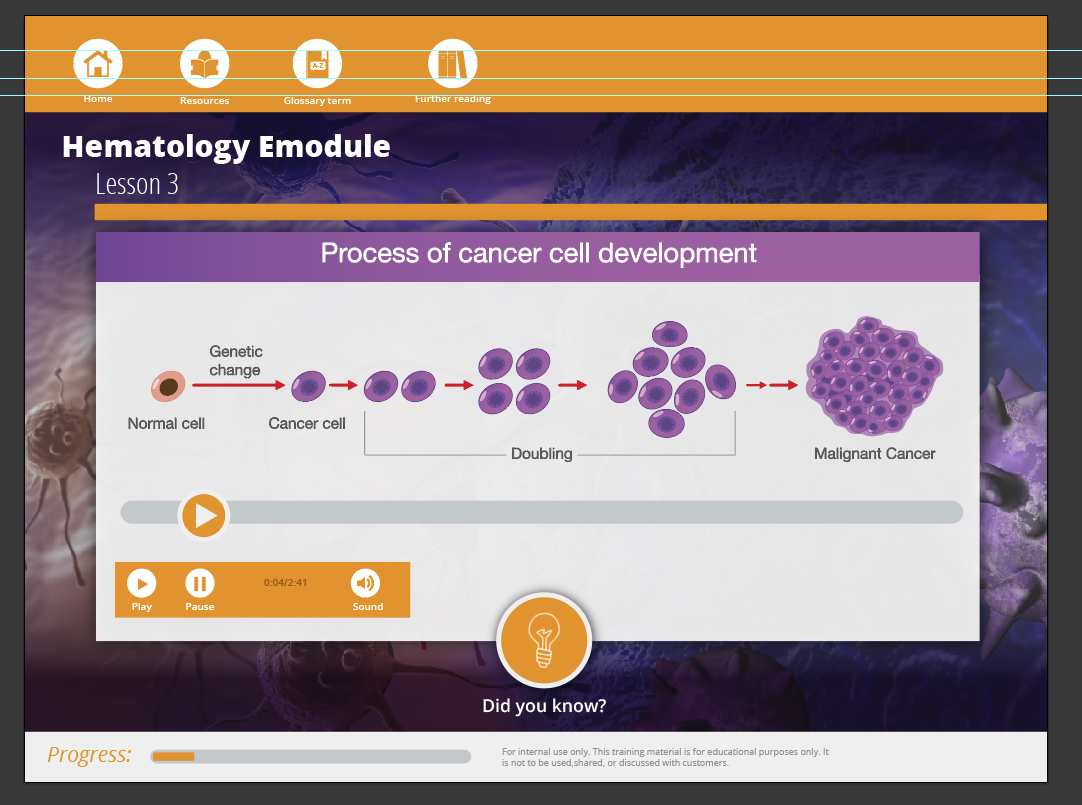
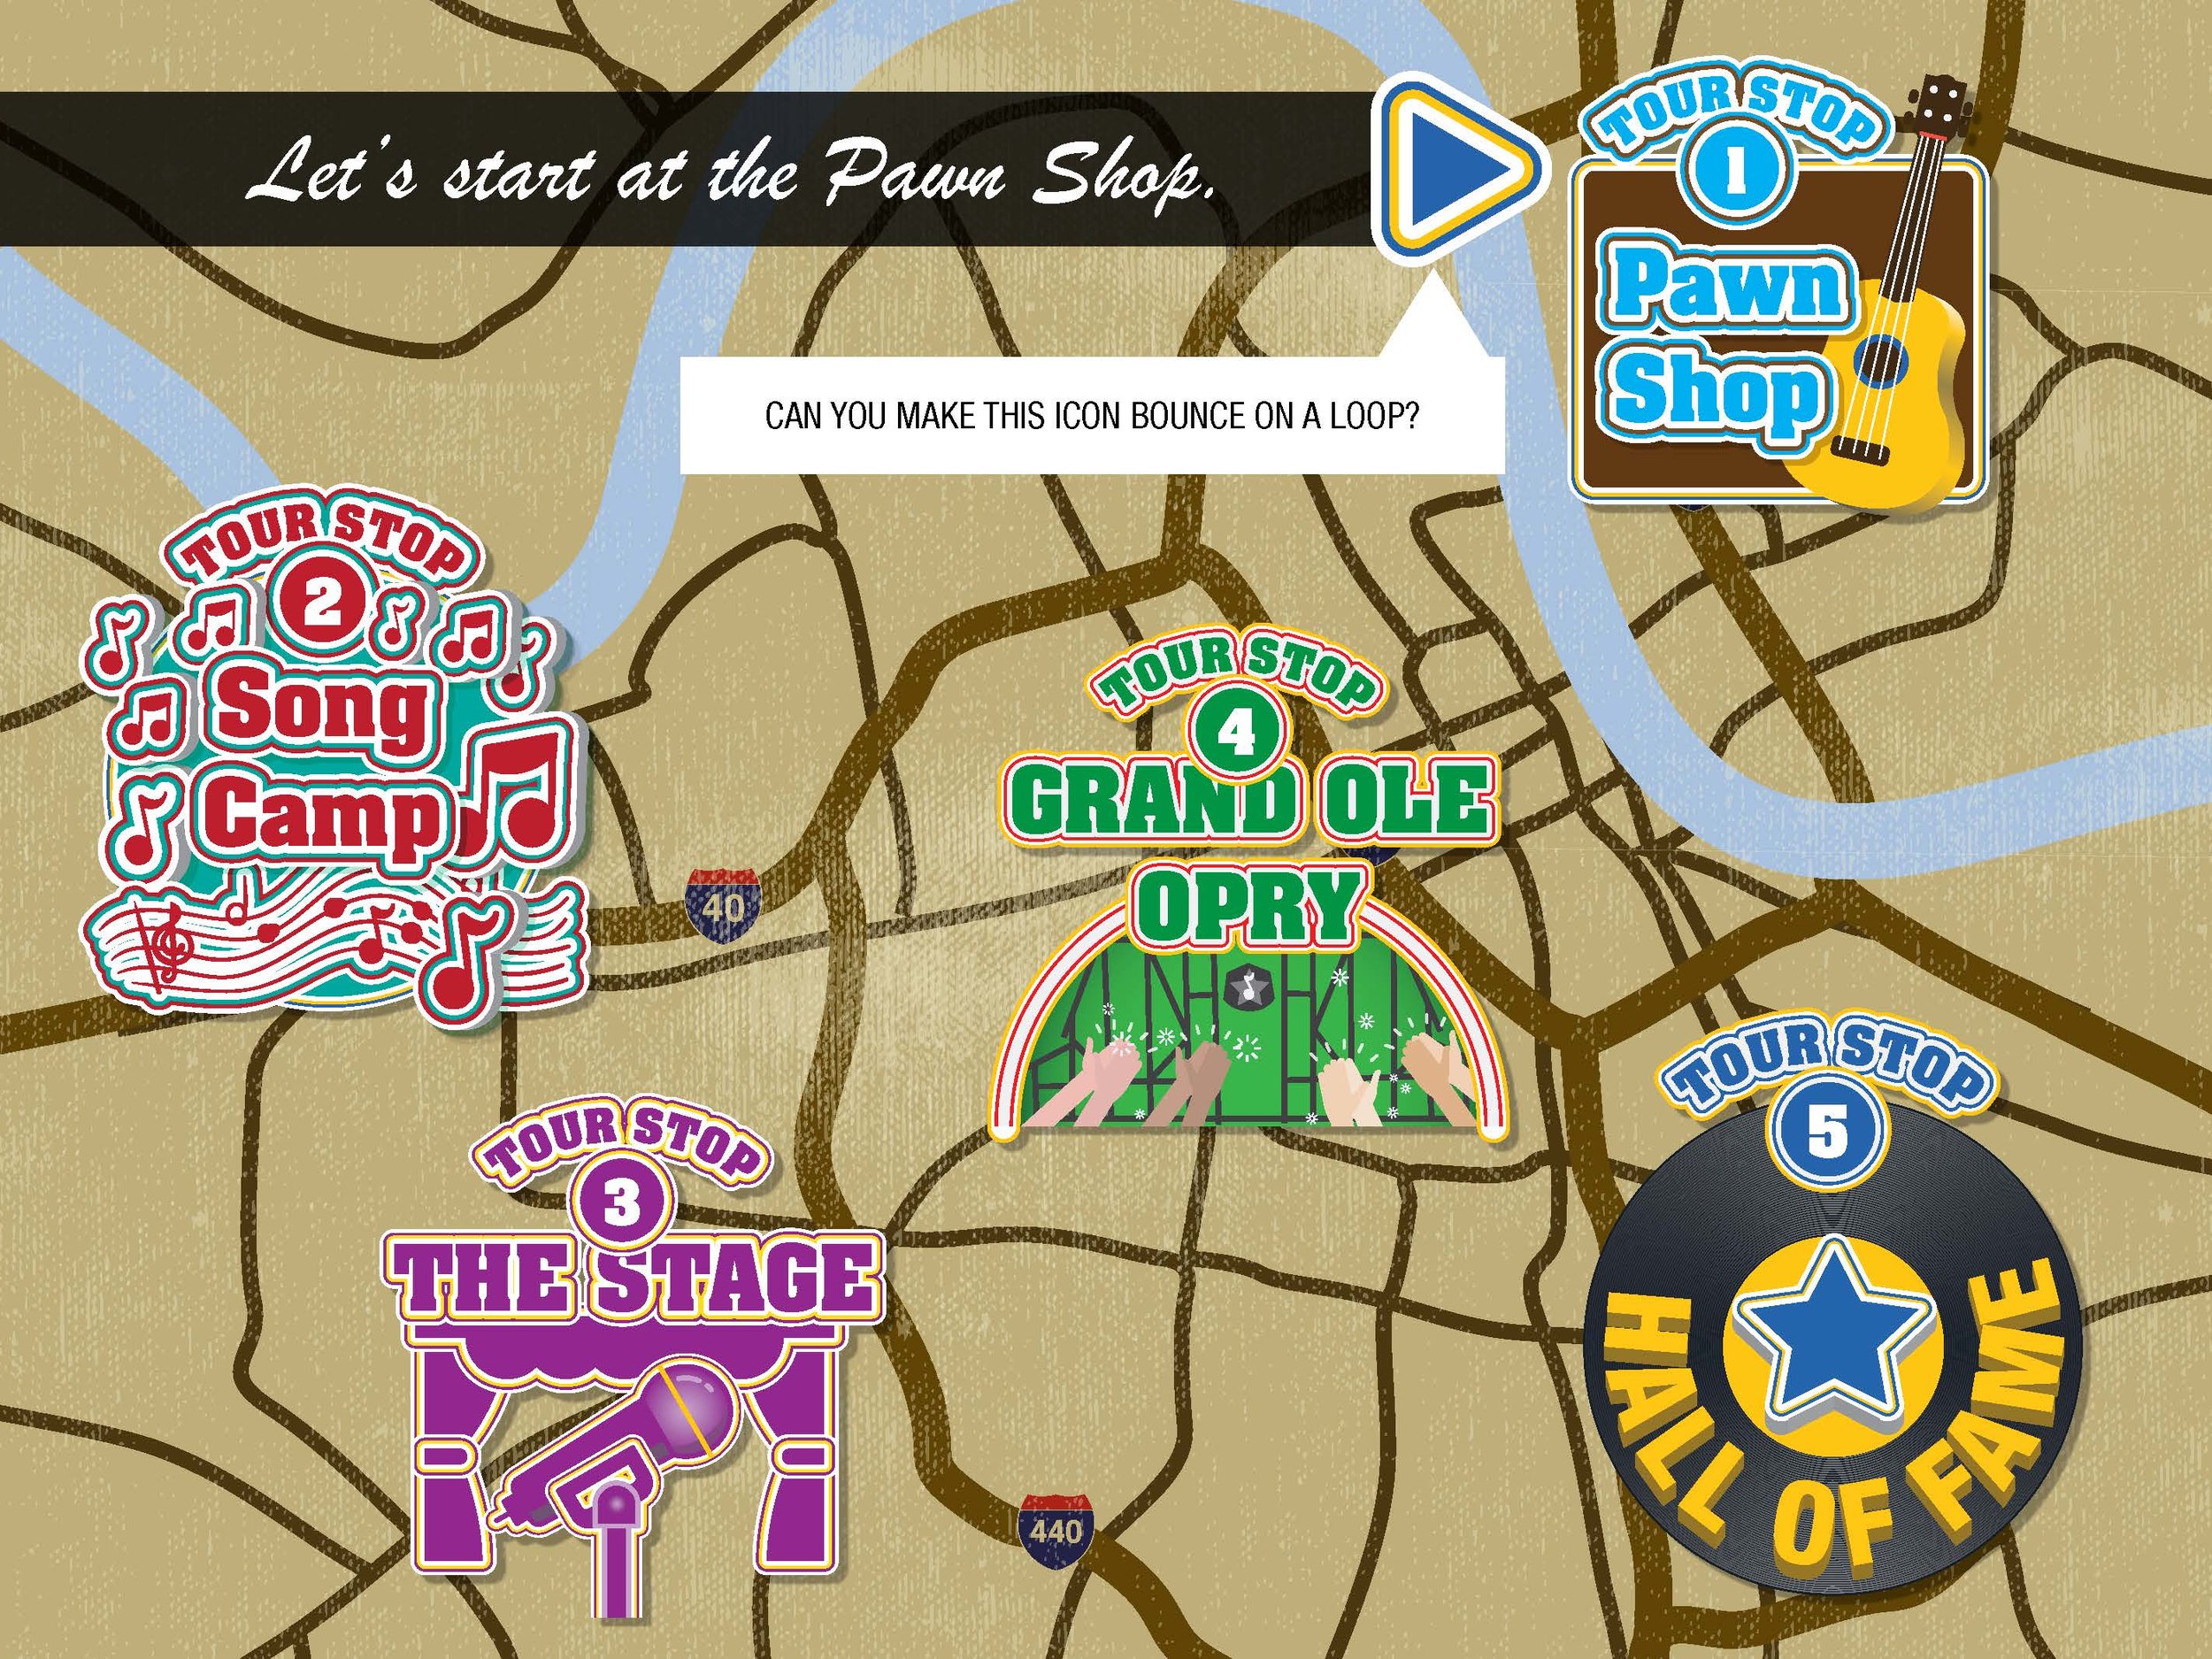
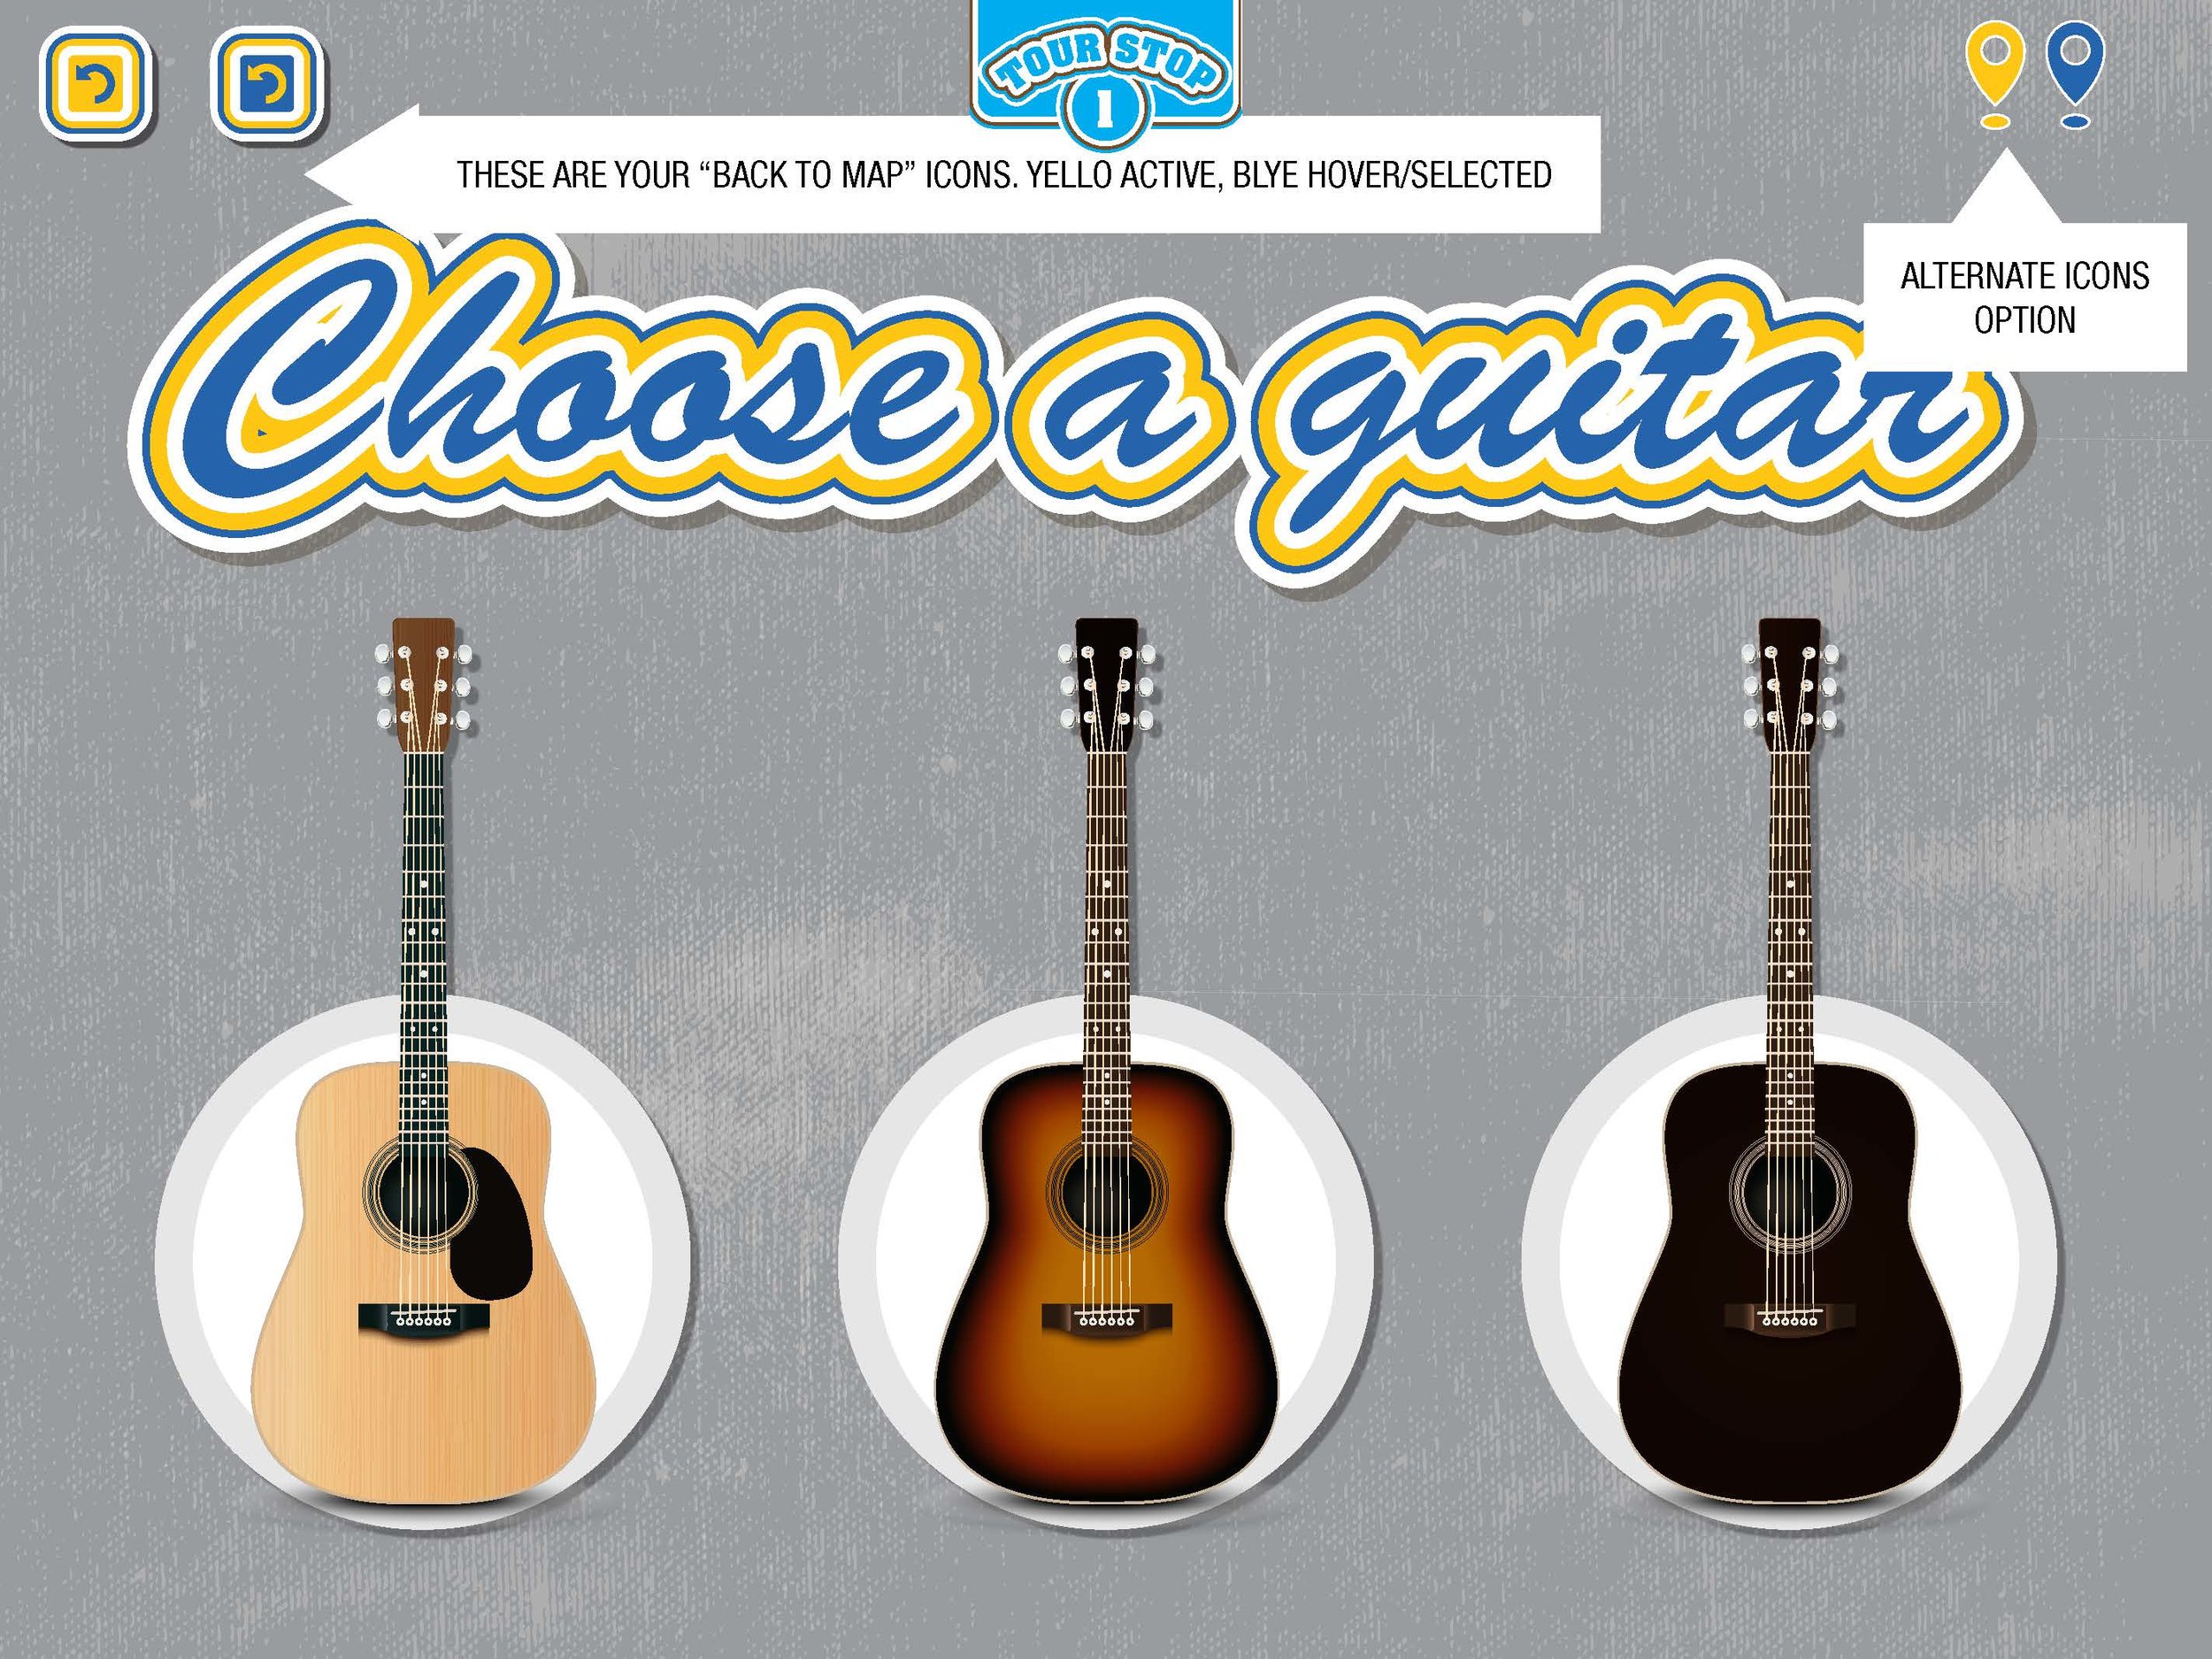
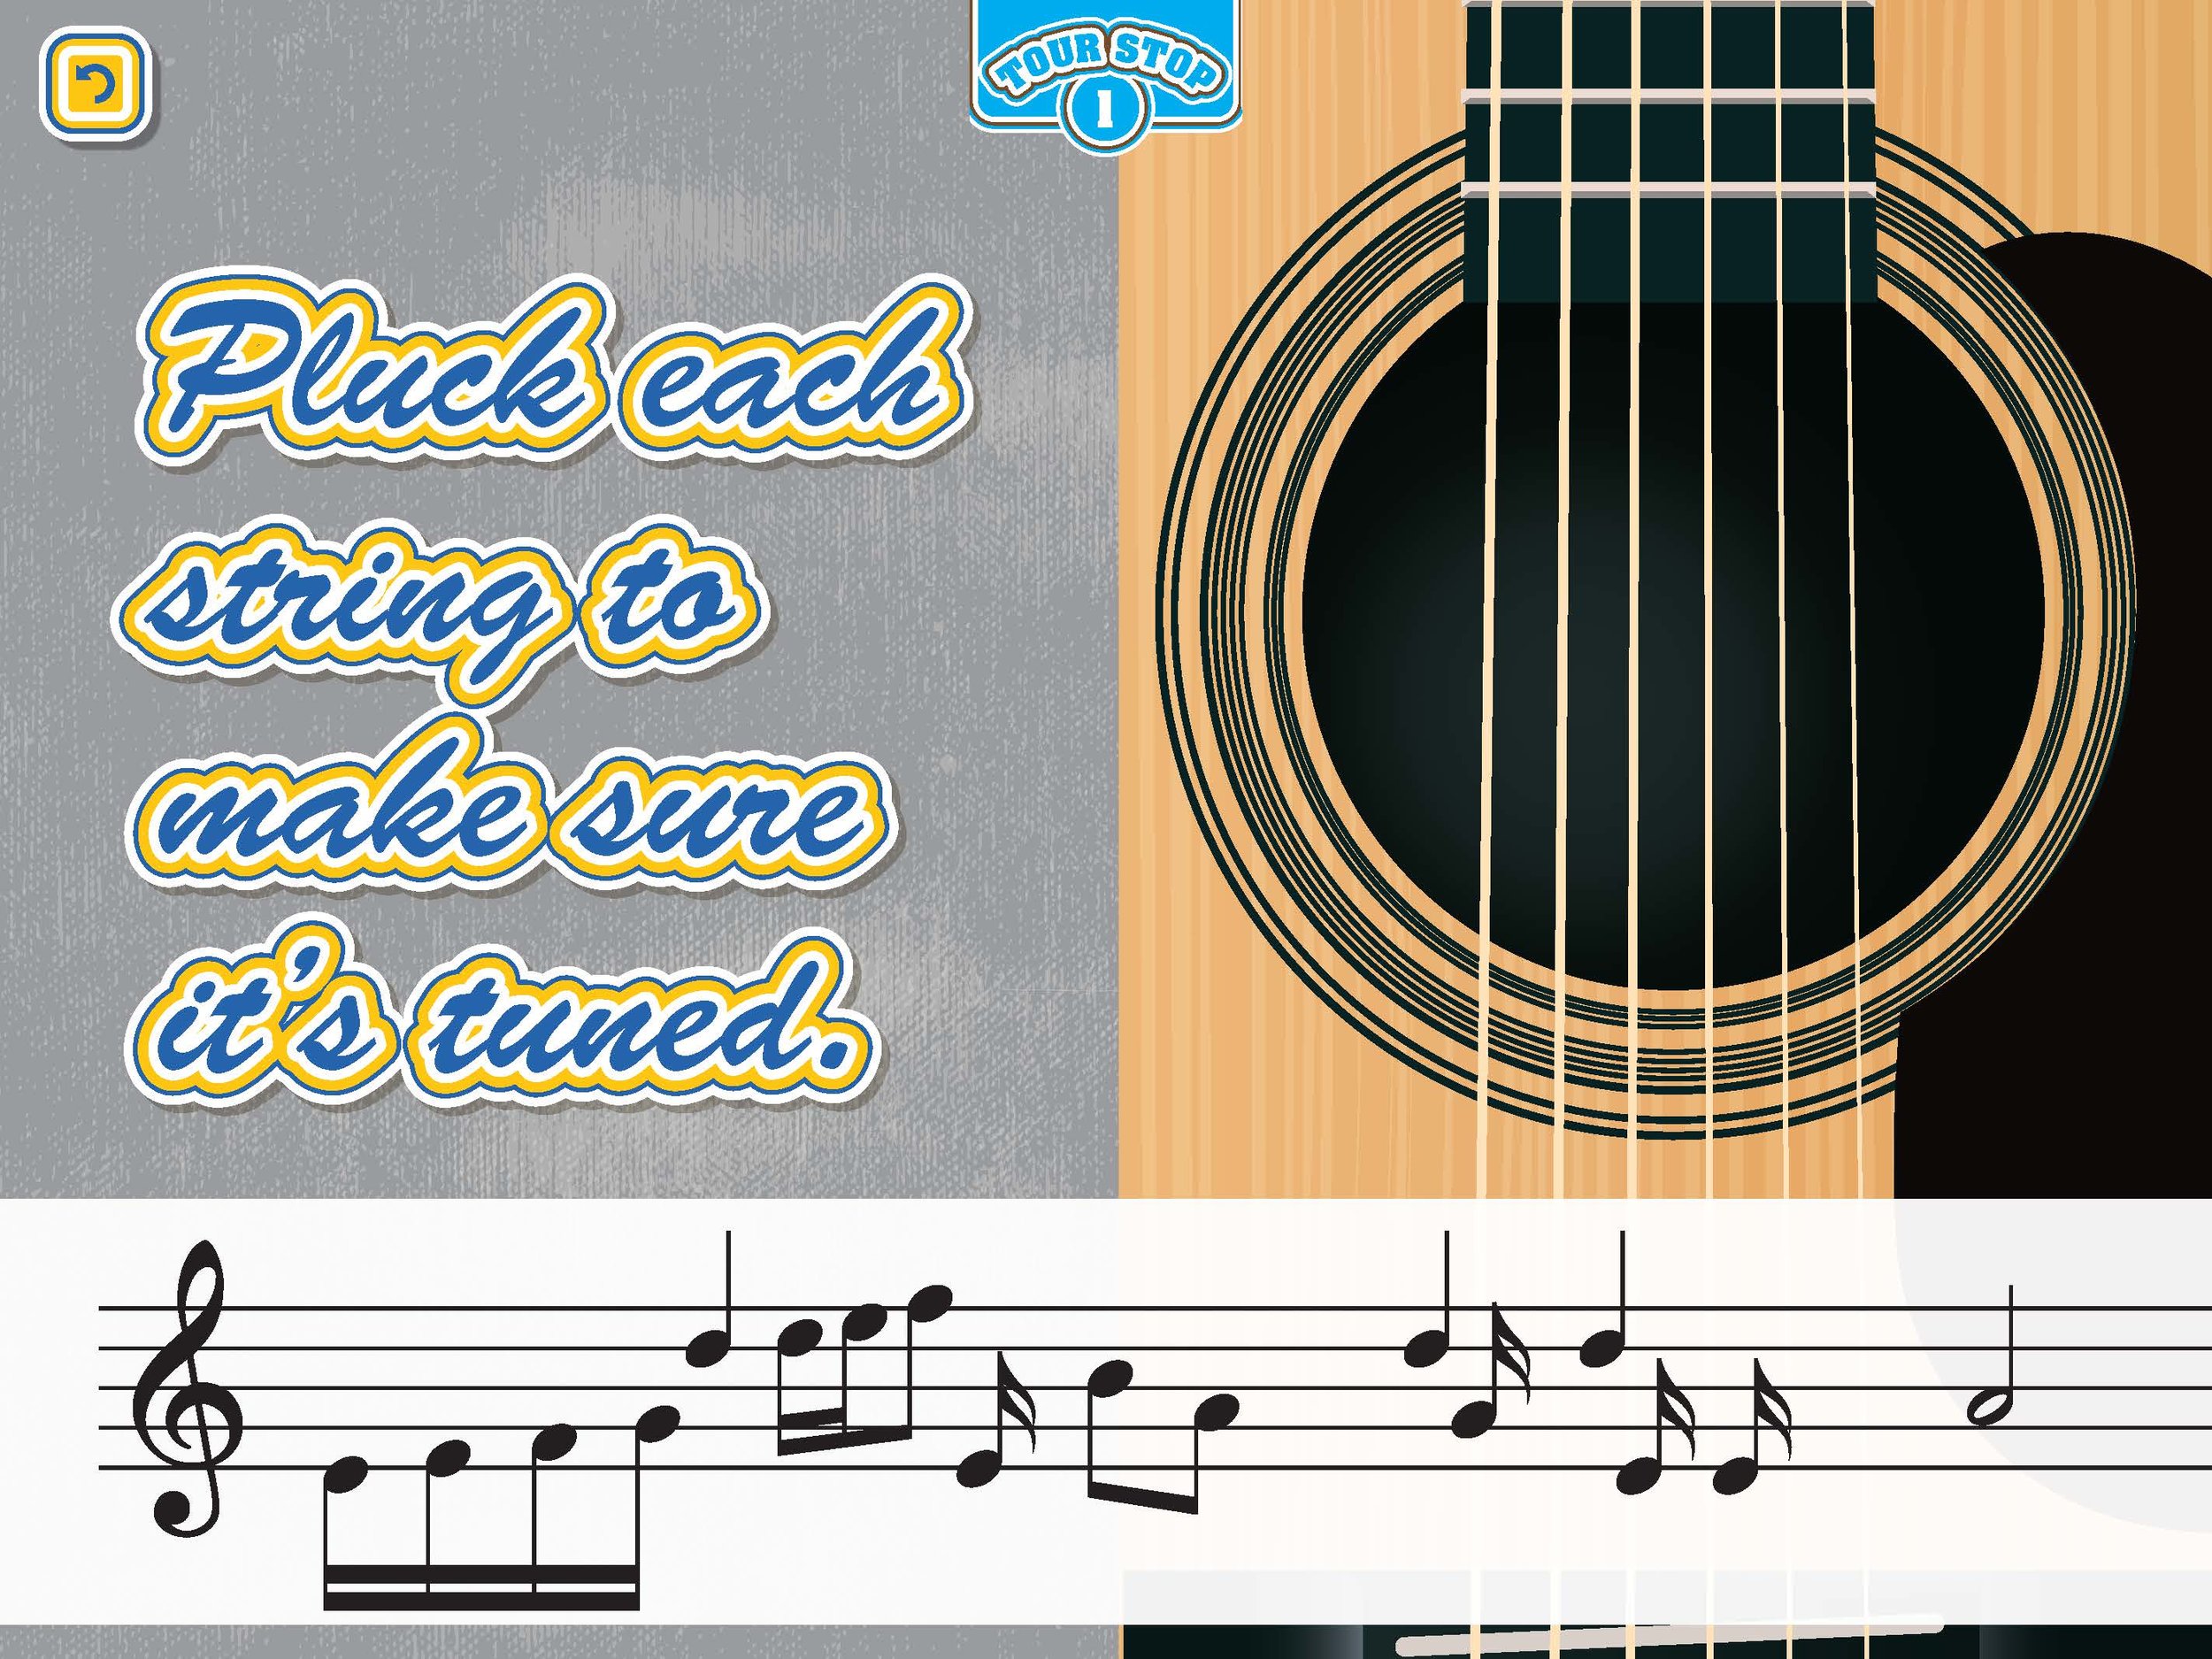
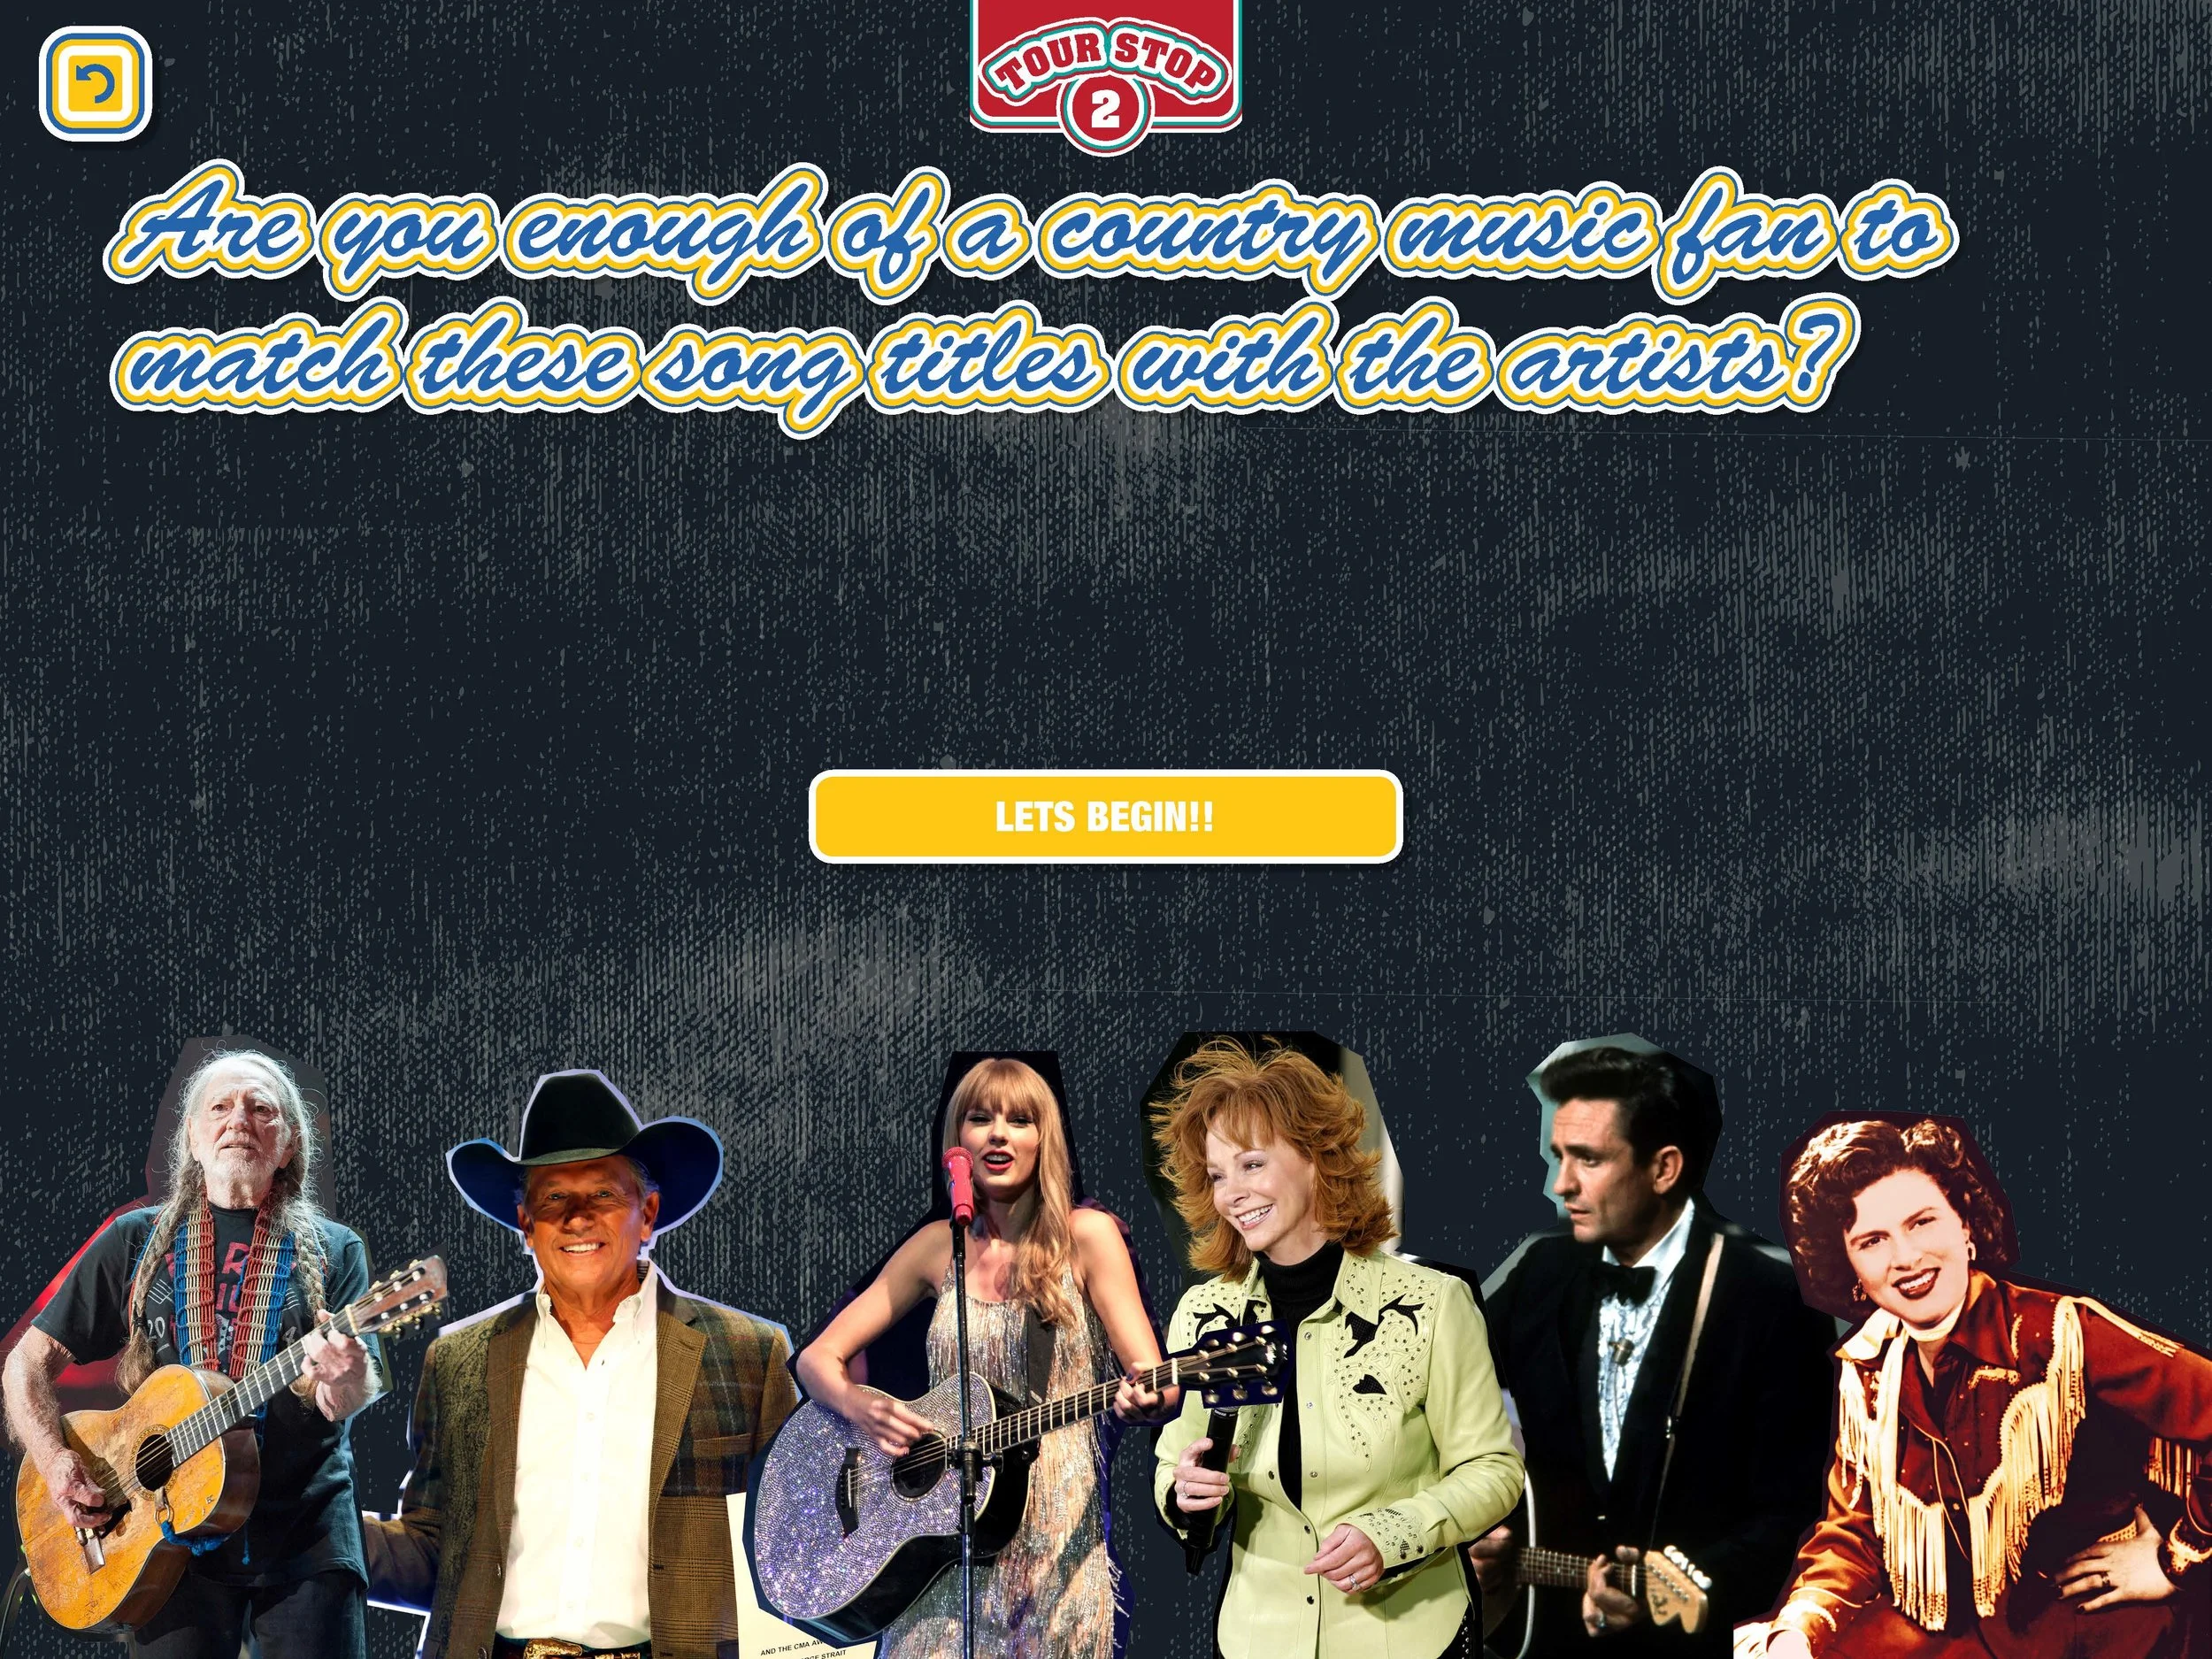
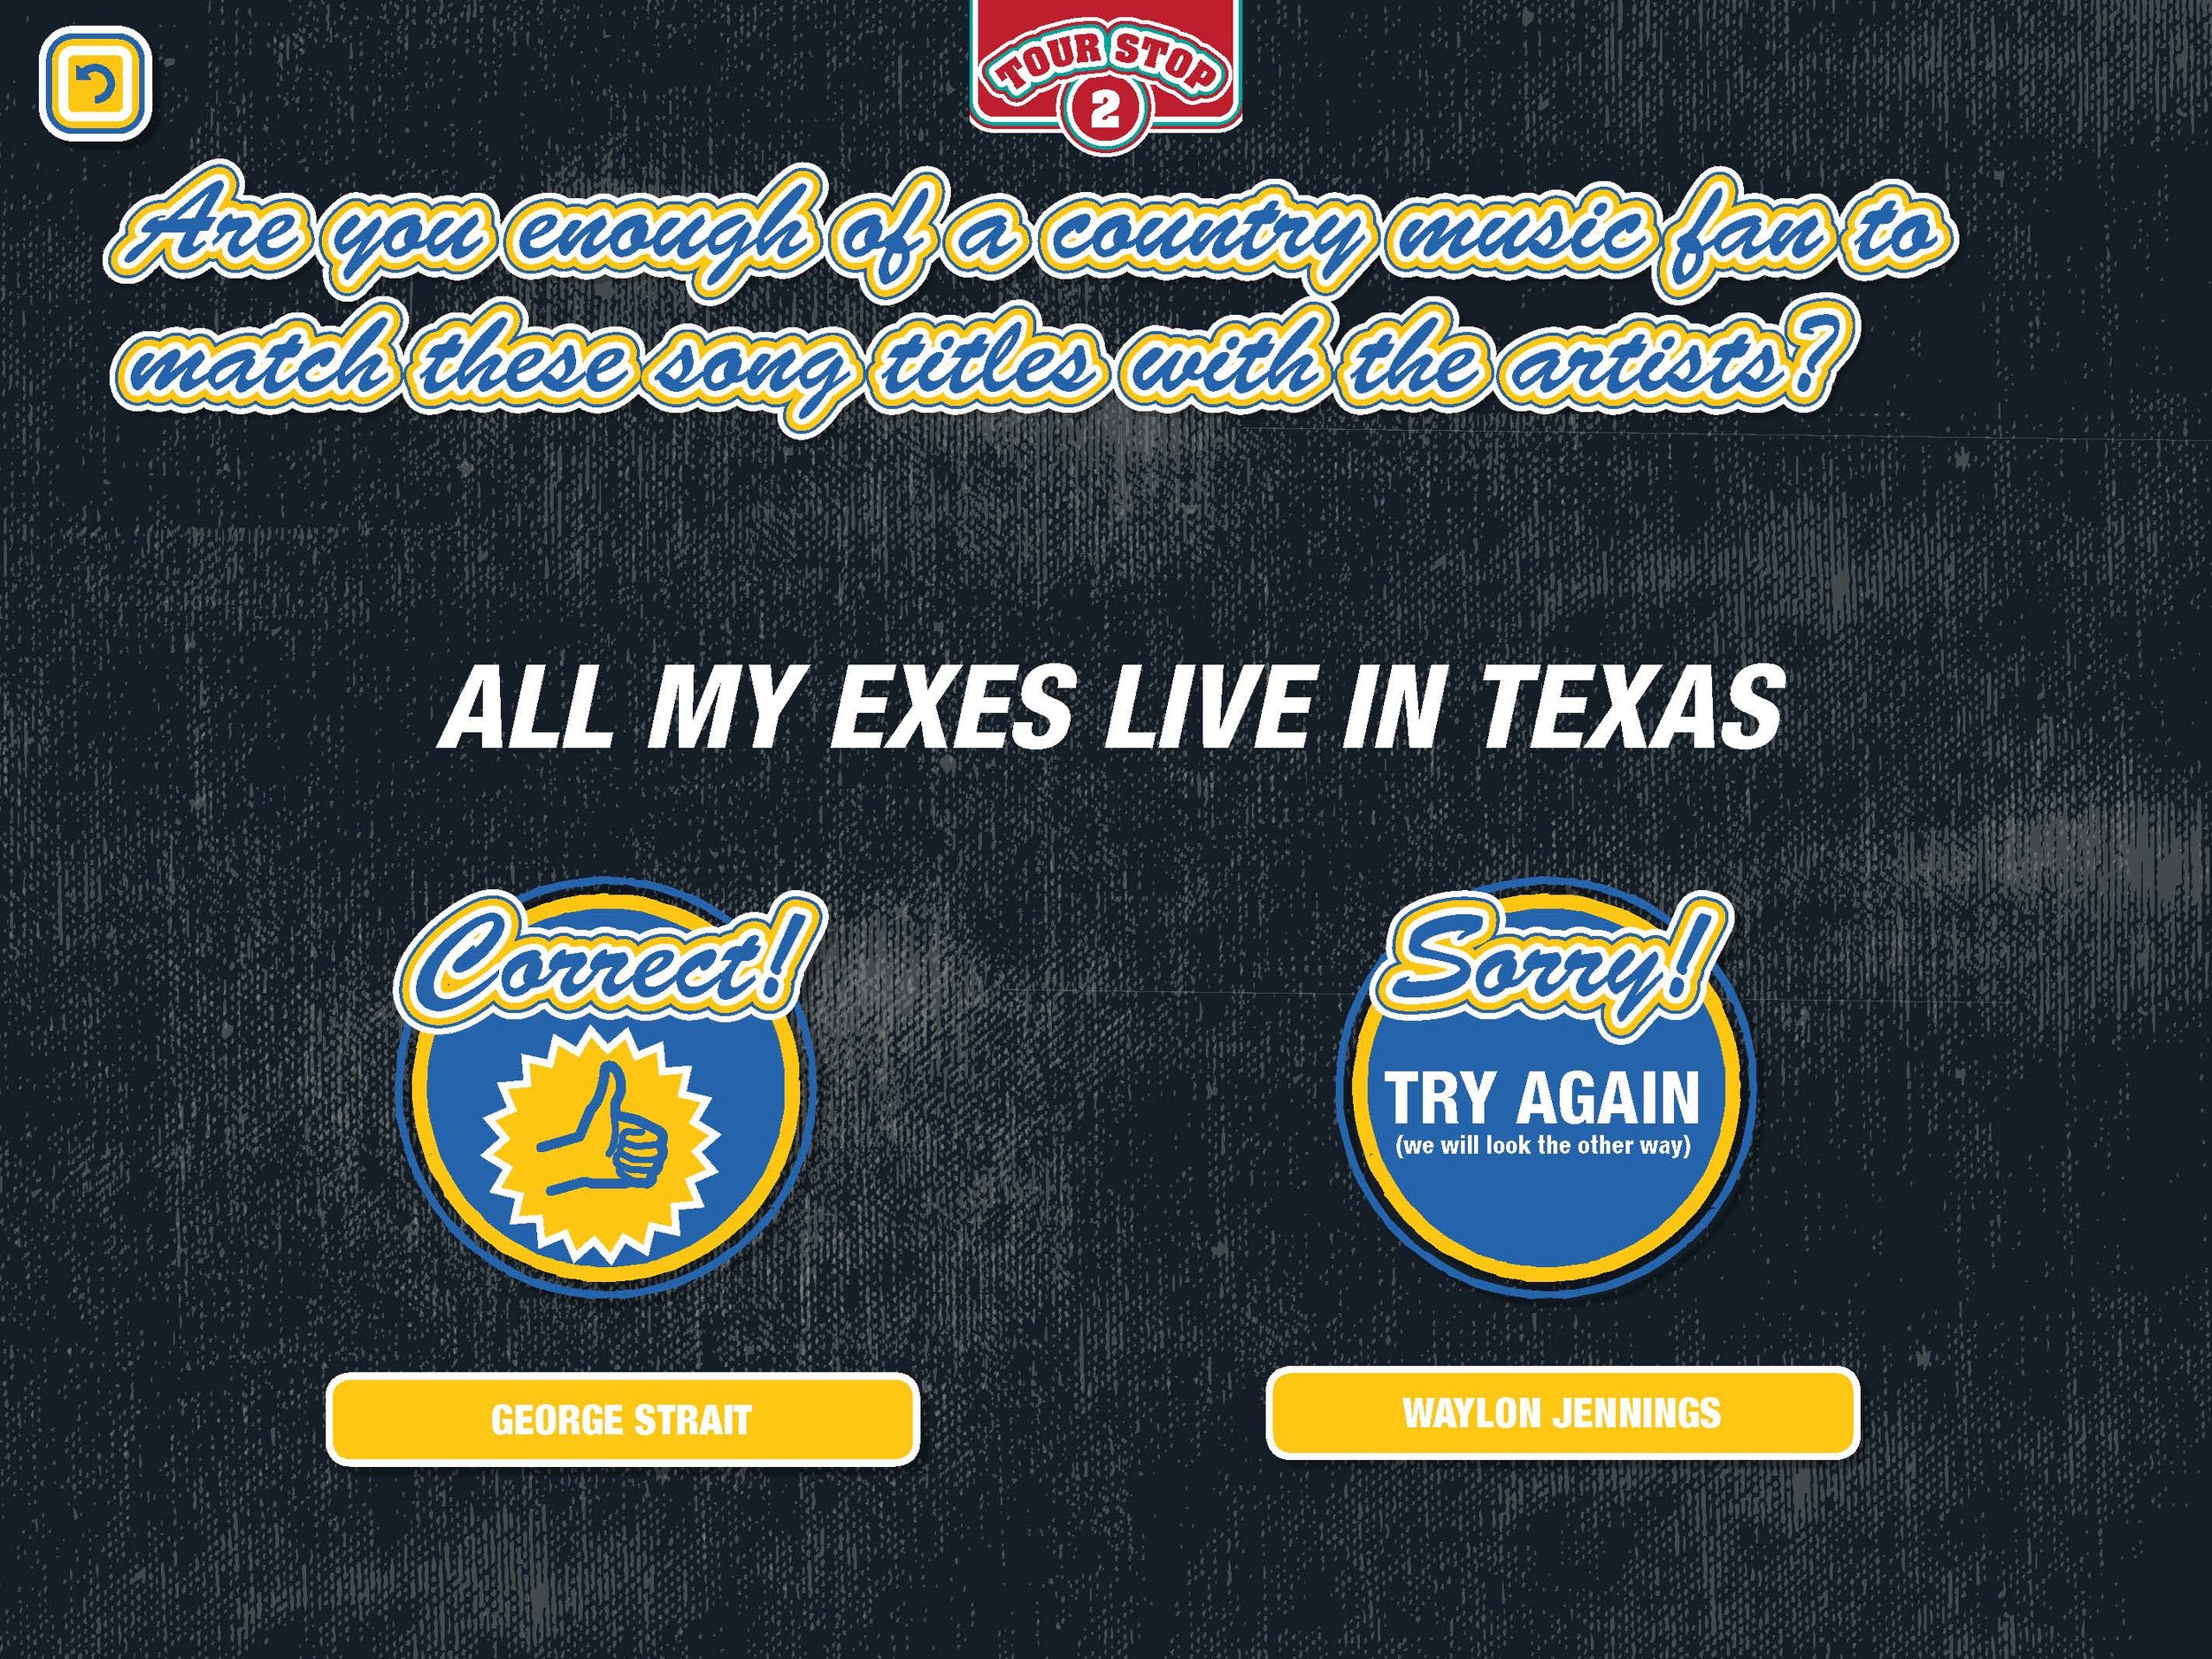
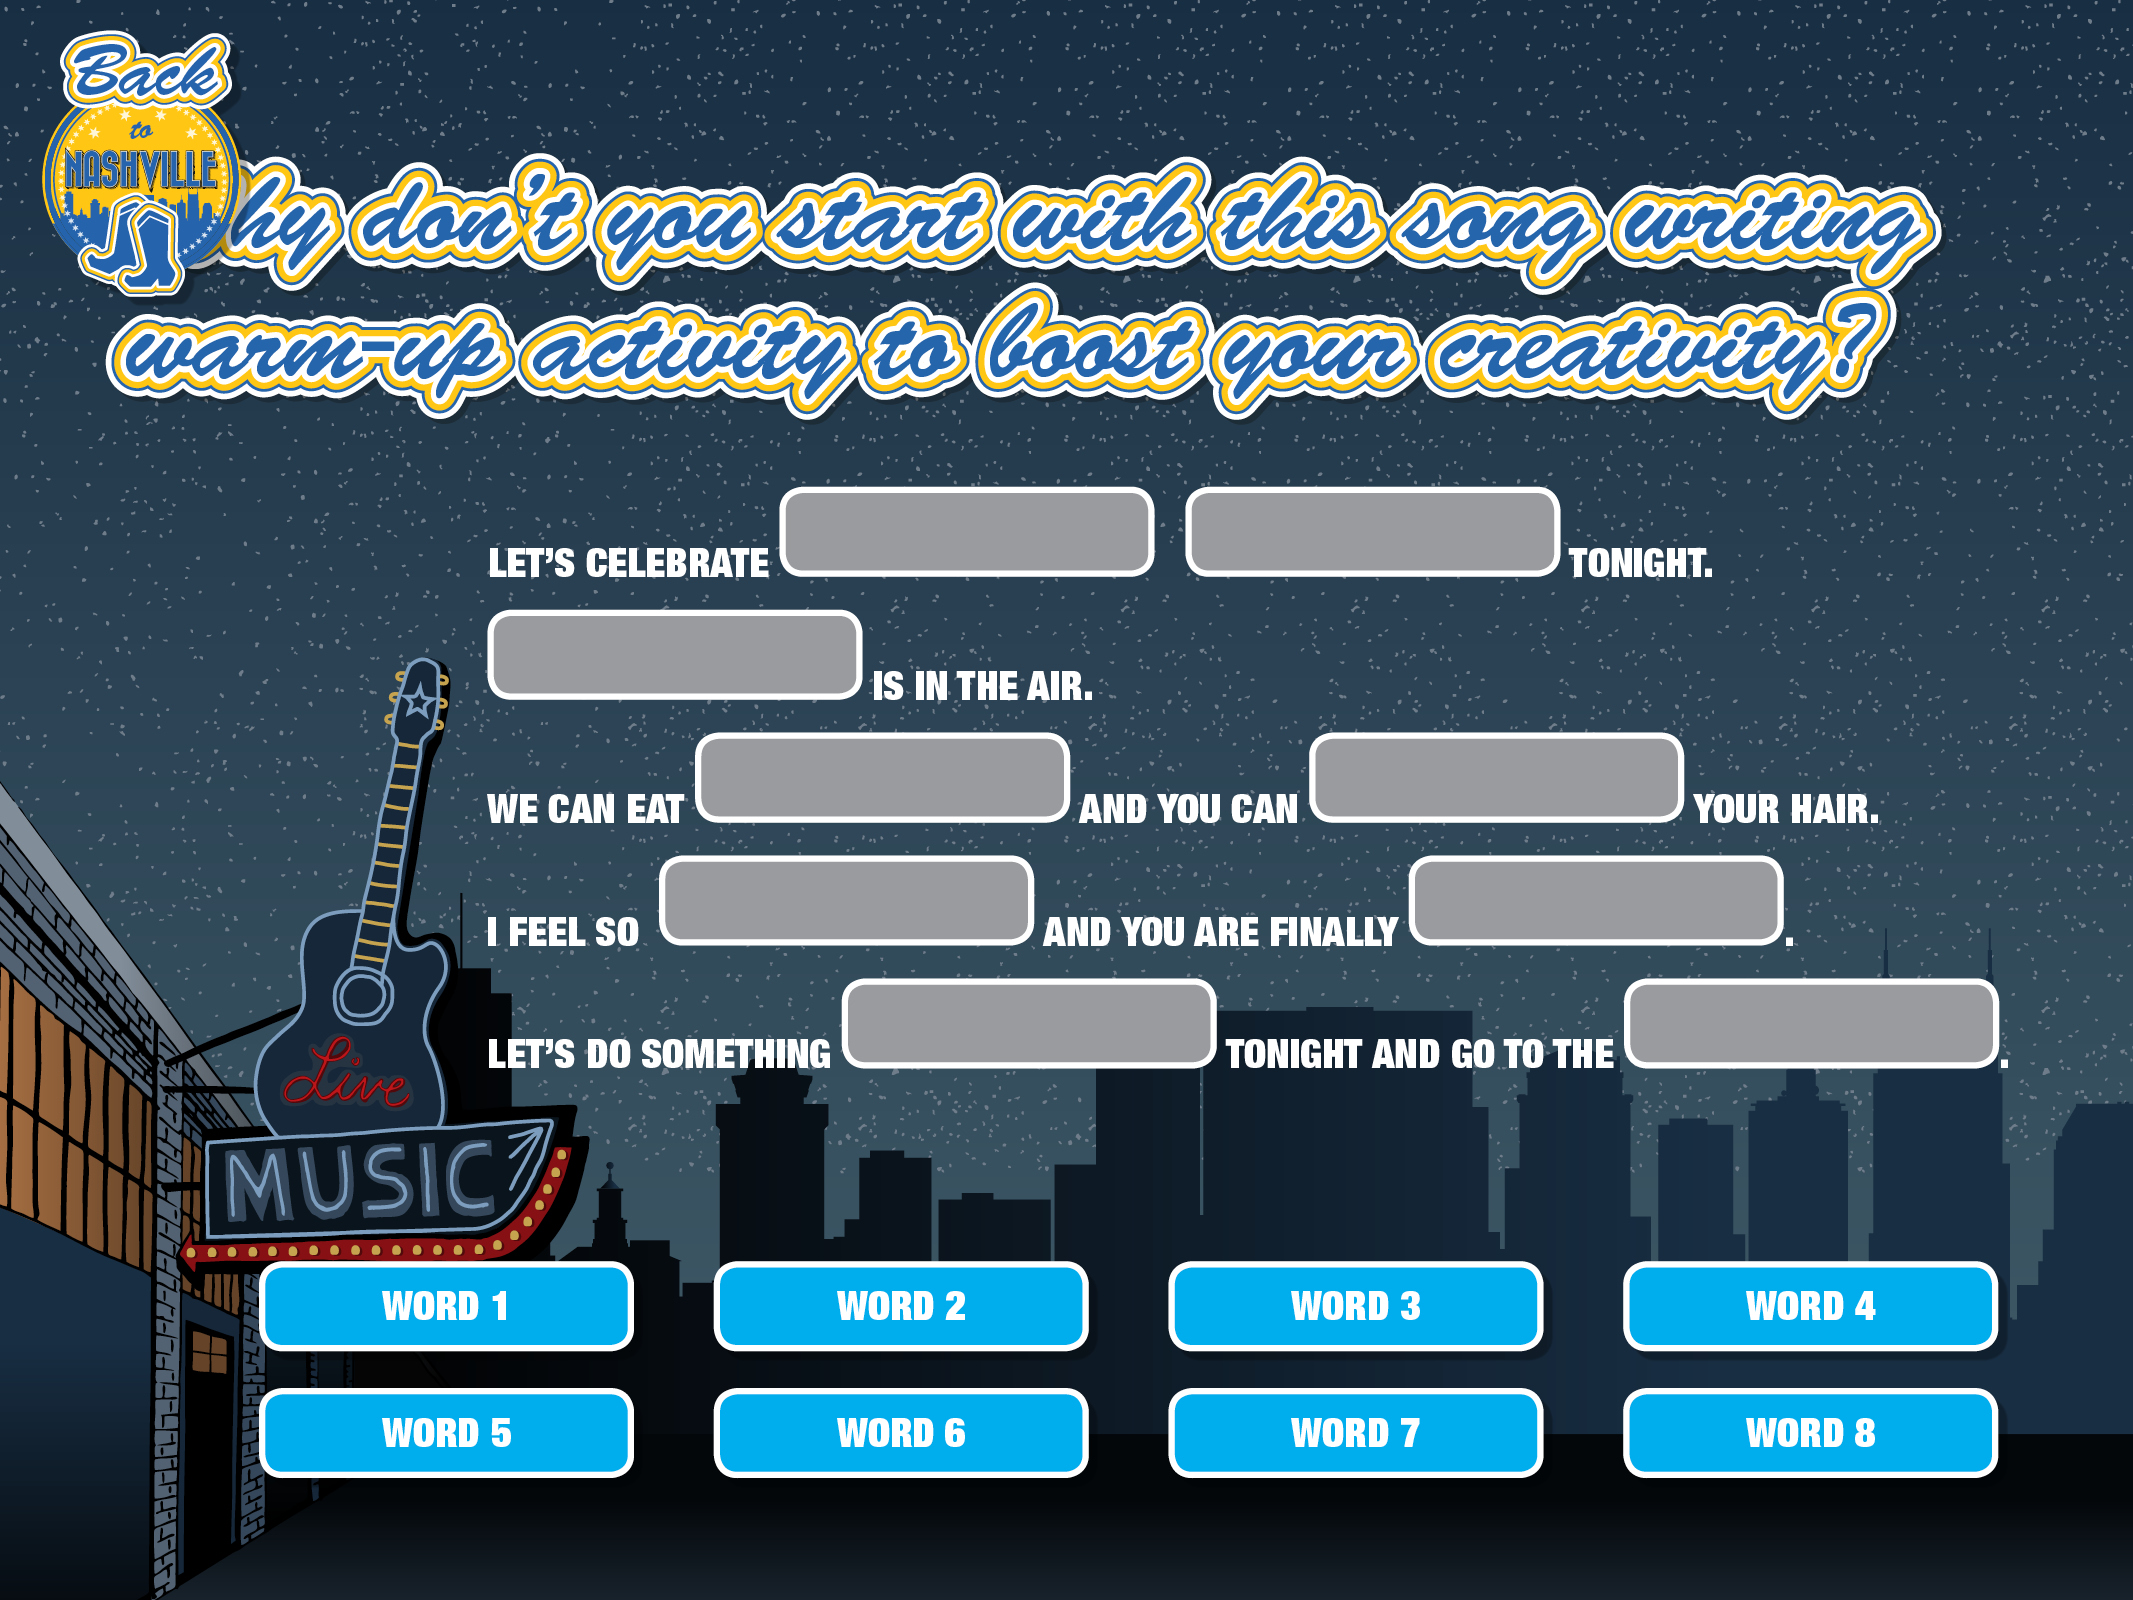
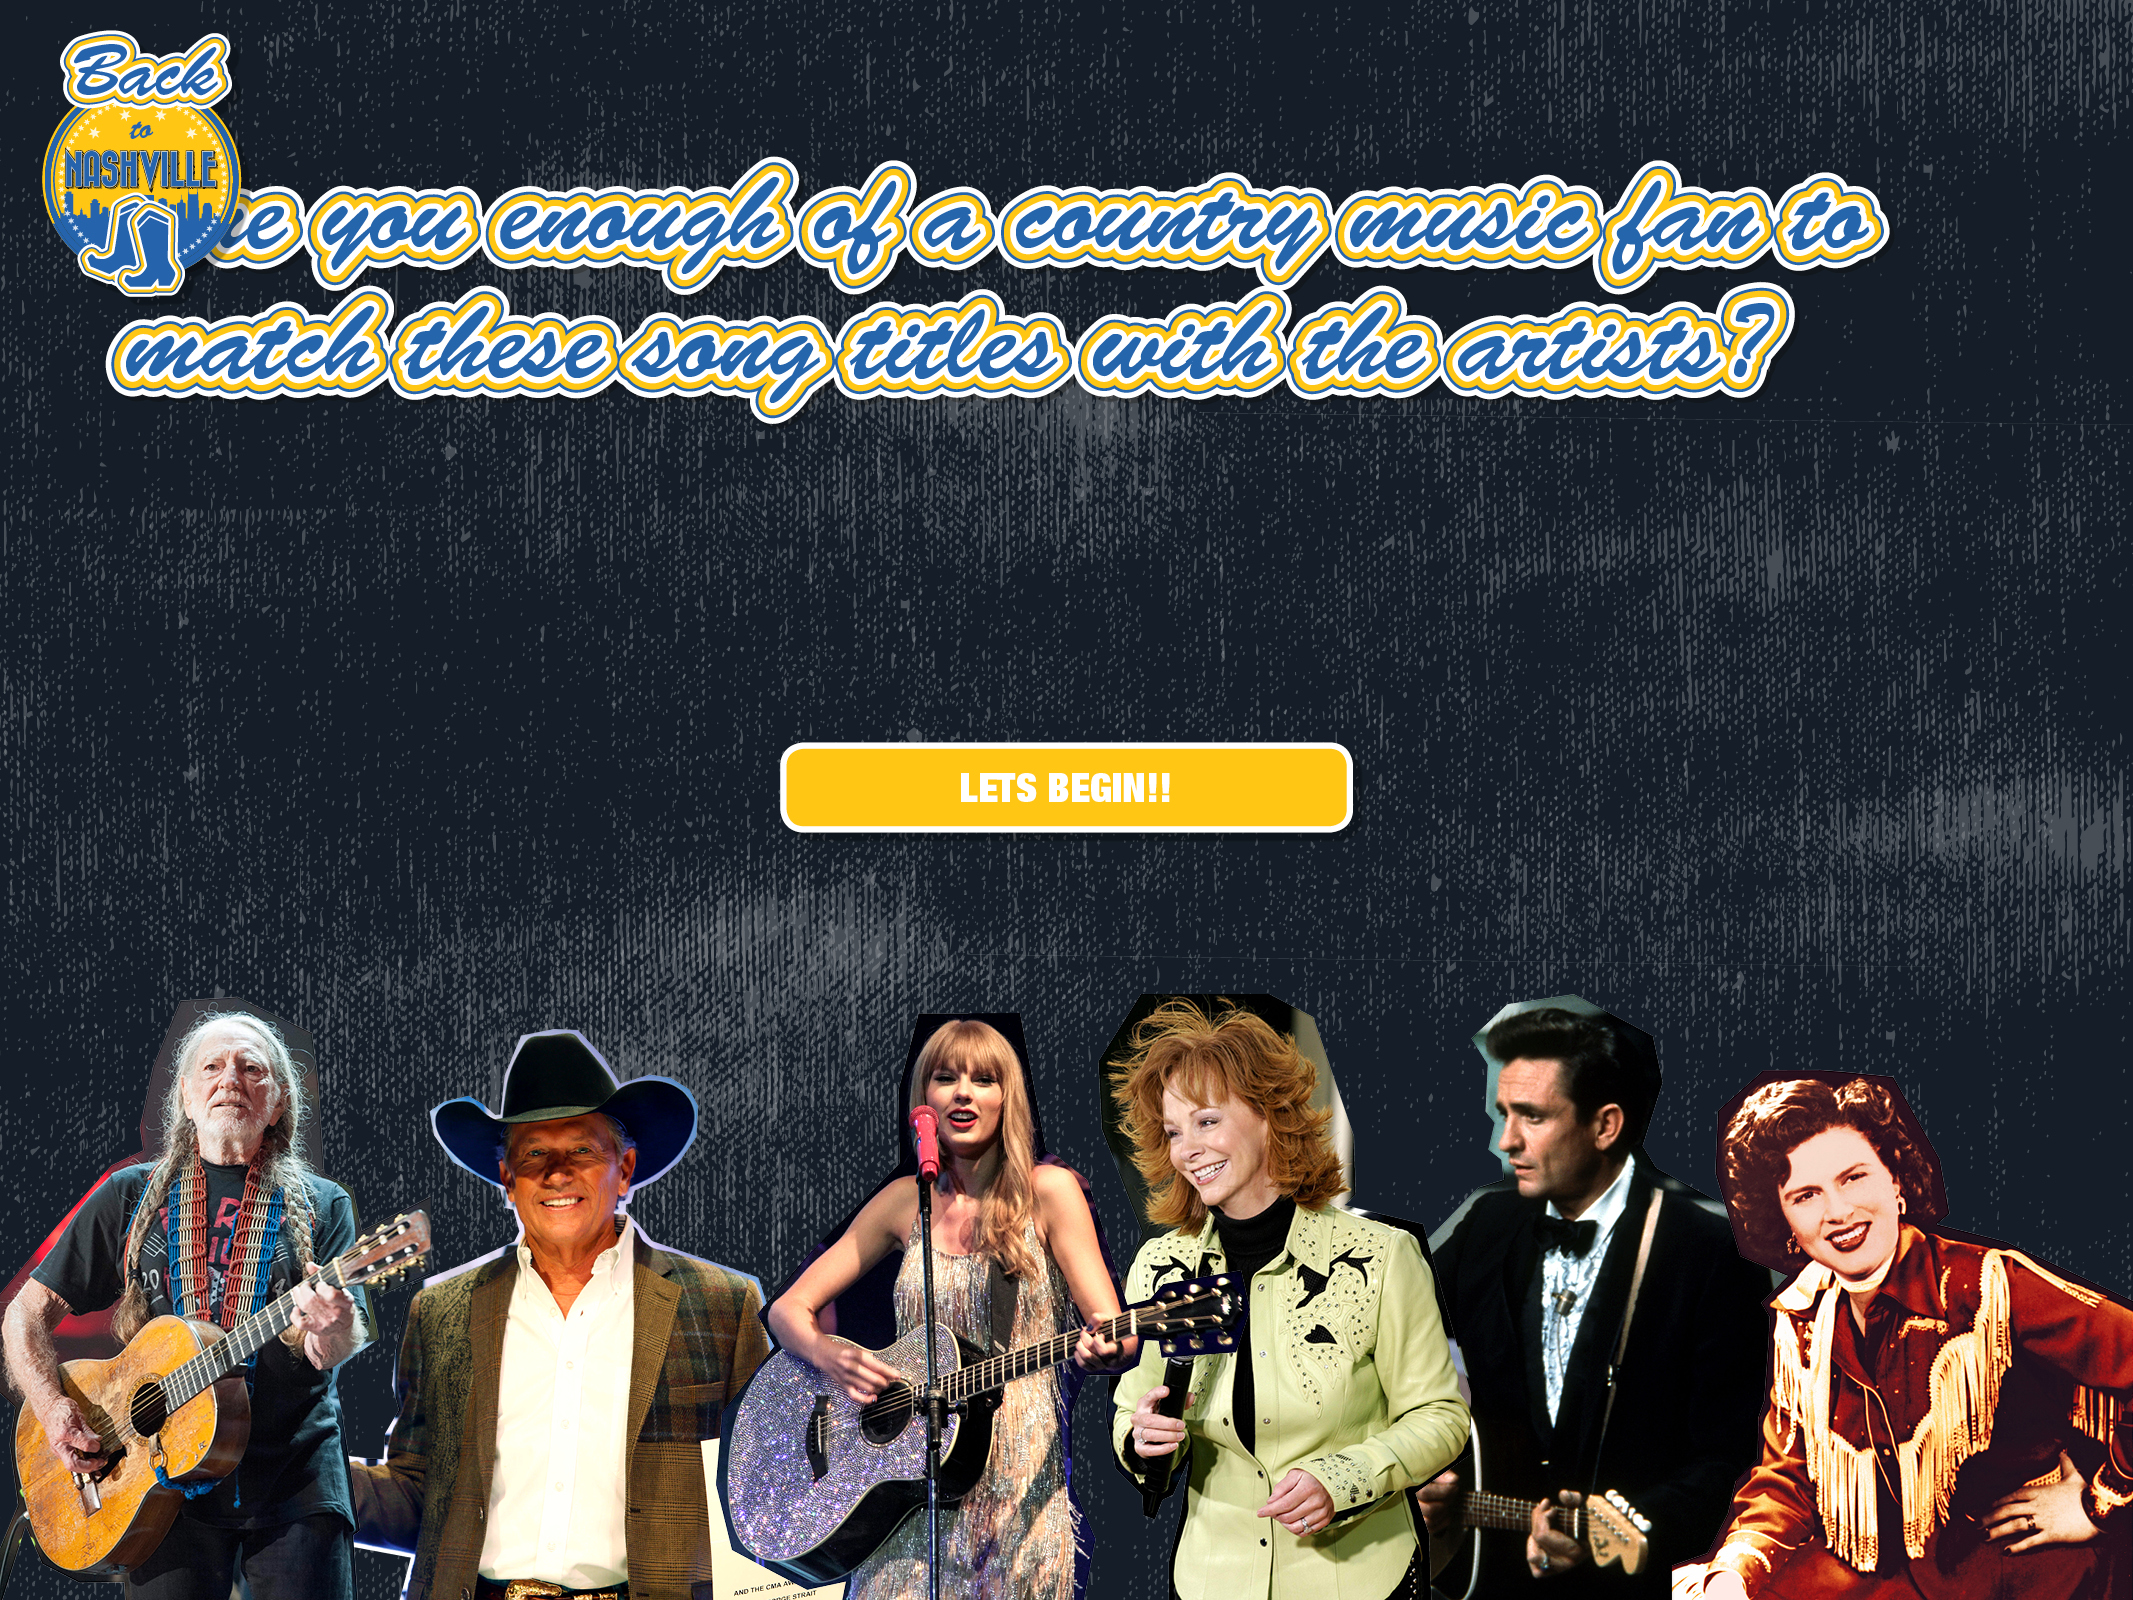
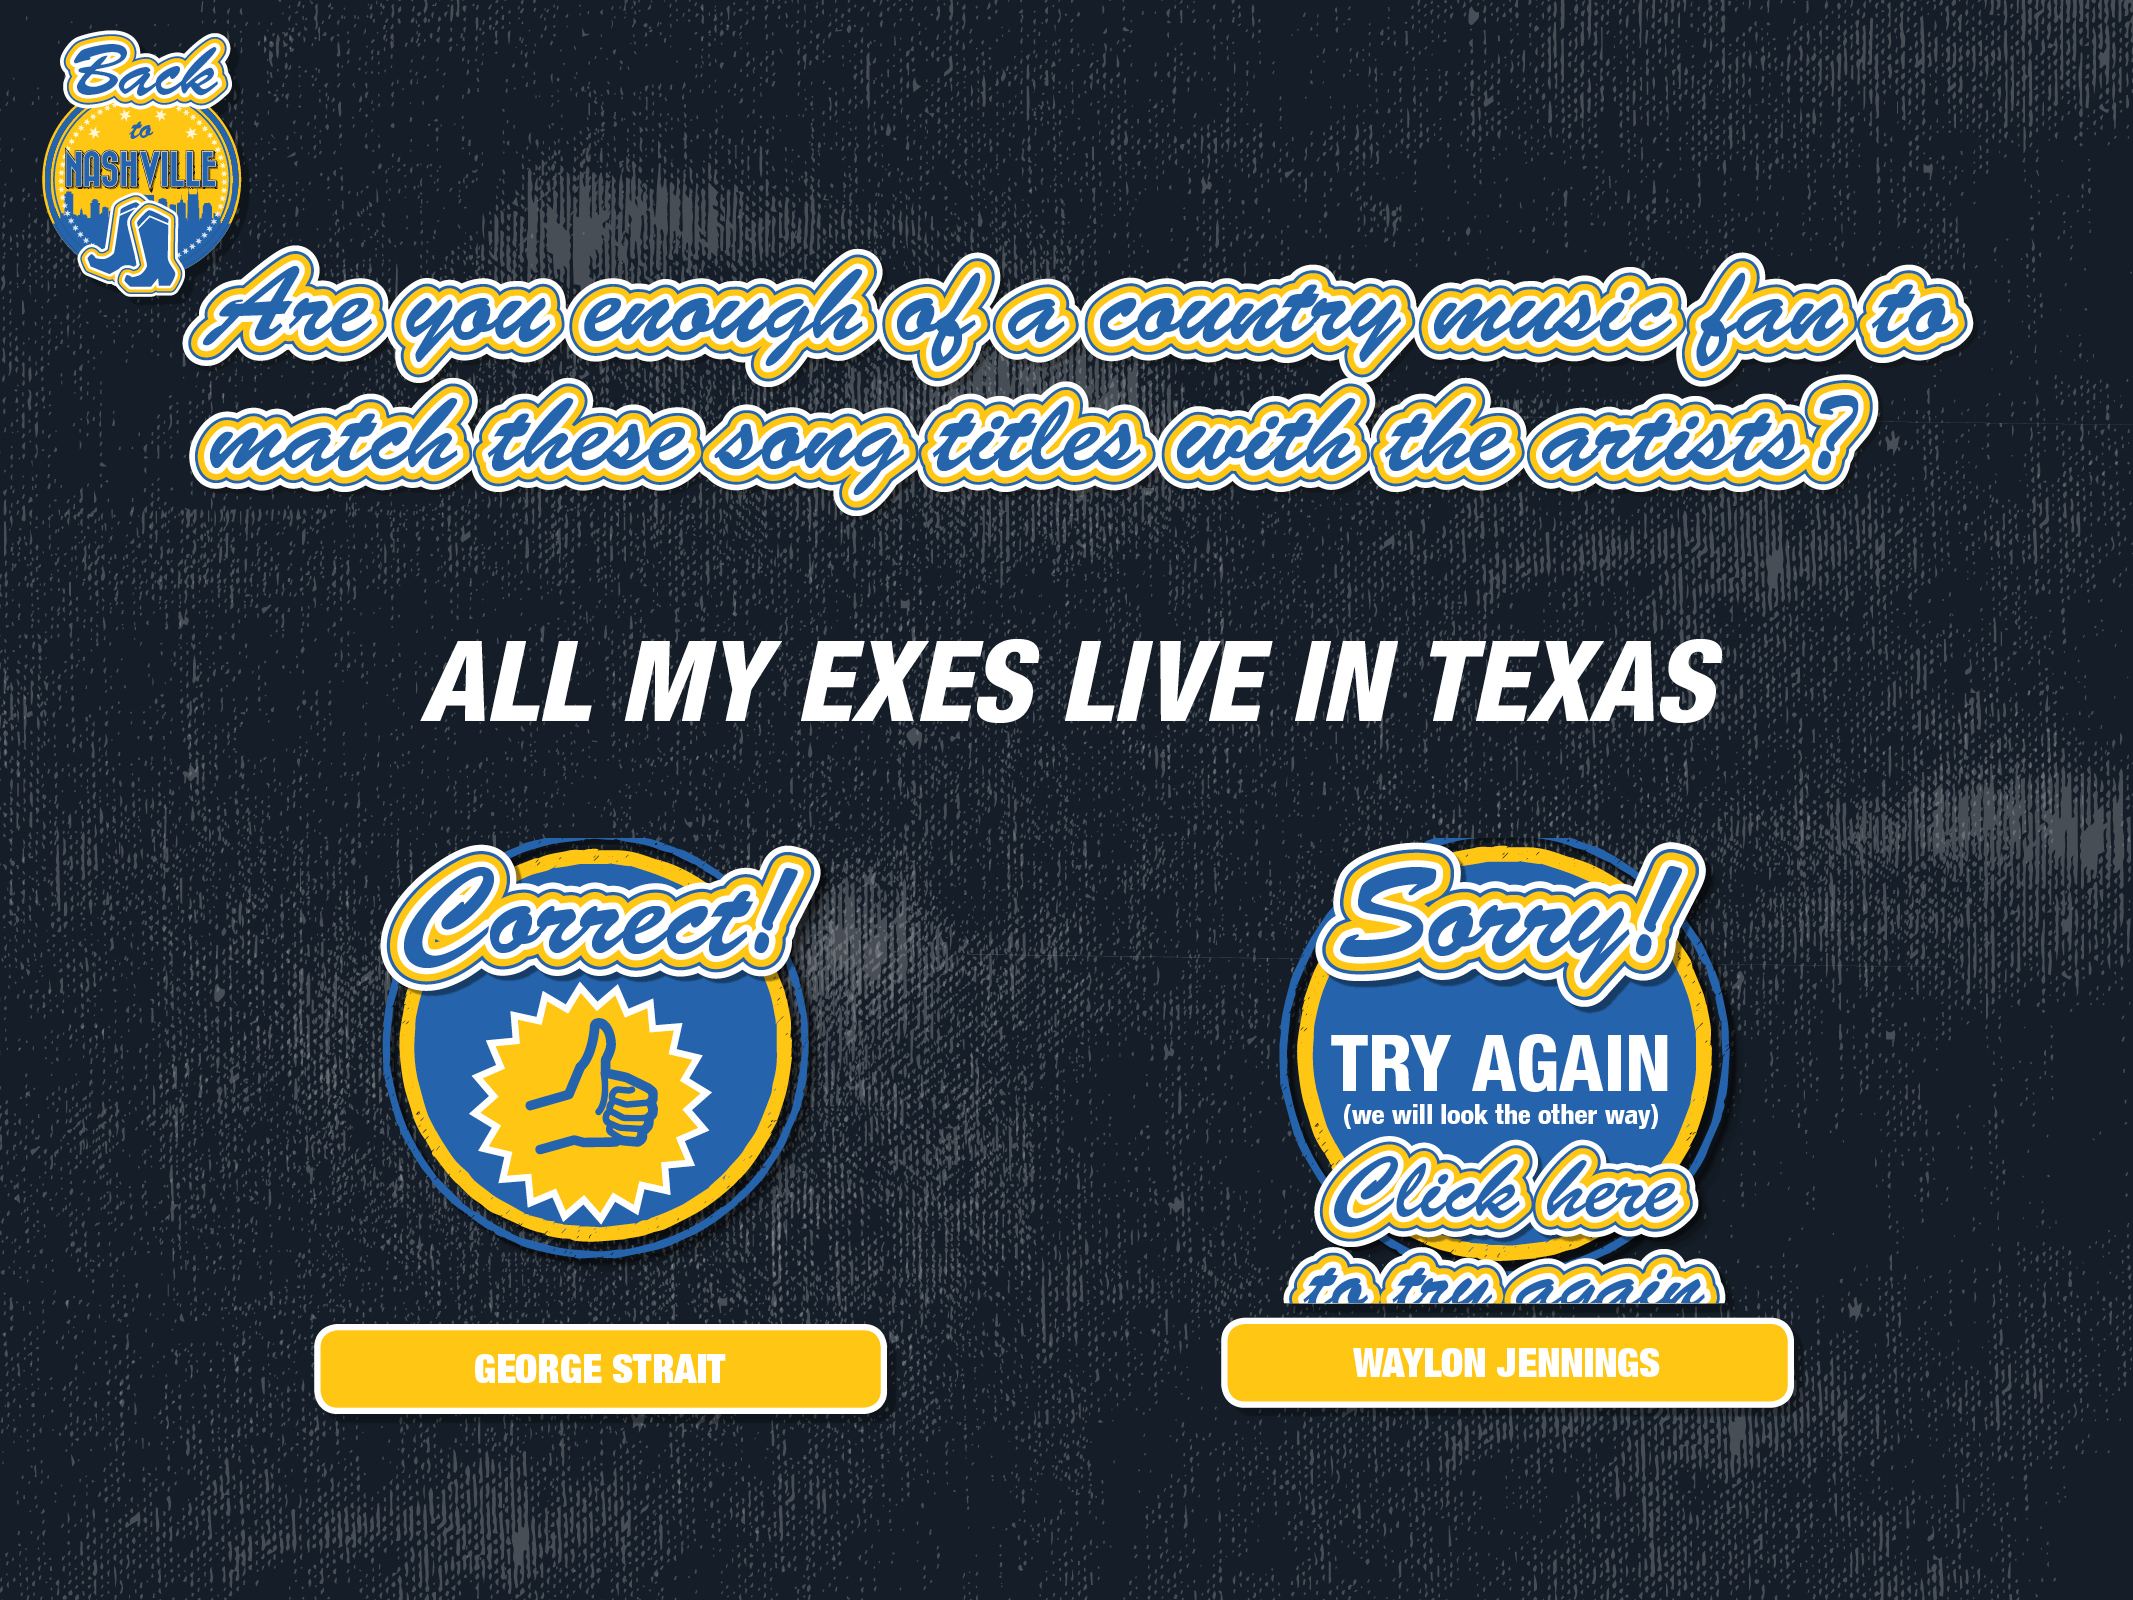
Mock ups for E-learning Module Demo- NASHVILLE THEME
These are some mockups created in adobe Indesign mid 2017. These were created for internal use while we brainstorm ideas for a e-learning module which was to be showcase in a conference in Nashville. all of the vector art is made from scratch in adobe illustrator. The interactive learning activity is put together using articulate.


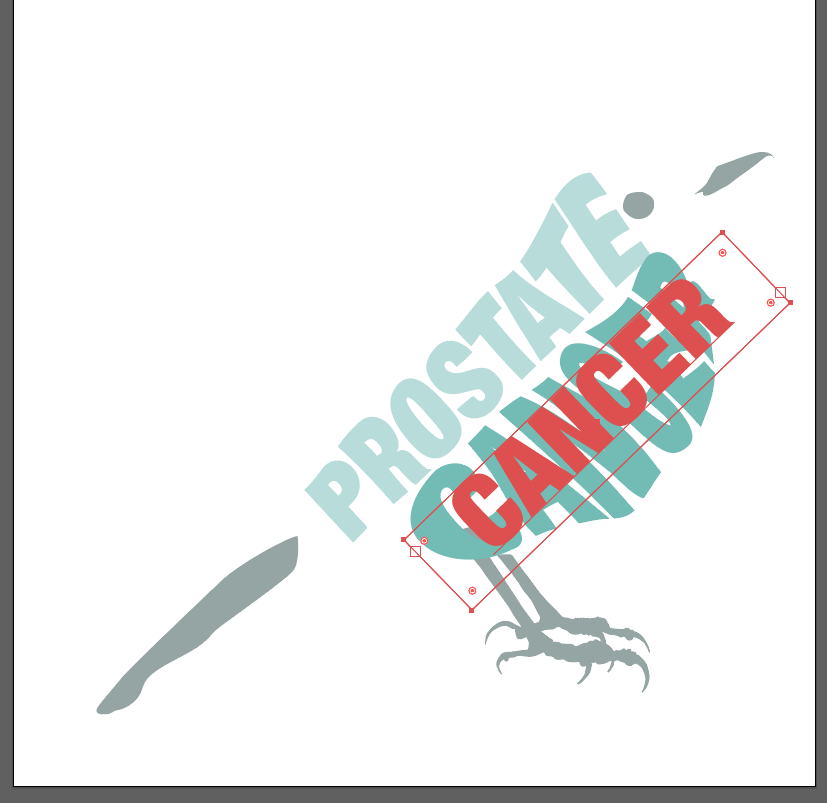
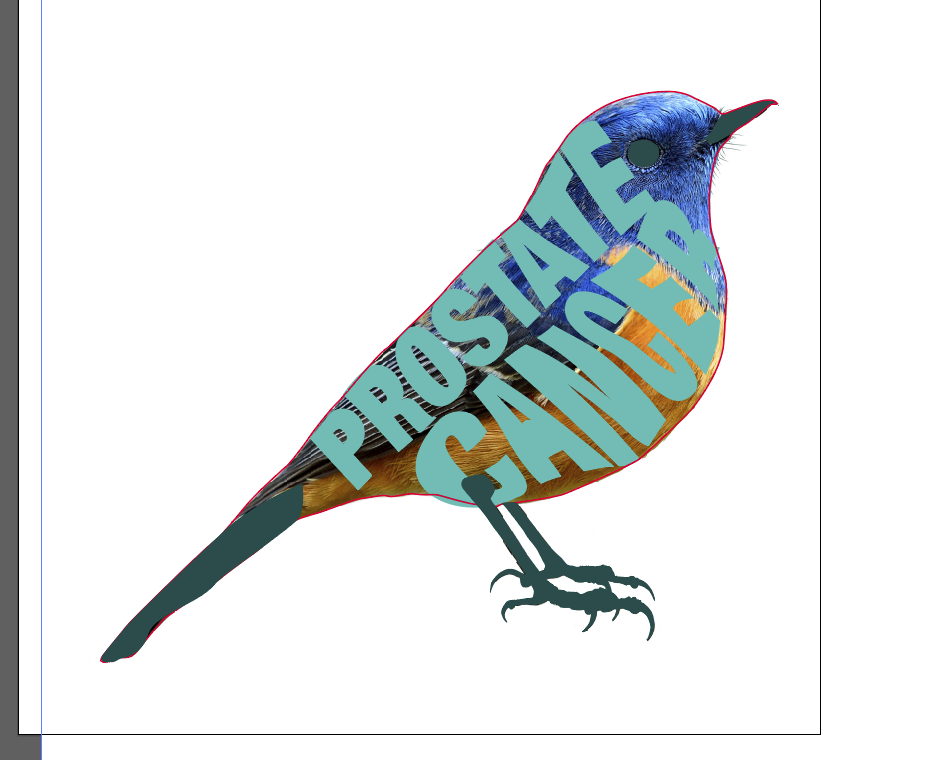
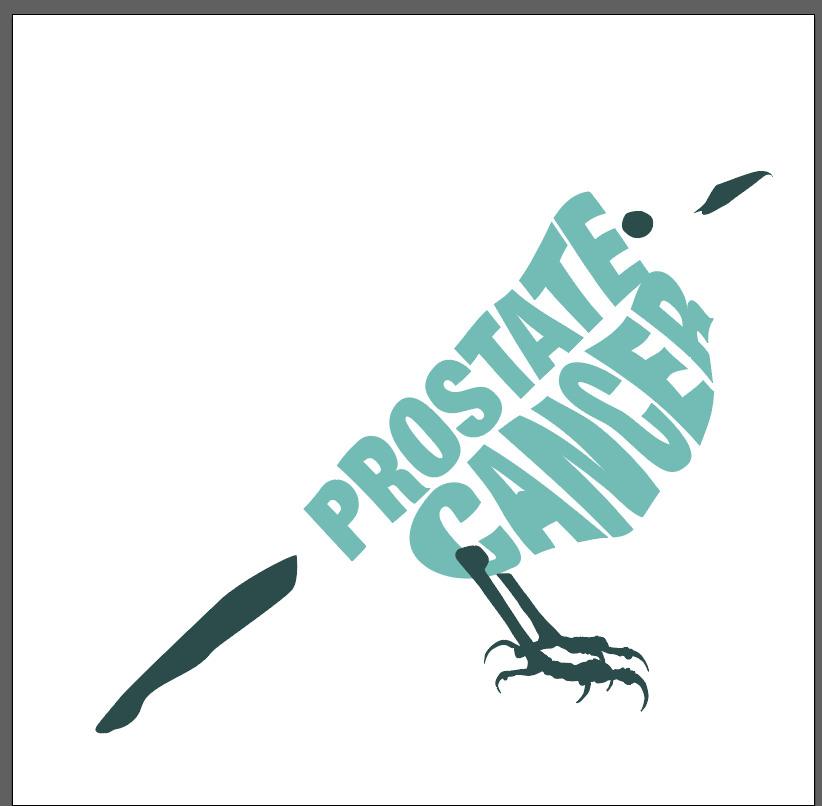
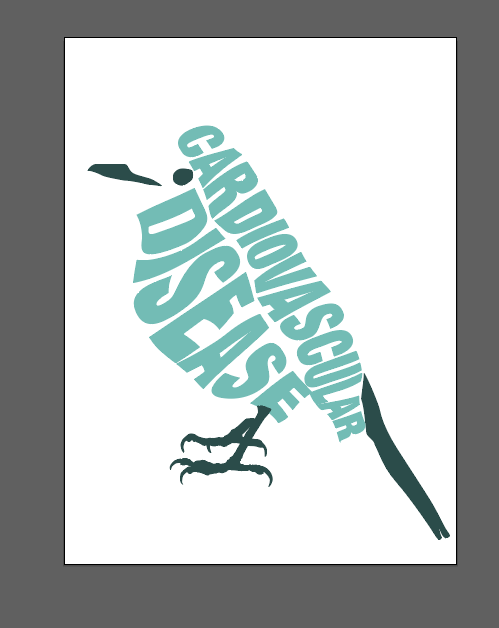
Distort envelope birds.
I had to create an add with birds. i came up with the idea of having the birds be made of words. Using the mesh distort envelope option i was able accomplished my goal quickly. the hardest part was to make it all work and for it to be recognizable as a bird.
I remember using the distort envelope before the mesh option. much better now..

Adobe XD New Features

Word and InDesign: Integration

Wedding program tutorial
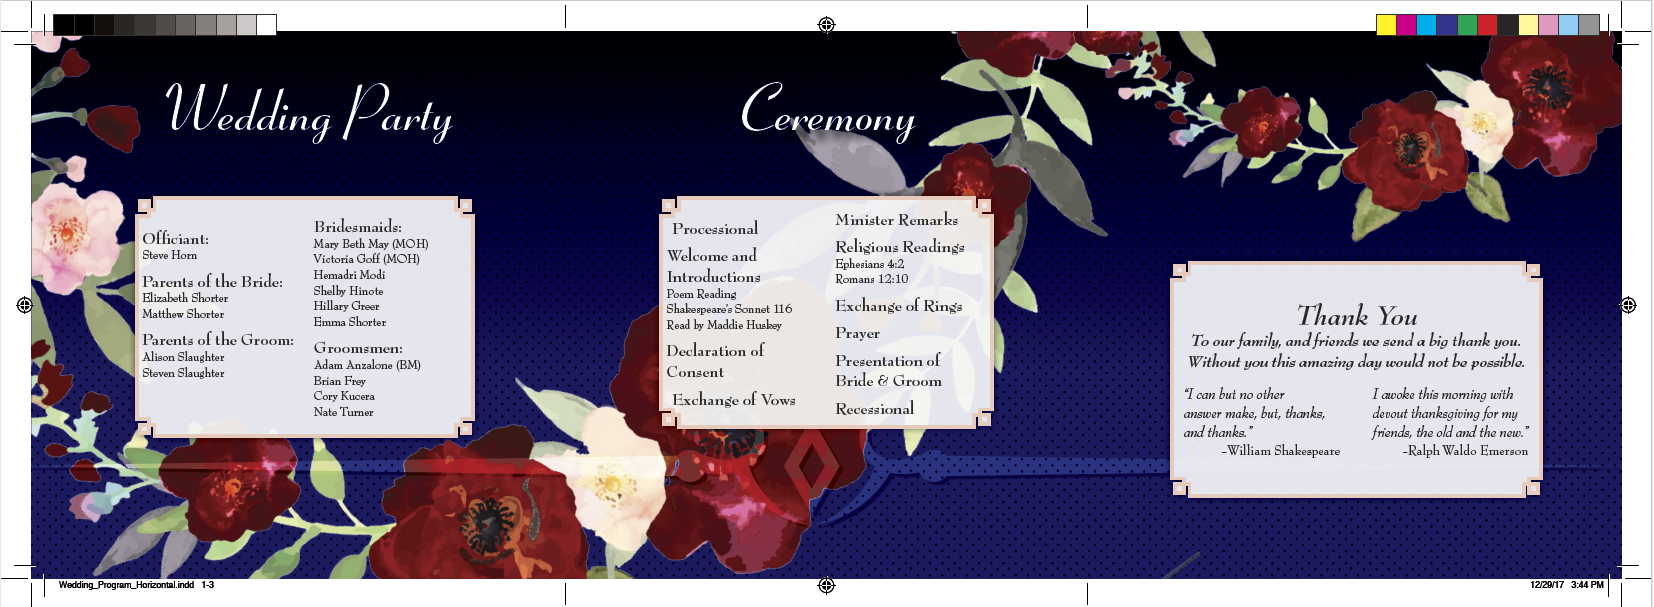
I have had questions on how do i put together a custom print materials with custom sizes and graphics that take advantage of the folds of the paper. Like the image below for example:
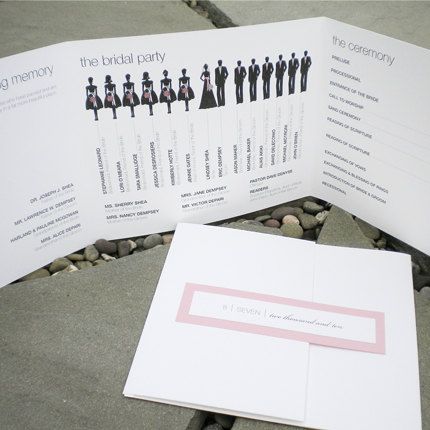
I have created wedding programs such as this one in the past, however, after 4 years i though it would be good to put up a tutorial since i am still been asked, how do you put something like this together. So here it is.
For this tutorial i will show you how to create a custom page size, align all pages next to each other to create the 3 panel layout like in the image above, the process and techniques i use to edit images that will go in the layout and the layout of the print material
I took the time to create this tutorial to show Step by Step how i go about putting these kind of projects together. Everybody has their own way of doing things. And this is just my way i go about it. I focused on creating files that are super editable so you can make adjustments and changes in seconds. This however requires lots of styles, working with master pages and so on. So let me show you how to go about creating a wedding program. The steps below assume that you already have working knowledge of adobe indesign. If you are looking for adobe indesign training i would highly recommend Lydan.com. I have Used lynda.com for over 7 years, i do about 60-80 hours of training per year. I don't know where i would be without it.
All of the images used in this tutorial are provided via https://stock.adobe.com/
Step one of this project is to agree on a finished size. I like for the brochure to be no wider than 15 inches, this would means each panel would be 5 inch squares. You are welcome to change this to what you want your layout to be. For this tutorial I went with a 12 inch layout, which means the panels will be 4 inches by 4 inches. I will show how to adjust the page size to 5 by 5 at part of the tutorial.
Step 1 ( document/page setup):
Created a new document in adobe indesign that measures 4" by 4". Again, i will show you how to adjust the page size a part of the tutorial.
Facing pages can be checked on. and you may add your page bleed, i go with 0.125, you may contact your printer if needed to confirm this will work for them. i find this works just fine.

As you see per my screenshots below and and above i started with just one page. The reason for that is that if you try to add new pages, they will not align next to each other they way we will need them. And this is the first trick. if you go to the pages panel you will find a couple of options that are checked, these options are called "Allow document pages to shuffle" and " Allow selected spreads to shuffle". For some reason, when they are checked, they are off. I know.
After these options are unchecked, you will be able to add pages to your layout, and drag them/connect them with each other using the pages panels.

When you drag each page next to each other working from the pages panel you should have a document that looks like the image below. I took the time to label this screenshot so you can start getting an idea of the architecture of the layout. In the screenshot below i am showing you what i call the outside spread. Now that we have completed the outside spread, we can just select all 3 pages from the pages panel and duplicate them. Now you are done with the page set up portion of the project.

Step 2 (image editing):
Highly recommend using adobe stock for purchasing images, Specially now that you can purchase 3d graphics that can be modified/edited using Adobe Dimensions. Opens new capabilities for designers and i will be showing tutorials for adobe dimensions in future posts.
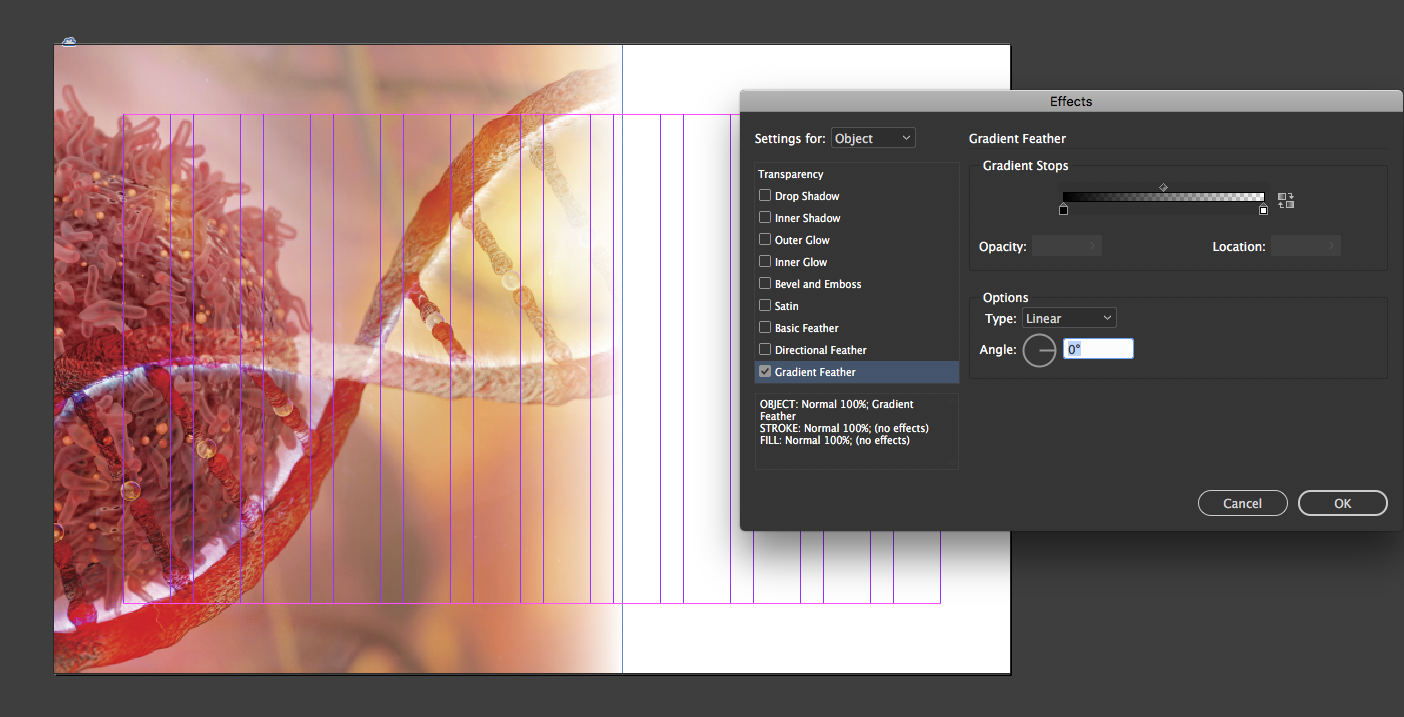
For this project i used .jpg (high resolution) illustrator of watercolor flowers. I removed the photo from its white background by going to blending options and lowering the values for this layer from right to left for the whites. Take a look at my photo below:

For the next step i went to select, and color range. I used the sample tool to select only the pinks and red color values found in the photo.

Once out of the select color range panel, i saved my selection so i could load it and use it as a mask to make any adjustments i needed.

In the screenshot below it shows how i took the selection created from the color range panel and made a mask with a hue/saturation adjustment layer

In the screenshot below i show the color adjustments results, The flowers went from a light pink to deeper reds. I clipped the adjustment layer and made it into a group just to keep things organized.

Step 3:
Now is time to bring our images into the layout.
In the screenshots below i show how i placed the images in to the layout. The text frame is set up to be a two column layout and i have an object style set up incase i need to adjust my gutter space.

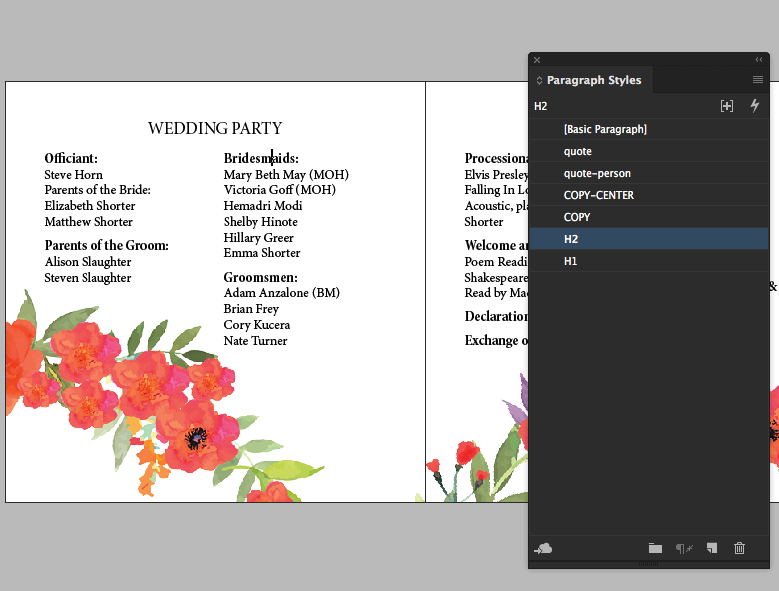
In the screenshot below i show how i took the time to create paragraph styles. This is very important to be able to make edits in seconds as you decide you want to play around with different fonts. Since its a wedding, i recommend trying out different fonts to find the best match for the personality of the event. I use suitcase fusion 7 as my professional font manager. It has an interface designed to allow you to quickly view/ compare different fonts install in your computer.
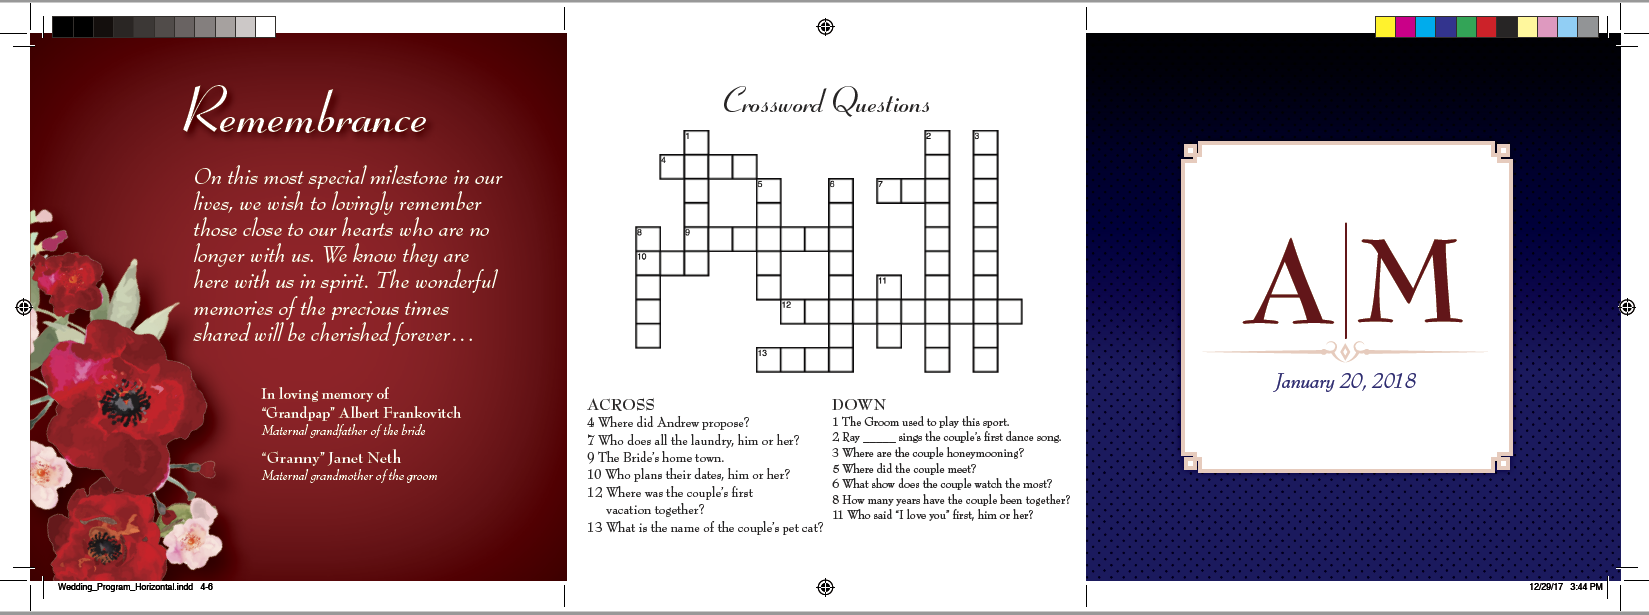
This layout contains a tile which will have a special treatment. The remembrance section of the program will sit on a color background ( red) with a inner shadow effect, white text formatted with styles and the overlapping of the flowers. Please see below for screenshot:

I gave a two column frame with a fancy corner option (see screenshot below). Remember to update your object style so all other panels update automatically.

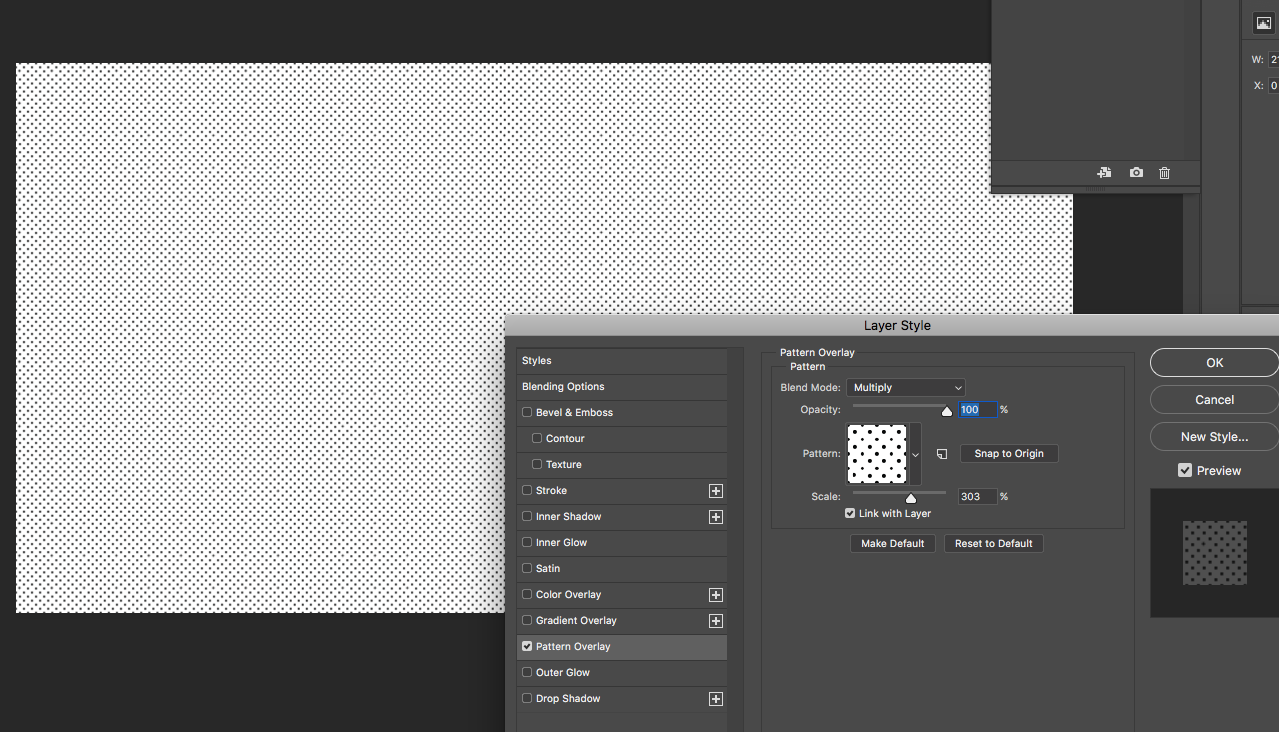
In to photoshop, made a you document. 11 by 17 at 300dpi, fill with white. Created a pattern fill background overlay, see screenshot below. This patter will be used to create a nice blended background for the inside spread.
I added the fancy corner and made a new object style a few screenshots back, and i gave it a color, i also gave that frame a drop shadow in the screenshot below. Again, you can just update the object style and it will automatically update all other frames. So its easy to play around with options and see things update in seconds for the entire layout on its own.
I also filled the page with a deep blue color, added the patter made in photoshop and applied an overlay effect so things would blend with each other. I placed the flowers on top of the layout and below you will find screenshots of all of these steps into 3 visuals.


Well, this is the end of the tutorial, i want to show below what things look for me after selecting a font, adding a crossword puzzle and the monogram i created in adobe illustrator. I am happy to answer any questions you may have.
Creating HTML Layouts with InDesign
Getting back to training this year. Focused on advanced adobe indesign, html and ways to get more out of IN5 documents.
